
You can learn more on how to initially enable payment feature for Cortico in Payment Onboarding.
Patient side:
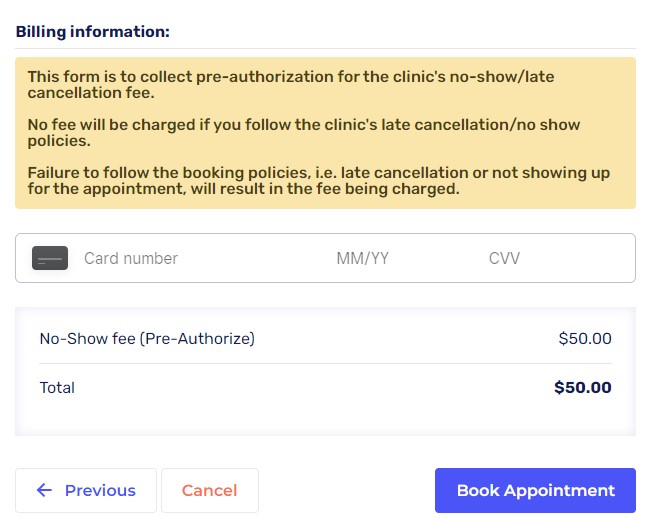
Once patients reach step 4 of the booking process, they'll receive a message that their appointment requires a pre-authorized fee.
Patients are informed that failure to follow your clinic's booking policies (i.e. late cancellation or not showing up for their appointment) will result in the fee being charged.
How to Charge Patients (Clinic side):
Setting up pre-authorization
In order to add pre-authorization to booking, the the steps in Payment Onboarding must be completed. If you already have your square account linked, you can start from step 4.
Next, contact help@cortico.ca and tell us you would like to enable pre-authorization. We will need the following information:
Which appointment type(s) should have pre-authorization enabled
How much the pre-authorization fee should be
What the pre-authorization is for (e.g. No-Show Fee)
Charging patients
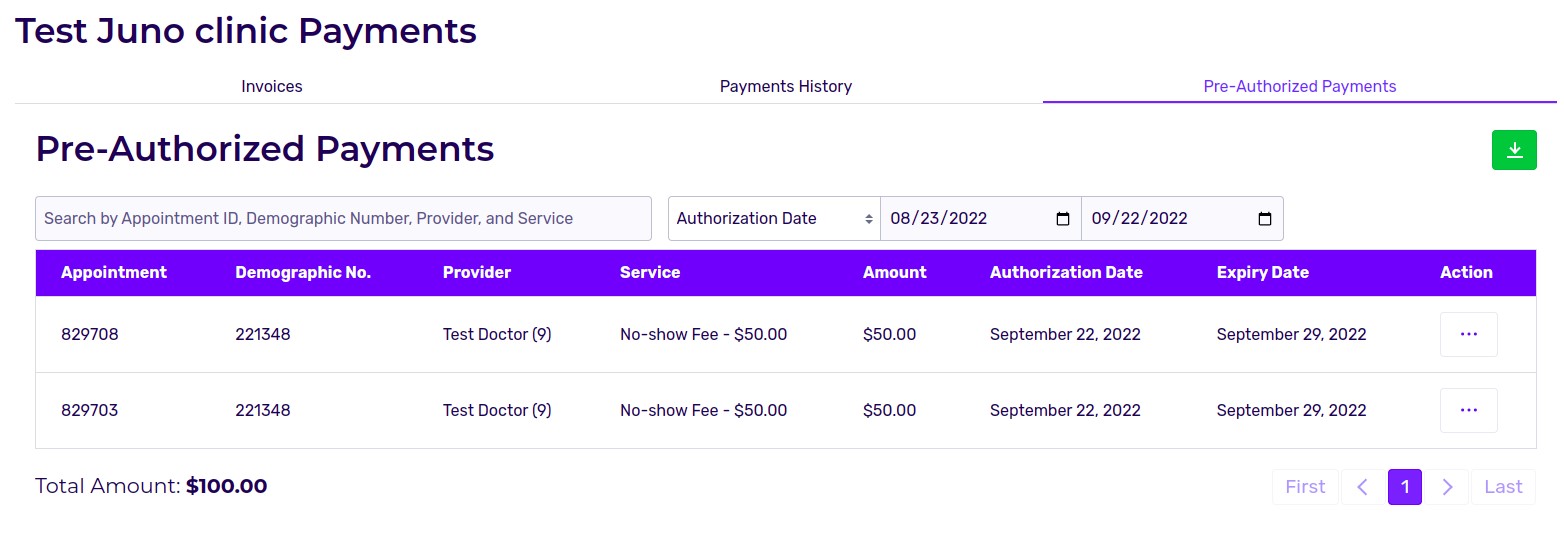
1. Go to your clinic's Cortico Payment page. You may need to login to access this page.
2. Click on the "Pre-Authorized Payments" tab to view the patient's appointment and the pre-authorized amount.
3. Go to the "Action" column and click on the box with three dots.
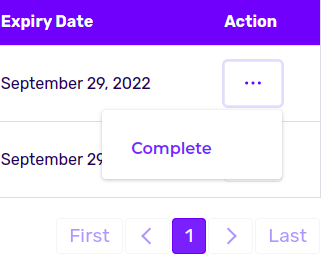
4. Click on "Complete" and click on "Yes" to confirm that you want to charge the patient.
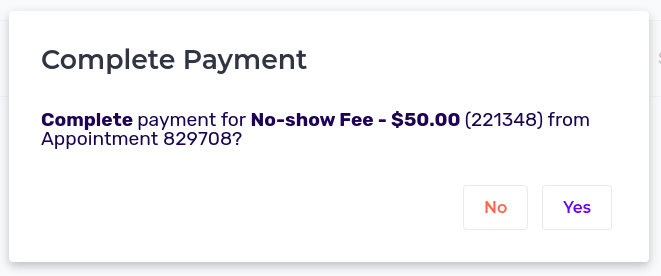
5. Once you've charged the patient, you can go to the "Payments History" tab to view that the patient has been charged.
If a patient cancels their appointment, their pre-authorized payment will also be cancelled and be removed from the "Pre-Authorized Payments" page.
For information on Cortico's Payment tools, see this link.
Feel free to contact help@cortico.ca with any questions!