
Note: The Cortico Browser Plug-In is free and open source software which may be used with or without the main Cortico product. It comes with no warranty;
Cortico allows you to attach documents from the patients document list, straight from the patient messaging box, or by selecting a public handout from the e-doc library.
Option 1: Send a document from the patients document list or from your local computer:
STEPS:
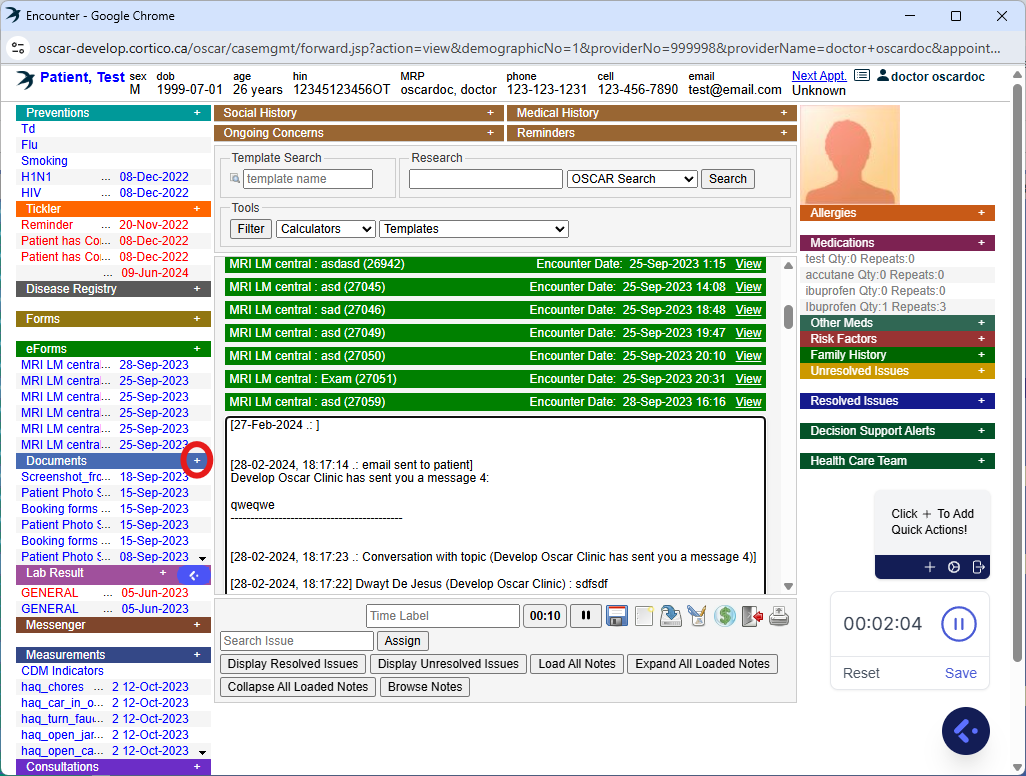
1. After downloading and successfully logging onto the plug-in, click on the "E" button of the patient you want to message

2. Click on "Documents" on the left of the new window that opens up.
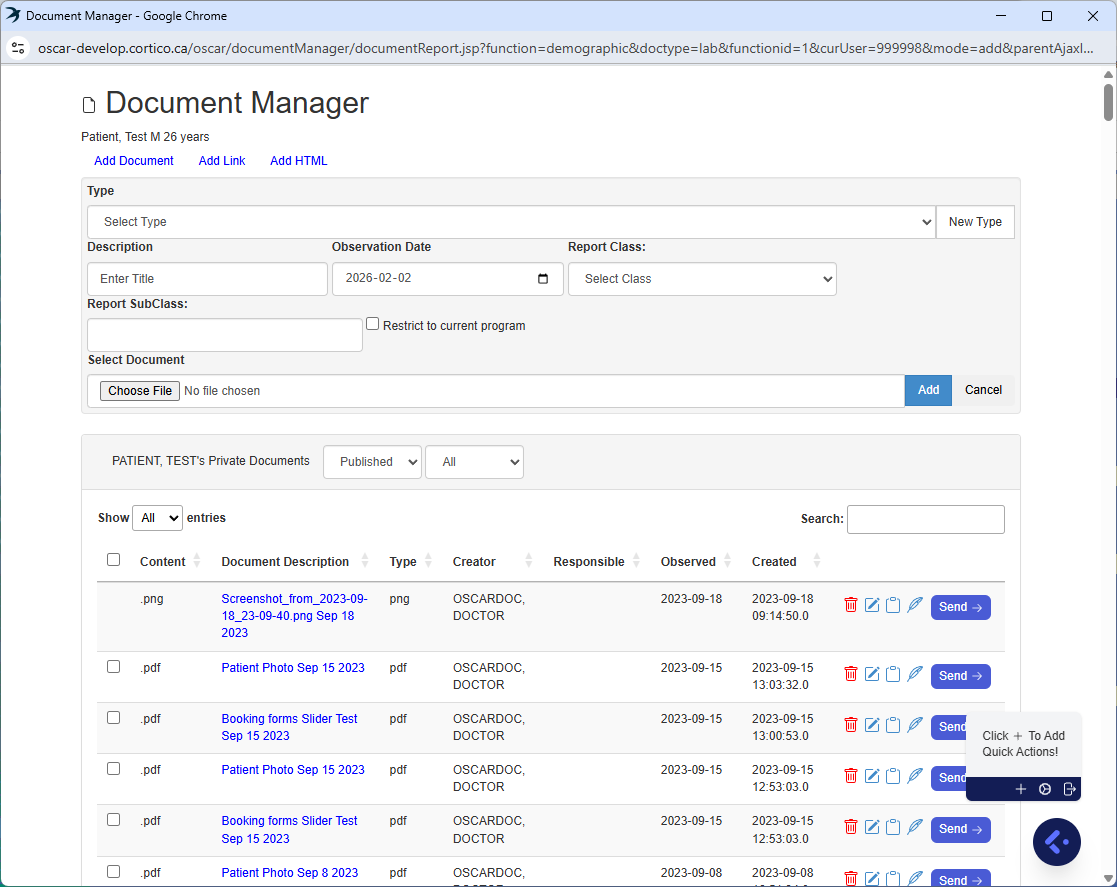
3. Click on the "Send ->" button of the document(s) you want to send to the patient and the document will automatically be attached to the message.
***Note: If the document is not already uploaded, you can upload the document on this page,
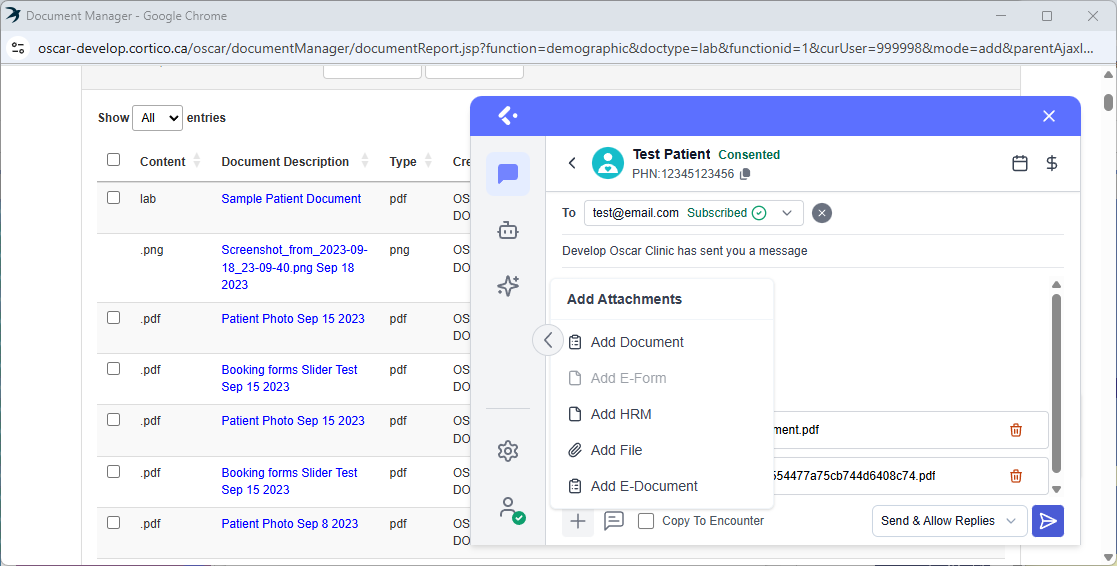
4. Skip this step if you attached all the required documents. Otherwise, if you want to attach a document from your local computer, you can use the 'Add File' tab!
5. Once you have attached the documents and composed your email, you can send the email to the patient by clicking the send button.
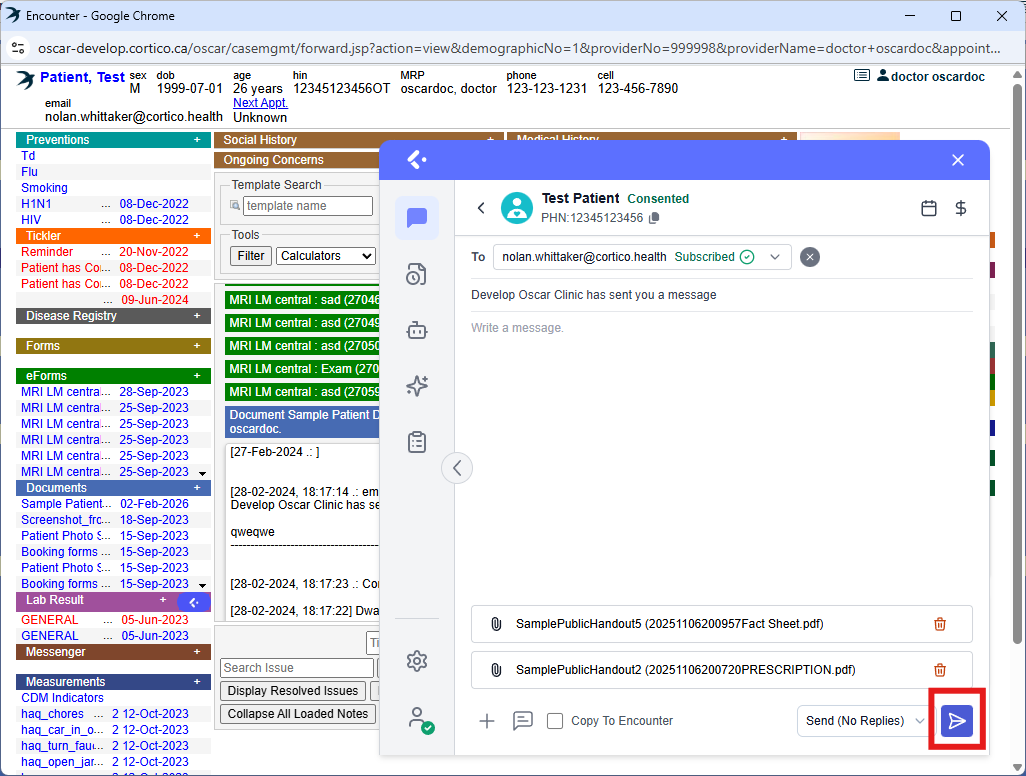
You will then receive a pop-up message indicating that the message has successfully been sent.
Option 2: Using the E-Doc Library (Public Handouts):
STEPS:
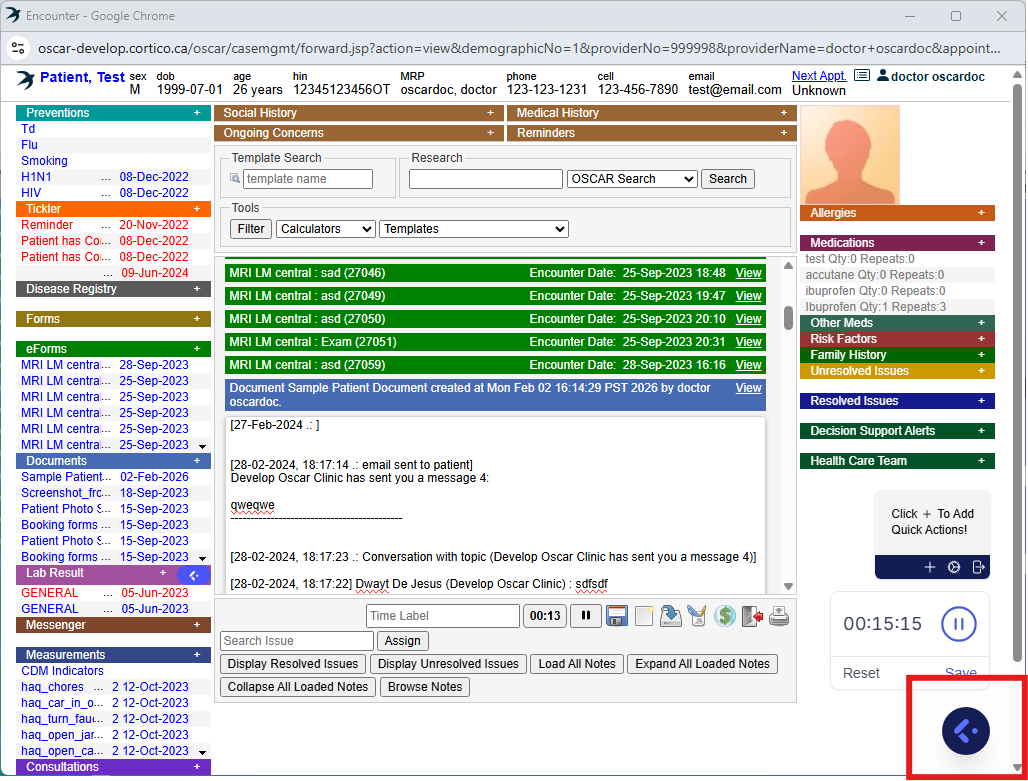
1. After downloading and successfully logging onto the plug-in, click on the "E" button of the patient you want to message
2. Click on the Cortico plug-in icon on the bottom right:
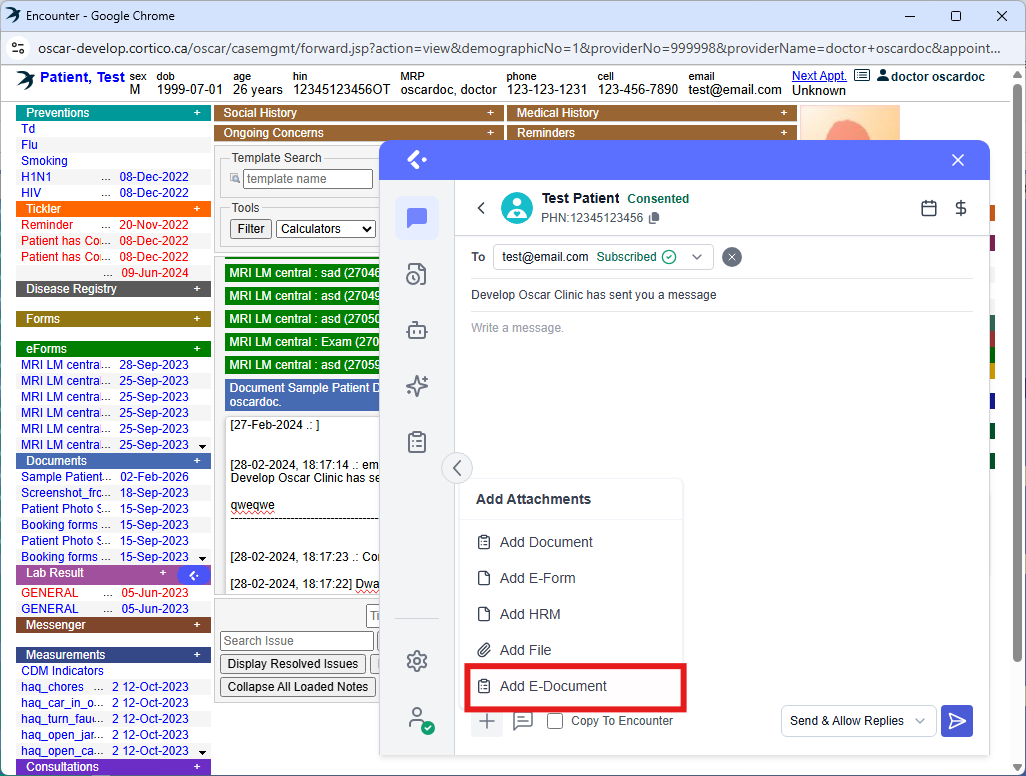
3. Click on the '+' then select 'Add E-Document':
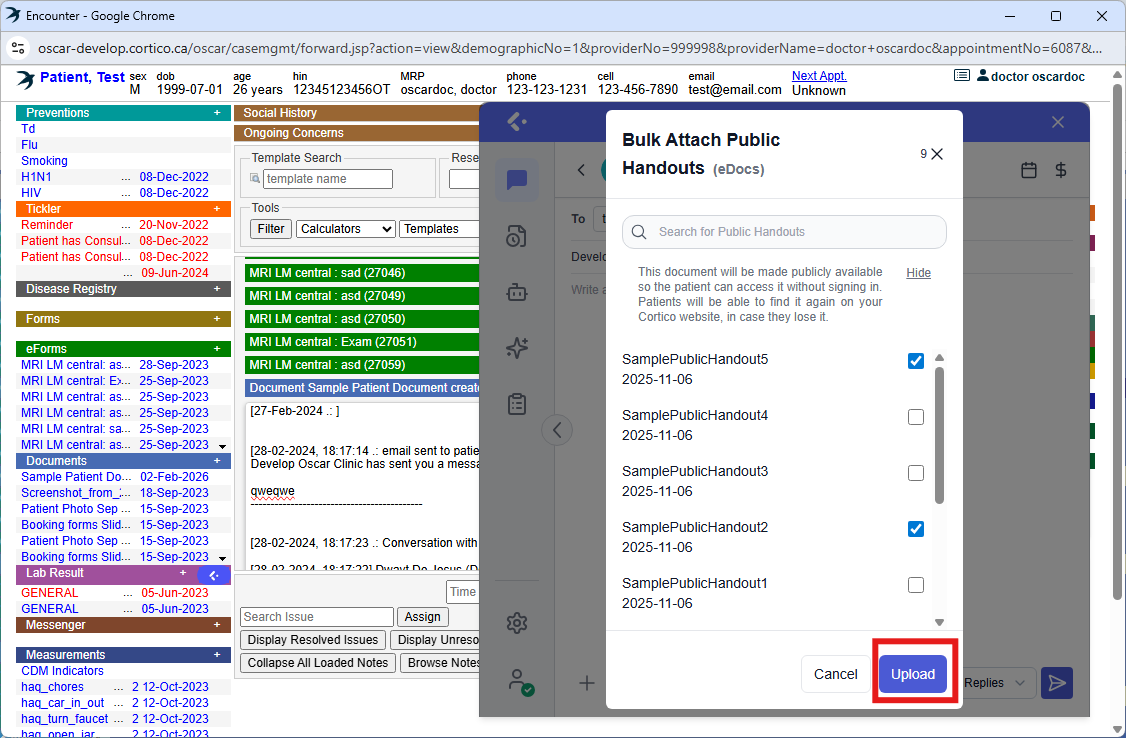
4. Select the public handouts you want to attach and click upload:
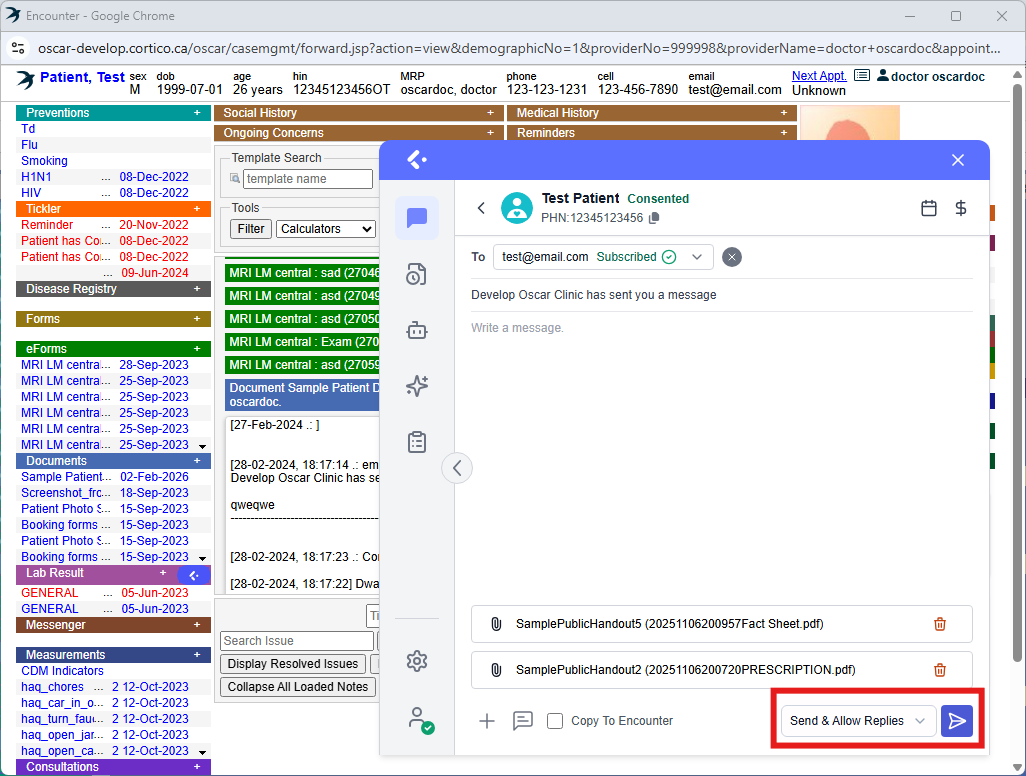
5. Select your send option, and click the send button on the bottom right.
***Note: If you want to add a public handout. You must add it to the eDoc page and put it into the public category***
To protect privacy, patient-specific documents require a quick identity check using their health card number and date of birth. Once accessed, these files are available for download for 30 days.
You can view what the process would be like in this screen recording.
Check out how you can optimize the Instant Messaging system with the articles below!
How to attach e-forms and lab results using the Plug-In
Contact us at help@cortico.ca if you have any questions or concerns!