
The following steps demonstrate how to create booking flows for doctors and locums. This is used to get available appointments of the doctors based on the template codes from Oscar:
If you haven't already, please log in to your given admin account on your Cortico homepage (e.g. [clinicname].cortico.ca/sign_in).
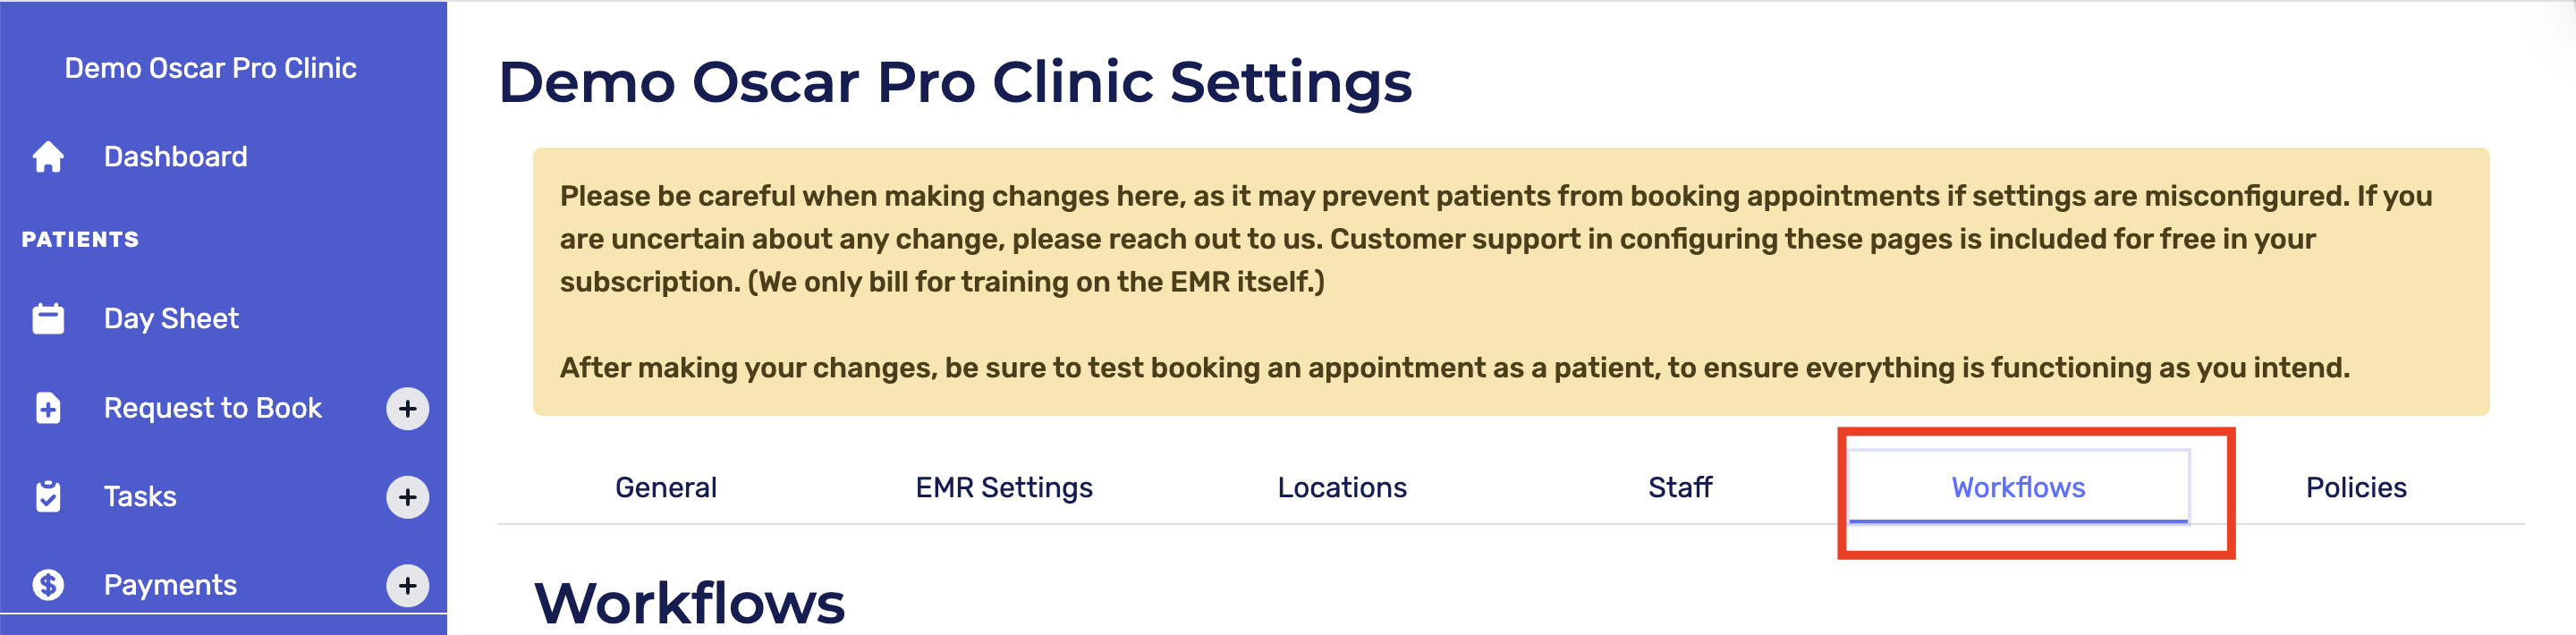
After your successful login, click on the "Settings" tab on the left-hand side and go to "Workflows".
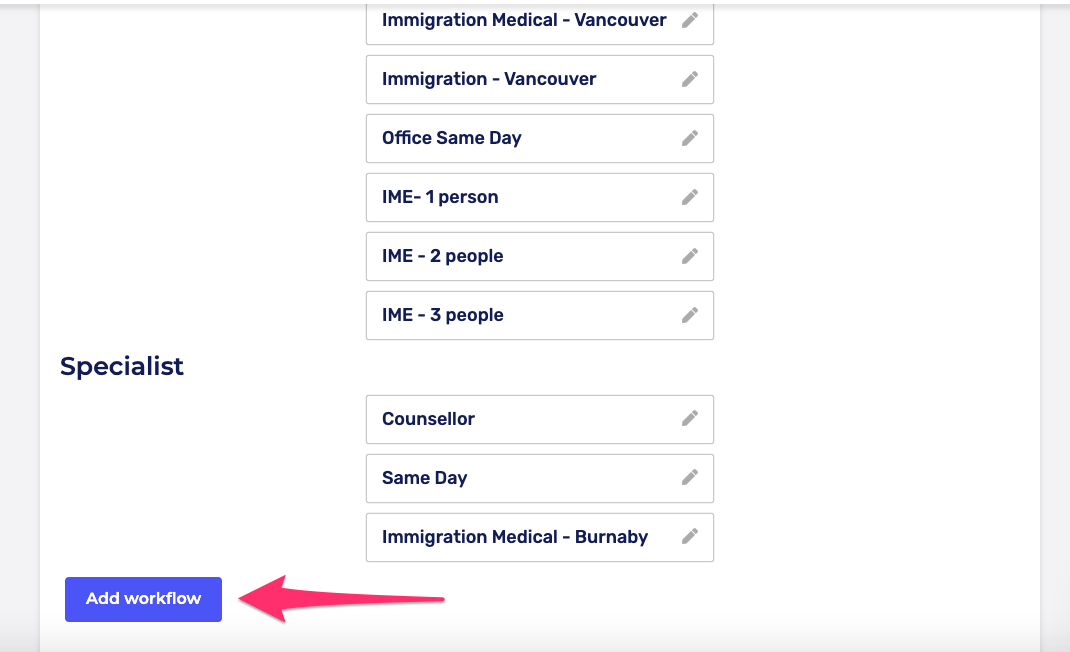
Click on "Add workflow"
Primary care and accepting new patients: If the workflow is in primary care or allows new patients, select the box next to them.
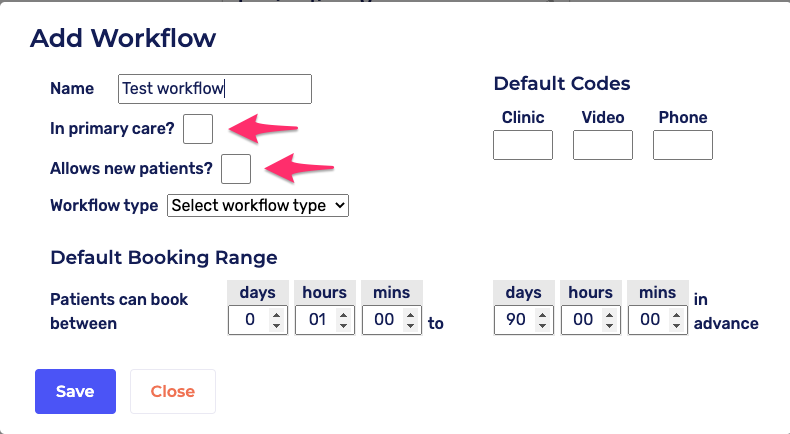
Workflow type: Choose workflow type (first available walk-in, family doctor, non-rostered)
First available walk-in: Patients will be assigned to the first available doctor
Family doctor: Patients can only book with their assigned family doctor (MRP)
Non-Rostered: Patients can book with any doctor in the workflow
Specialist: Used for specialist bookings

The other options listed with "Premium" are specific configurations for our Premium + Elite packages.
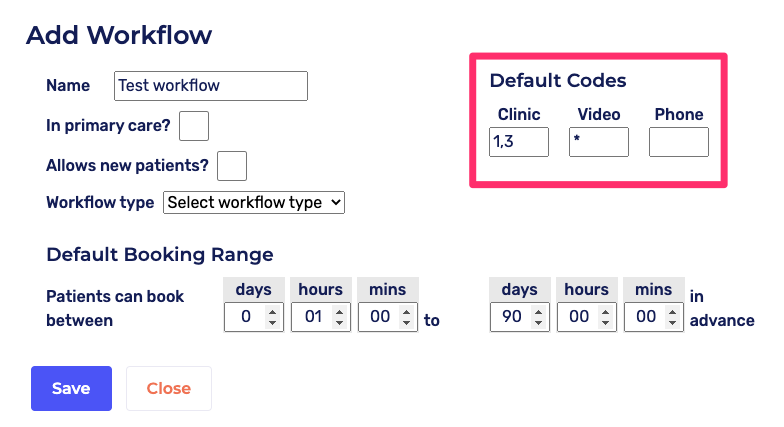
Default Codes
Add the template codes from Oscar.
The template code is case sensitive, so please follow what's shown in Oscar. (i.e "V" is not equal to "v")
You can add multiple template codes by separating them with a comma
If you want to find any appointment template code of the doctor from Oscar, you can use the wildcard "*"
Note: If you add a template code that is a different appointment duration from the template code already there, please let us know at help@cortico.ca
Please note: Changing the default codes does not retroactively change it for doctors who are already in the workflow. To learn how click here.
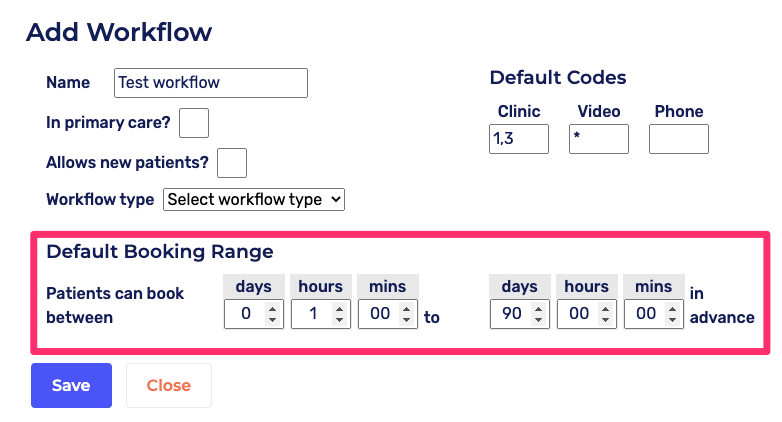
Default Booking Range
Select and change the booking range if necessary.
The default booking range allows patients to book 1 hour and 90 days in advance.
This can be changed by clicking and typing in the text boxes for days, hours, and minutes.
Please note: Changing the default booking range does not retroactively change it for doctors who are already in the workflow. To learn how click here.
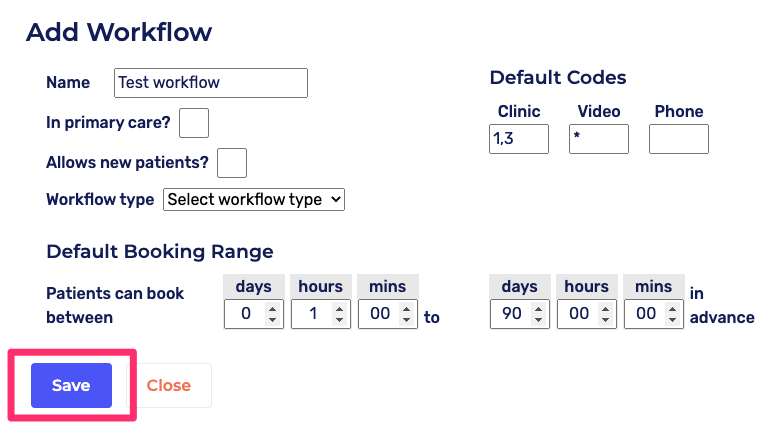
Click "Save"
Please note: After making changes, be sure to test booking an appointment as a patient, to ensure everything is functioning as you intend. To learn how to do this, click here.
Up next: Settings - Policies