Welcome to Cortico's Knowledge Base
Official Cortico Product information for customers and users.

Cortico Settings
Settings - Staff
How to add users to Cortico and how to add doctors to multiple locations.
Updated 2 weeks ago
If you haven't already, please log in to your given admin account on your Cortico homepage (e.g. [clinicname].cortico.ca/sign_in).
After your successful login, click on the "Settings" tab on the left-hand side and go to "Staff".
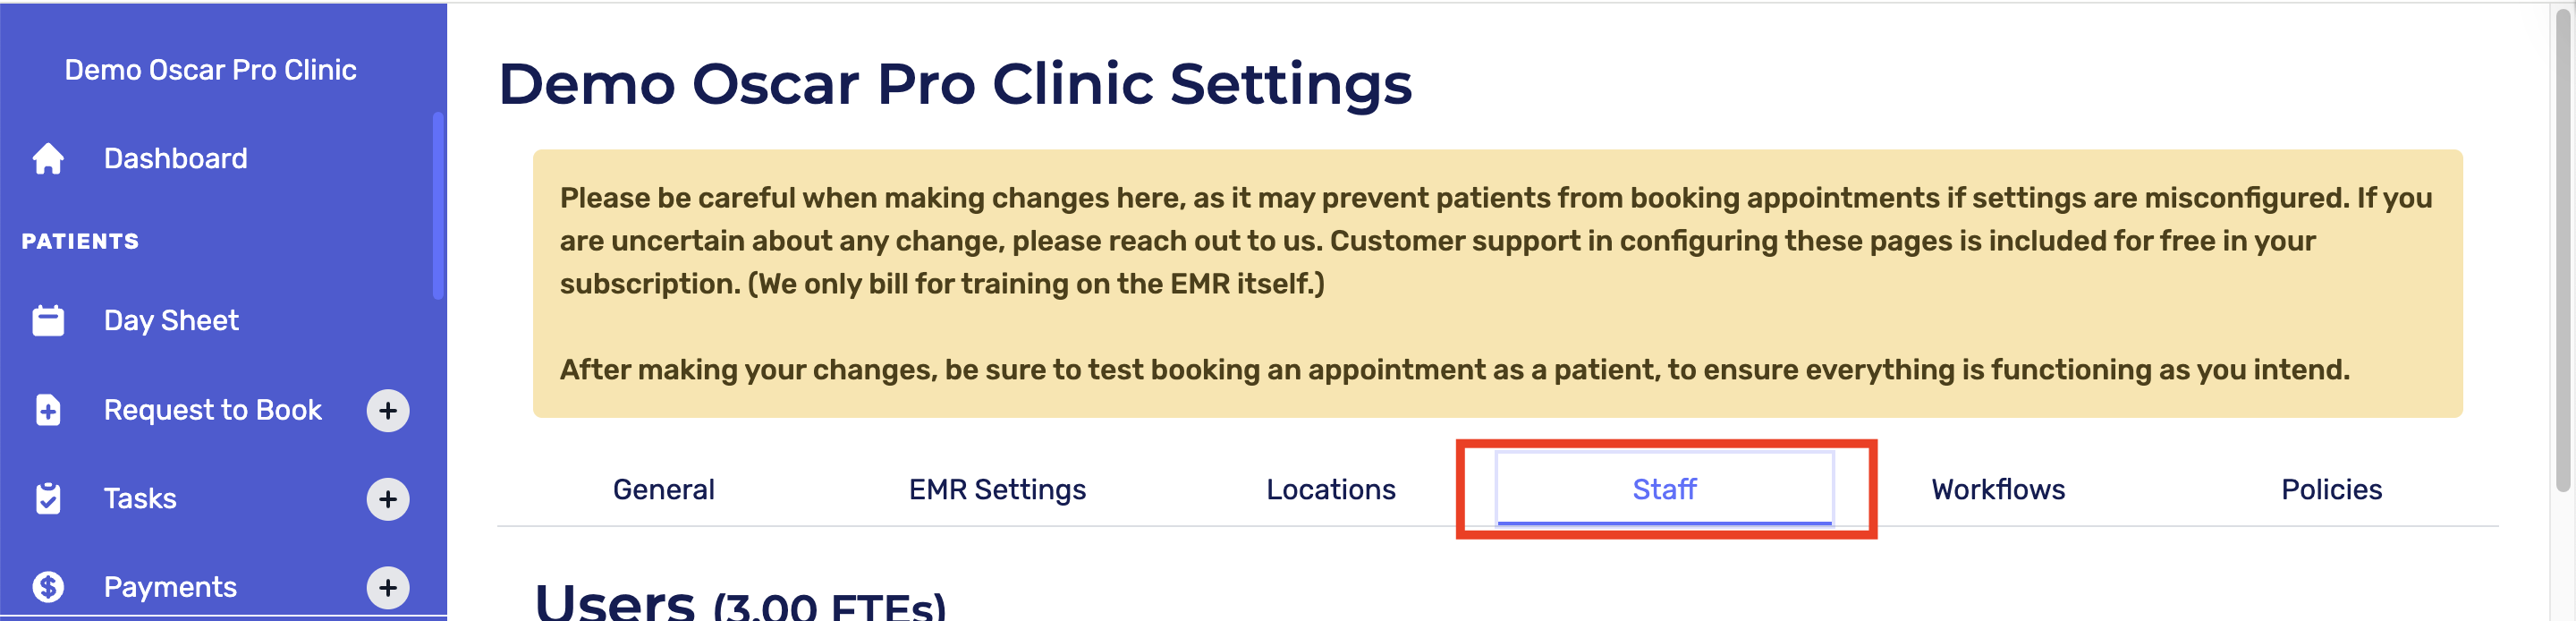
The "Staff" feature in settings can be used to add and remove doctors and other staff. Login users can also be made here.
Information needed to add user(s):
First name, Last name
Email address
Provider number (for doctors and other providers only)
Template codes used in the doctor's Oscar template schedule* (for doctors and other providers only)
*The template codes refer to the letter codes along the side of a provider’s schedule.
1.1- How to add login users for staff and doctors:
On the "Staff" page, click "Add user"
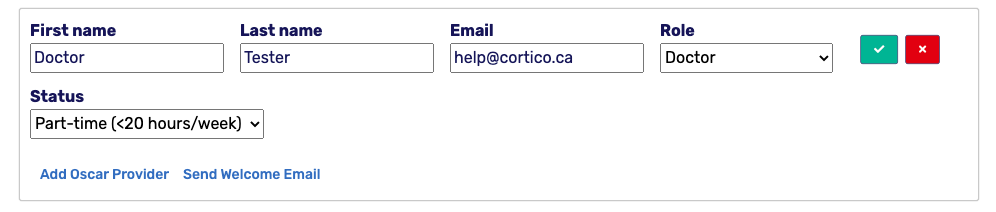
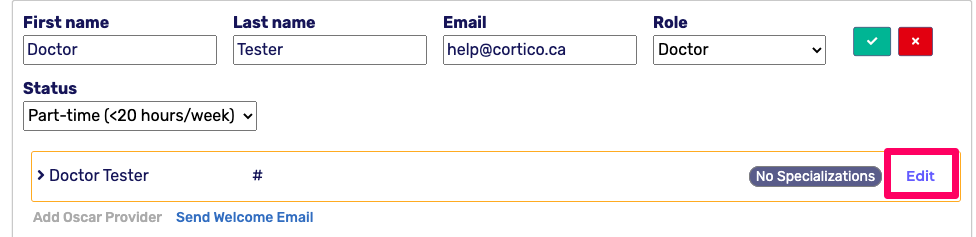
Click on the pencil icon and enter the information required above.
Select the role from the drop-down (Doctor, MOA/Admin, etc).
If the user is a doctor, select full-time or part-time.
If the user is an MOA/Admin, select non-billed.

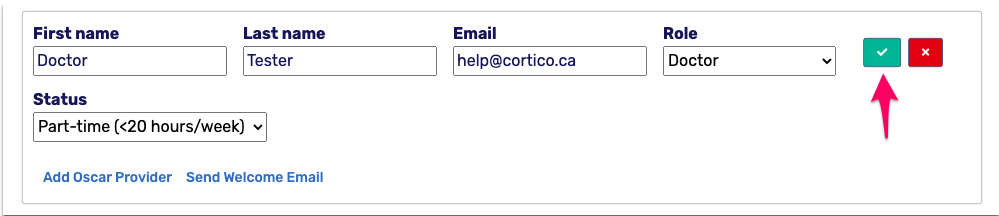
Click the green check box to save your changes.
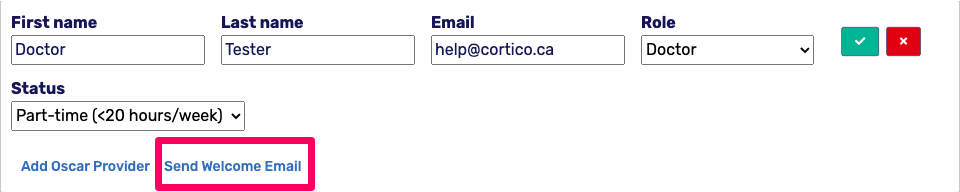
Click on the pencil icon again and click "Send Welcome Email."
An email with a link to reset the password will be sent to the email address.
After the user has reset their password, they'll be able to log in to Cortico.
You have now added a login for MOA/admin user.
To complete adding a doctor, please continue with steps 6-10.
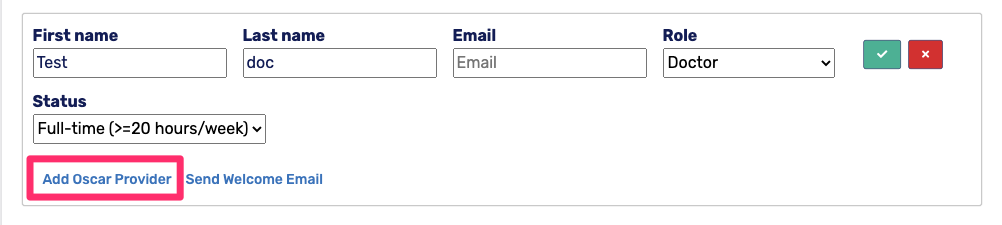
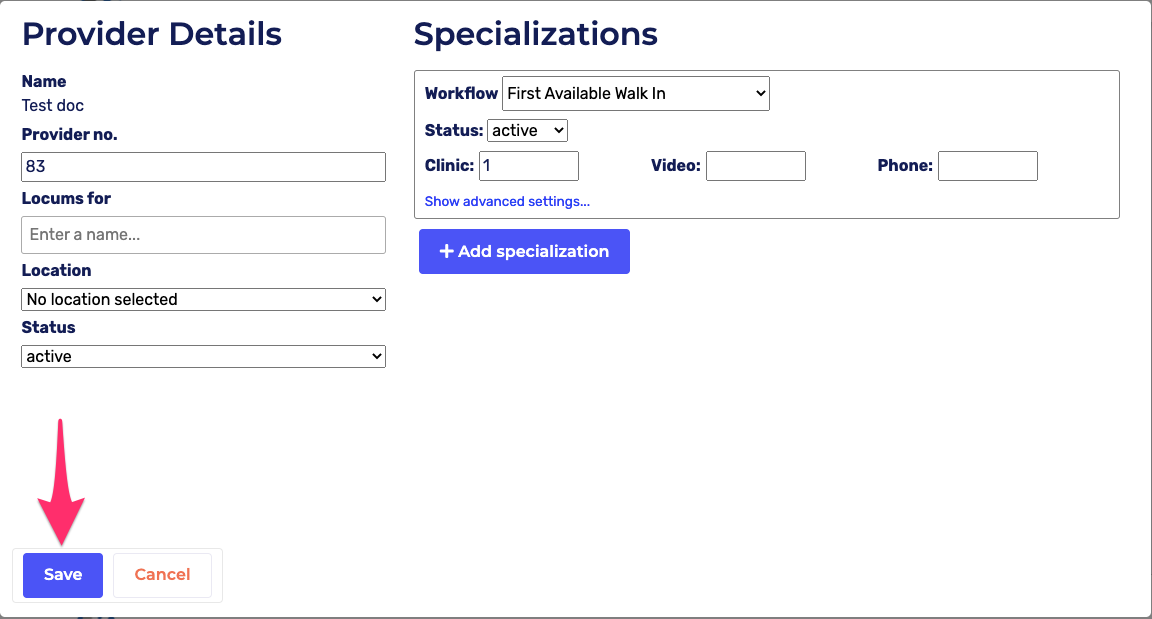
For adding doctors and other providers only: Click the pencil icon > "Add Oscar Provider" > "Edit".
Enter the provider number and hit Save.
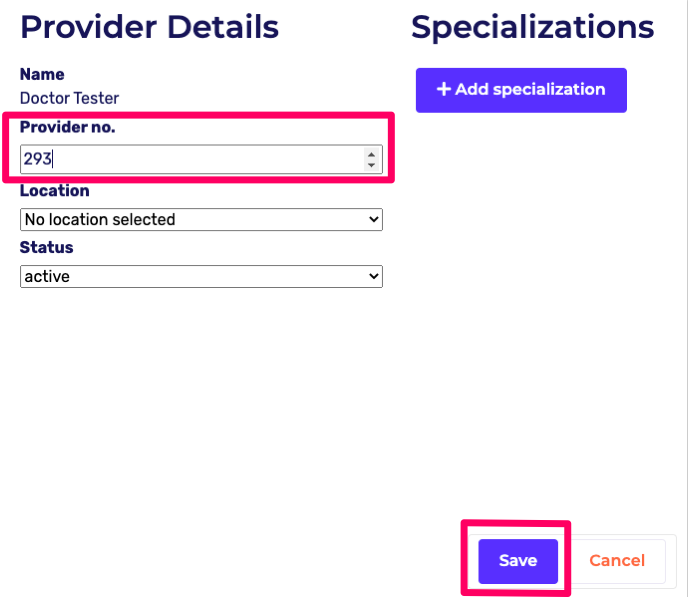
Under Specializations, click "Add Workflow" and select the workflow from the workflow drop-down list.
Enter the template codes and Save.

Once you've added your doctor, test bookings to make sure everything is configured correctly.
How to add multiple provider numbers to one doctor
Some doctors use multiple provider numbers for different patients, but book appointments into a single Oscar schedule. To set this up in settings, follow these directions.
Create the user with the Doctor's information, using their provider number containing their schedule
Fill out the Doctor information and specializations as you usually would and save
Select "Add Oscar Provider"
Fill out the secondary provider number and location
DO NOT add any specializations
Press save
Repeat steps 3-5 as necessary for additional provider numbers
Patients assigned to either the primary provider or the additional providers added can book into the primary provider's schedule.
This configuration is also useful for dummy providers (e.g. if a patient is assigned to "Stage-Juno Clinic" with provider #16, this number can be added to a real doctor's user in Cortico settings so patients assigned the dummy doctor can book into the real doctor's schedule.
1.2 - How to add doctors to multiple locations:
First click here to learn how to add a new clinic location!
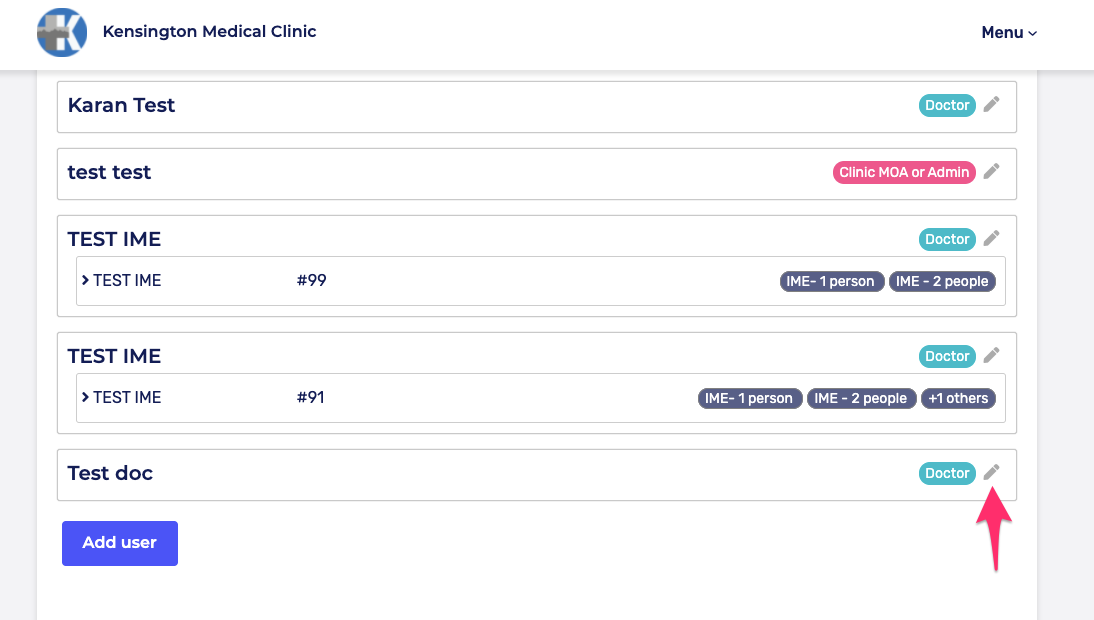
In the "Staff" tab, scroll to your selected doctor and select the pencil icon
Click "Add Oscar Provider". Note that each provider number can be used for one location only.
Click "Edit"

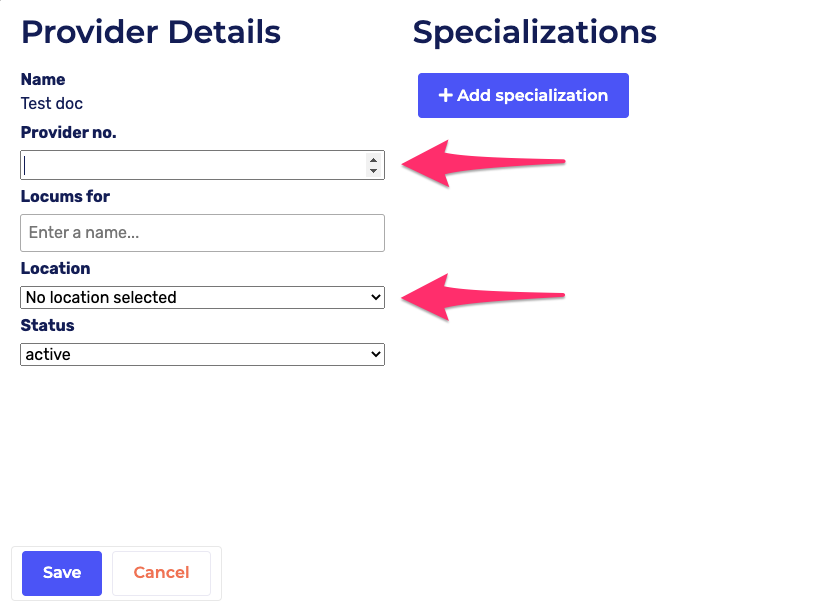
Enter the provider no. (AKA provider ID) for the doctor's new location and select the new location.
(To access provider numbers, go to your Oscar > Administration > User Management > Search/Edit/Delete Provider Records > Search provider by last name.)
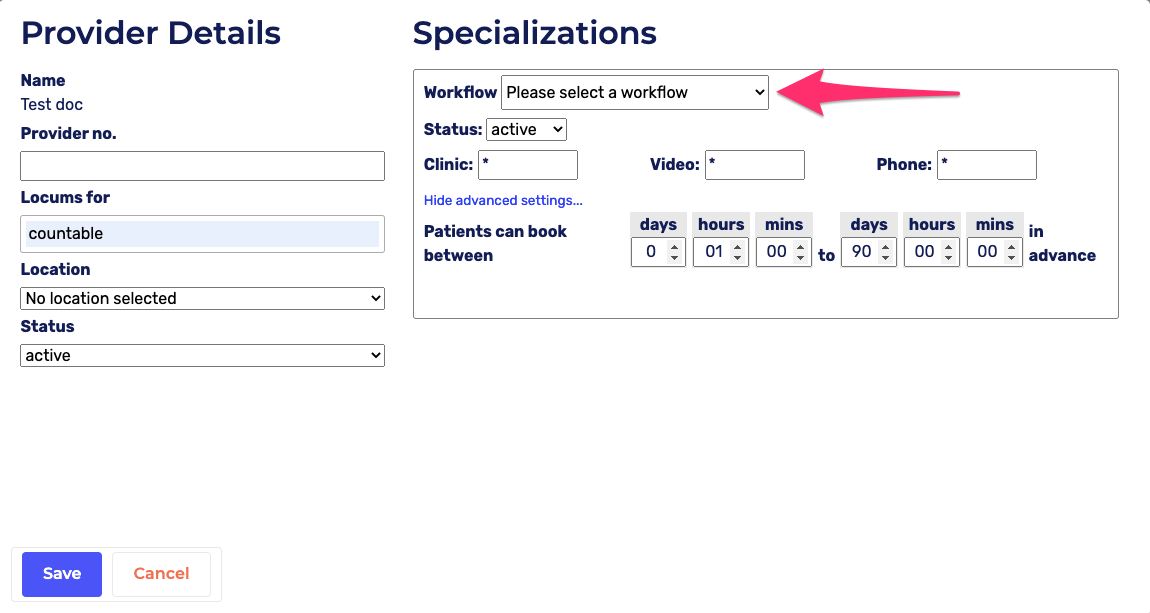
Add workflows by clicking "+ Add specialization" (optional)

Select a workflow and confirm that the template codes in clinic, video, phone are correct with the codes in Oscar. Please note that changing the default codes does not retroactively change it for the workflow. To learn how to do that click here: Settings- Workflow
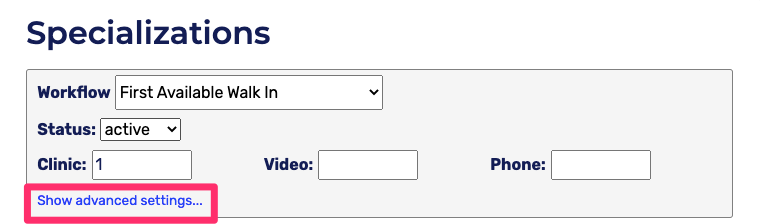
To view the booking range, click on "Show Advanced Settings".
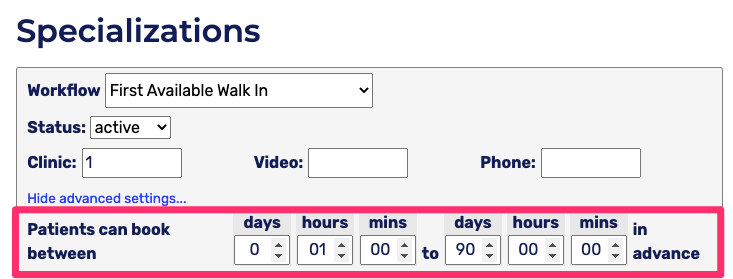
The default booking range allows patients to book 1 hour and 90 days in advance. This can be changed by clicking and typing in the text boxes for days, hours, and minutes.
Please note that changing the default codes does not retroactively change it for the workflow. To learn how to do that click here
Click "Save"
If you'd like to add the doctor to another location, repeat the steps above.
Please note: After making changes, be sure to test booking an appointment as a patient, to ensure everything is functioning as you intend. To learn how to do this click here.
1.3 - Removing a User:
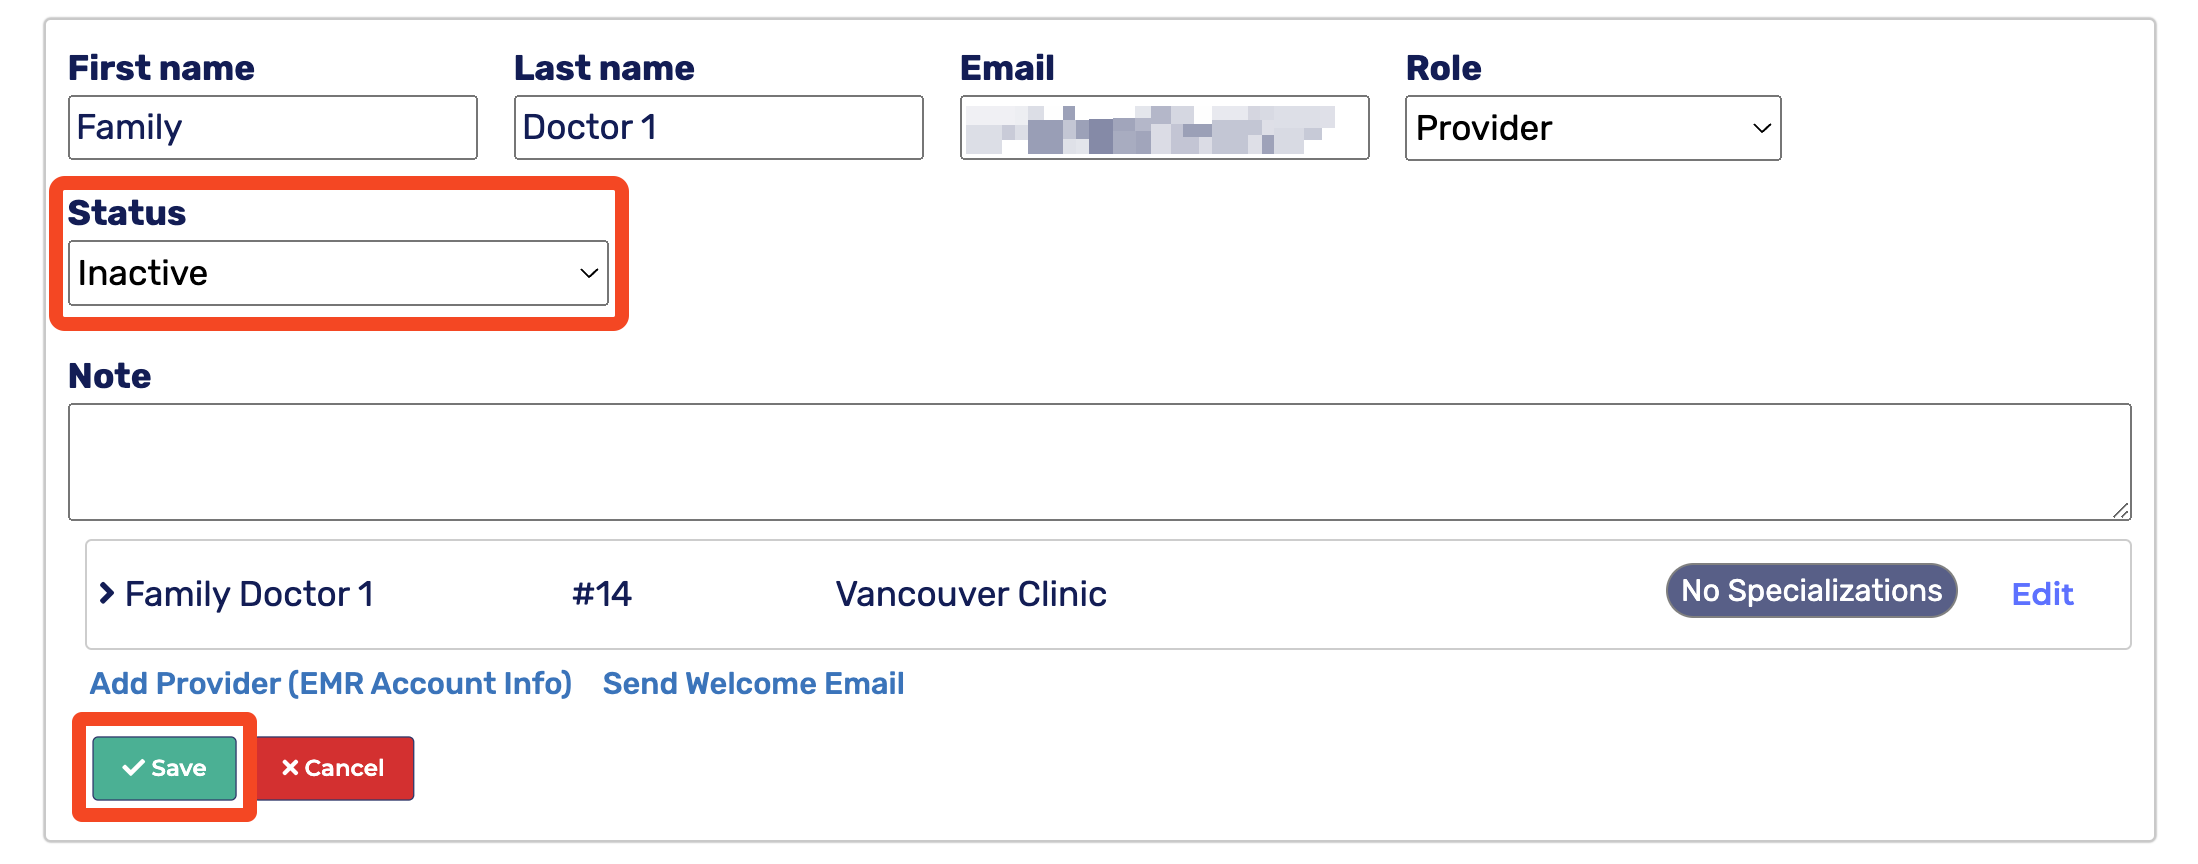
In the "Staff" tab, scroll to your selected doctor and select the pencil icon

Change the status of the user to Inactive, and click save
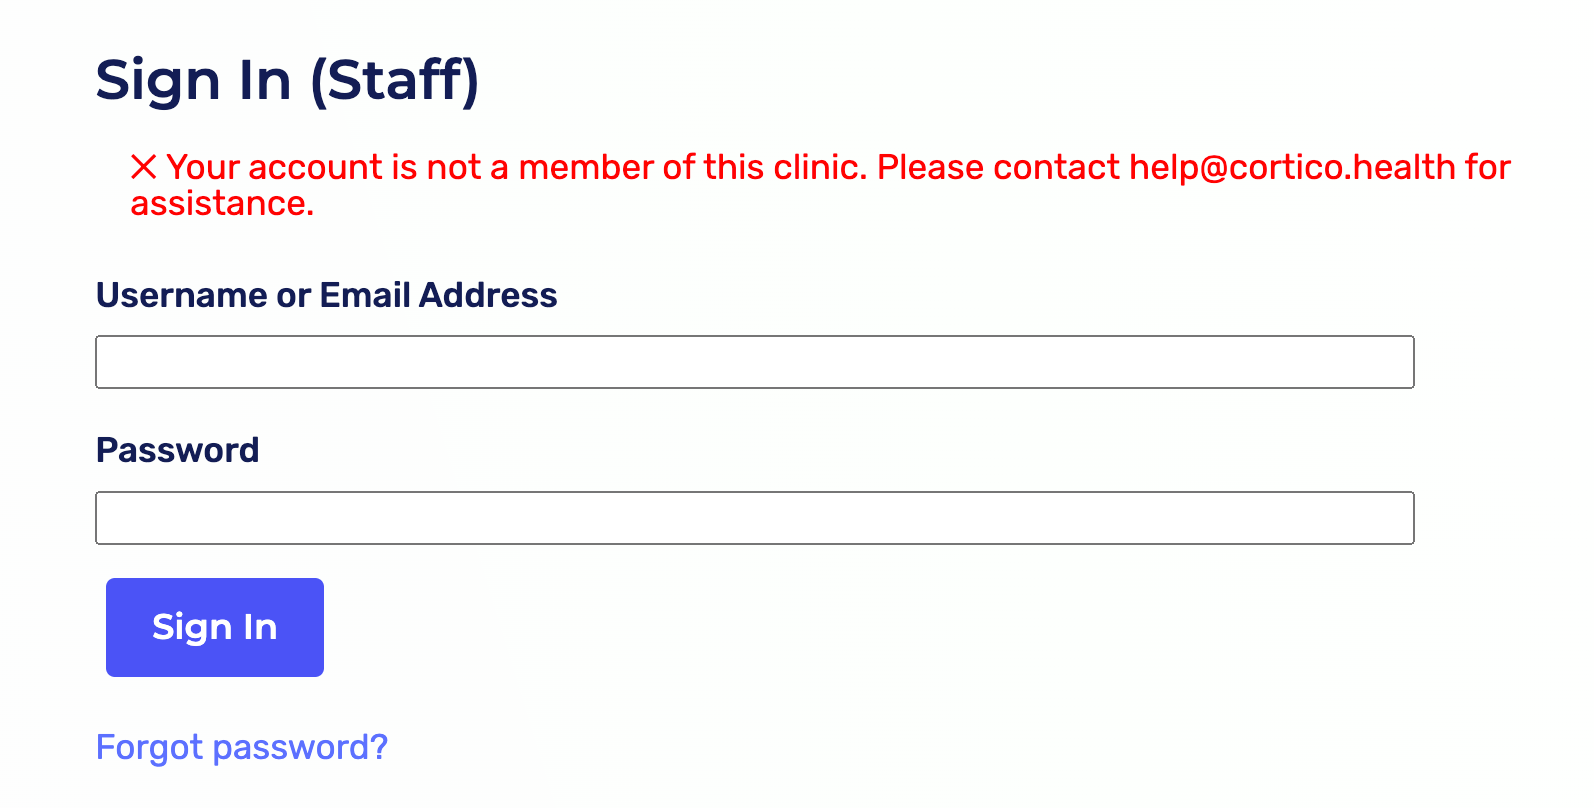
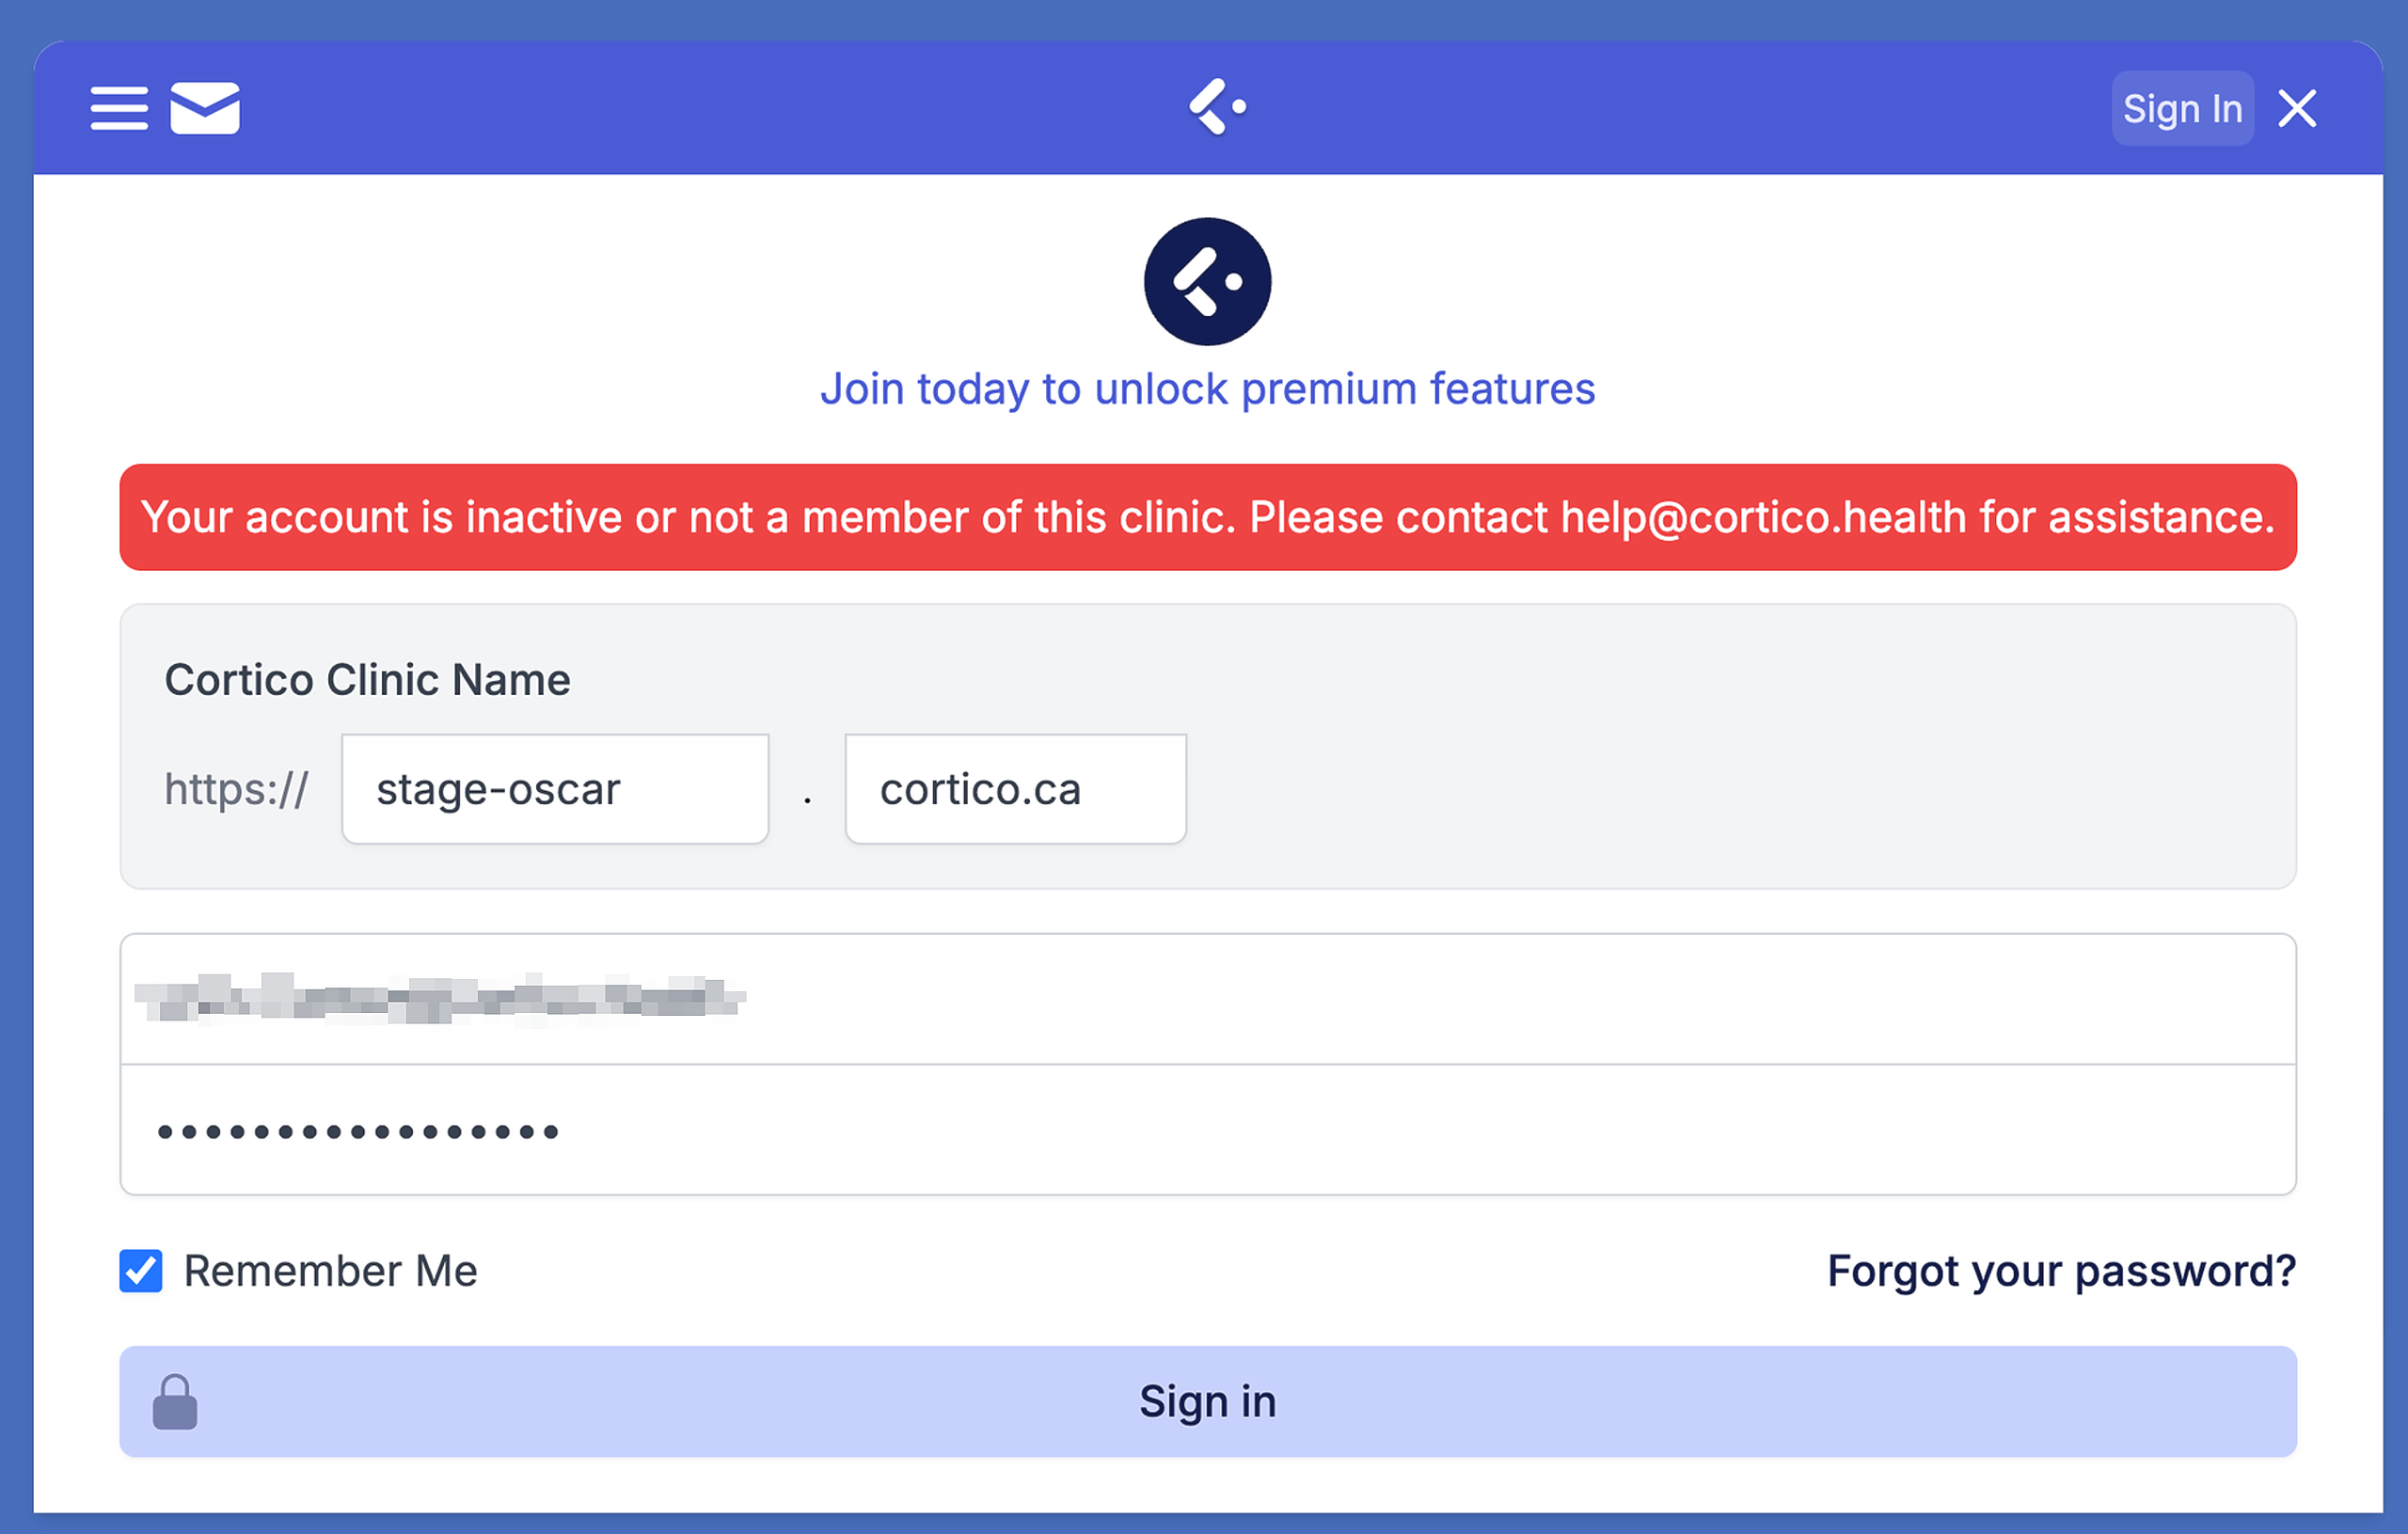
Now, if this user tries to log in to the Cortico Dashboard or the Plug-in, they will be blocked and see the messages below:
If you are interested in adding locums, click here
Up next: Settings - Workflows