
If you haven't already, please log in to your given admin account on your Cortico homepage (e.g. [clinicname].cortico.ca/sign_in).
After your successful login, click on the "Settings" tab on the left-hand side and go to "General".
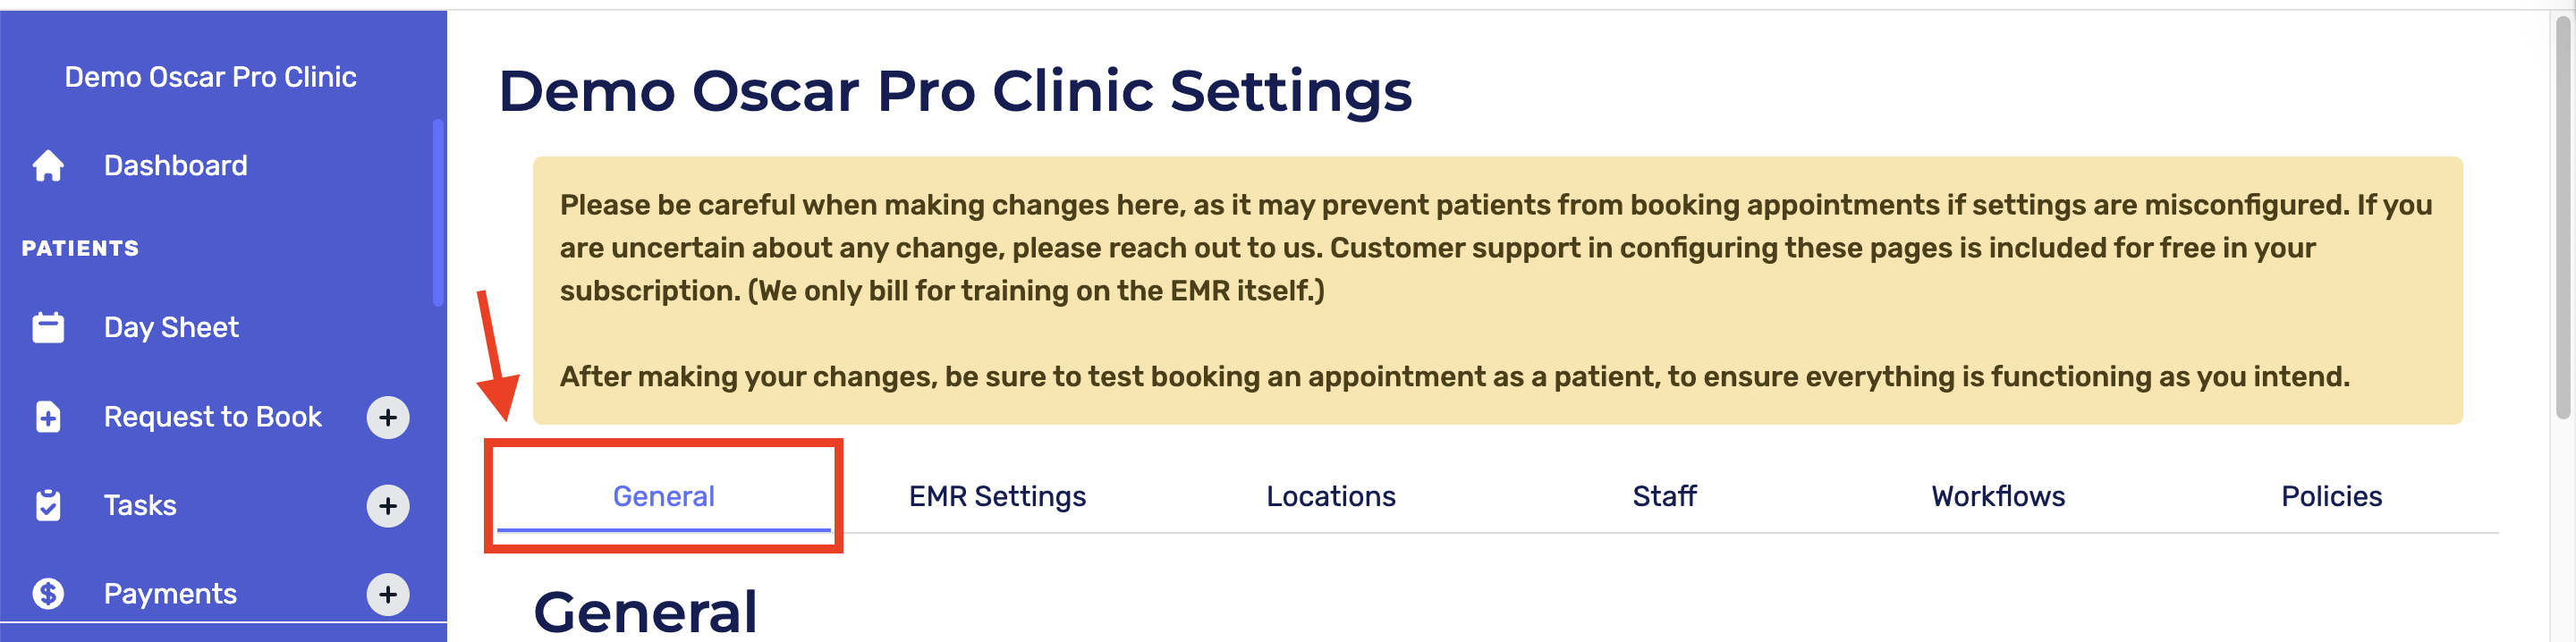
The following information can be updated in the "General" tab of settings:
Clinic Name
Clinic Address
Email address field:
For clinics that use Cortico's website template (Elite package), the inputted email will appear at the bottom of the booking page.
For clinics that use Cortico's booking website, the inputted email will appear both at the bottom of the booking page and on the home page.
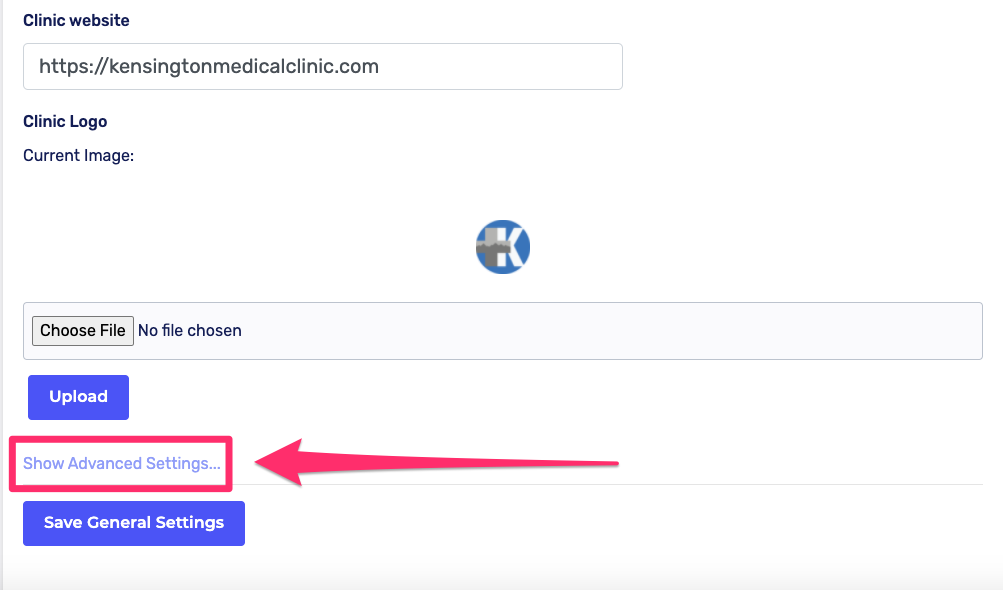
Clinic website:
The clinic's main website will appear at the bottom of the booking page.
To add your Clinic's Logo:
Click "Choose File"
Select your file
A preview of the logo will be shown
Click "Upload"
Advanced Settings:
Click on "Show Advanced Settings" which is below "Upload", to edit the following information:
Email Settings
From Email
Shows your clinic's email when a patient receives their email. This should be recognizable to your patients.
Example: no-reply@clinicname.ca
Include Patient Agreement in Email
Includes the Patient Agreement policy in the email that is sent to the patient after booking. To learn more about patient agreement, click here
Allow Multiple Future Appointments
When enabled, patients will be able to book multiple future appointments.
Include Pharmacy Information
To learn more about pharmacy information, click here
Appointment Status Settings
Please fill in the applicable Appointment Status Codes.
For clinics that use more than 1 appointment status/colour for their booked appointments, please DO NOT add "confirm status" unless it's specifically asked and the expected behaviour is explained and acknowledged (the appointment colour will be changed, and they may not be able to identify if the appointment was originally booked as in-person or phone
Please note: Click "Save General Settings" at the bottom of the page after making any changes.
Up next: Settings - Oscar