Welcome to Cortico's Knowledge Base
Official Cortico Product information for customers and users.

Cortico Features
Request to Book - Batch Invites
Step by step guide to send batch invites in the Request to Book feature
Updated 1 week ago
Cortico's Request to Book feature allows you to effectively triage referral patients and enable them to book appointments online.
You can create and email batch invites to patients to book within any specified booking range for their appointments. Patients will receive the custom booking link in an email with booking instructions.
1.1 - Before you use this feature, please ensure you have the following completed:
You'll need a Cortico account. Contact help@cortico.health if you don't have one.
Add the workflow in Cortico Workflow Settings. Check out this article to learn how. Make sure to select "Request to Book (Premium)" for the workflow type or enable "Allow in Request to Book?".
Add the provider in Cortico Staff Settings. Check out this article to learn how.
1.2 - How do I send batch invites?
1. Go to clinicname.cortico.ca/request-to-book
2. If you are not currently signed into Cortico, you'll be prompted to login with your username and password.
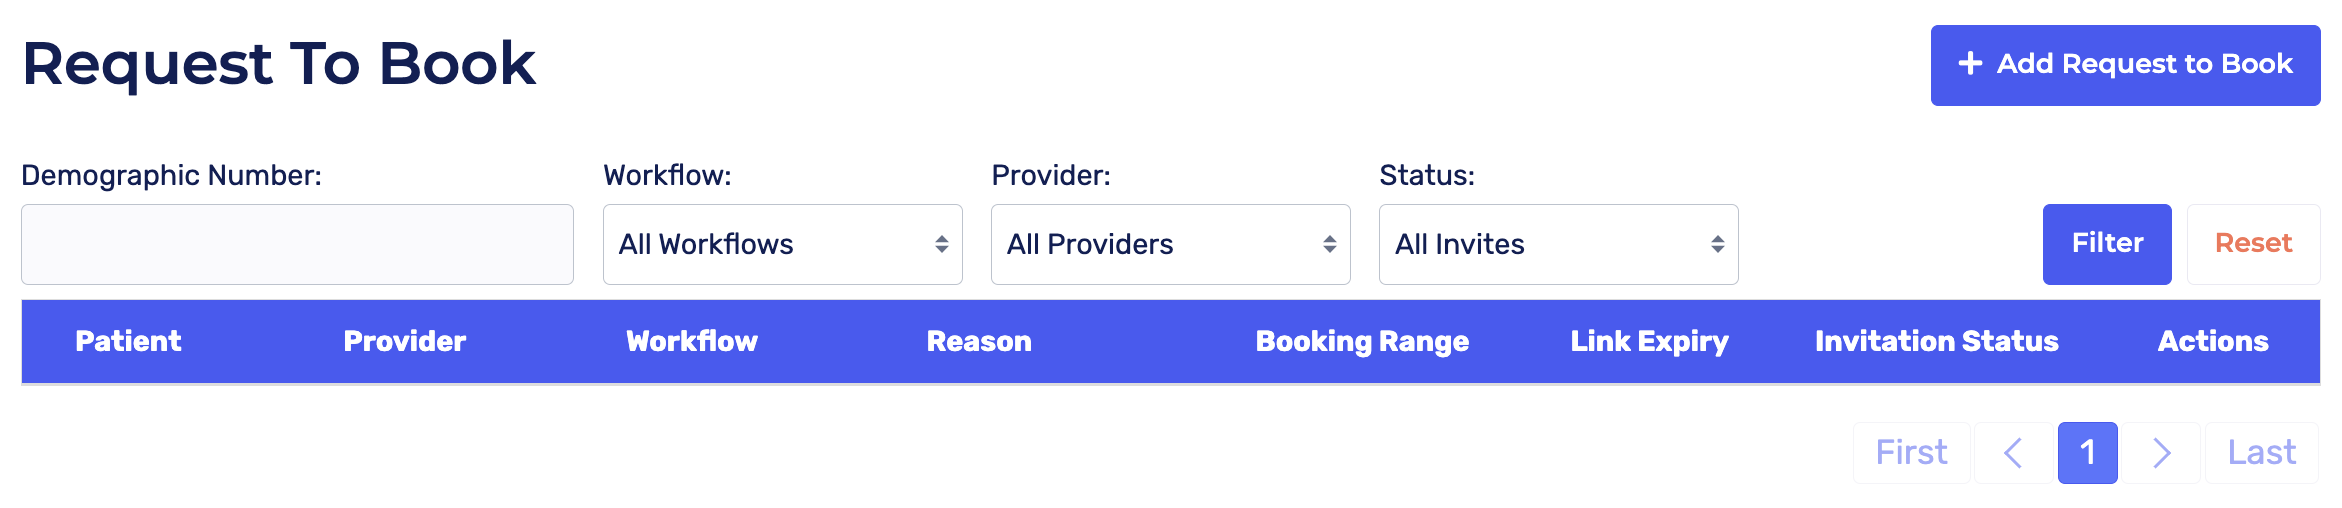
3. Once signed in, you'll be redirected to the Request To Book page.
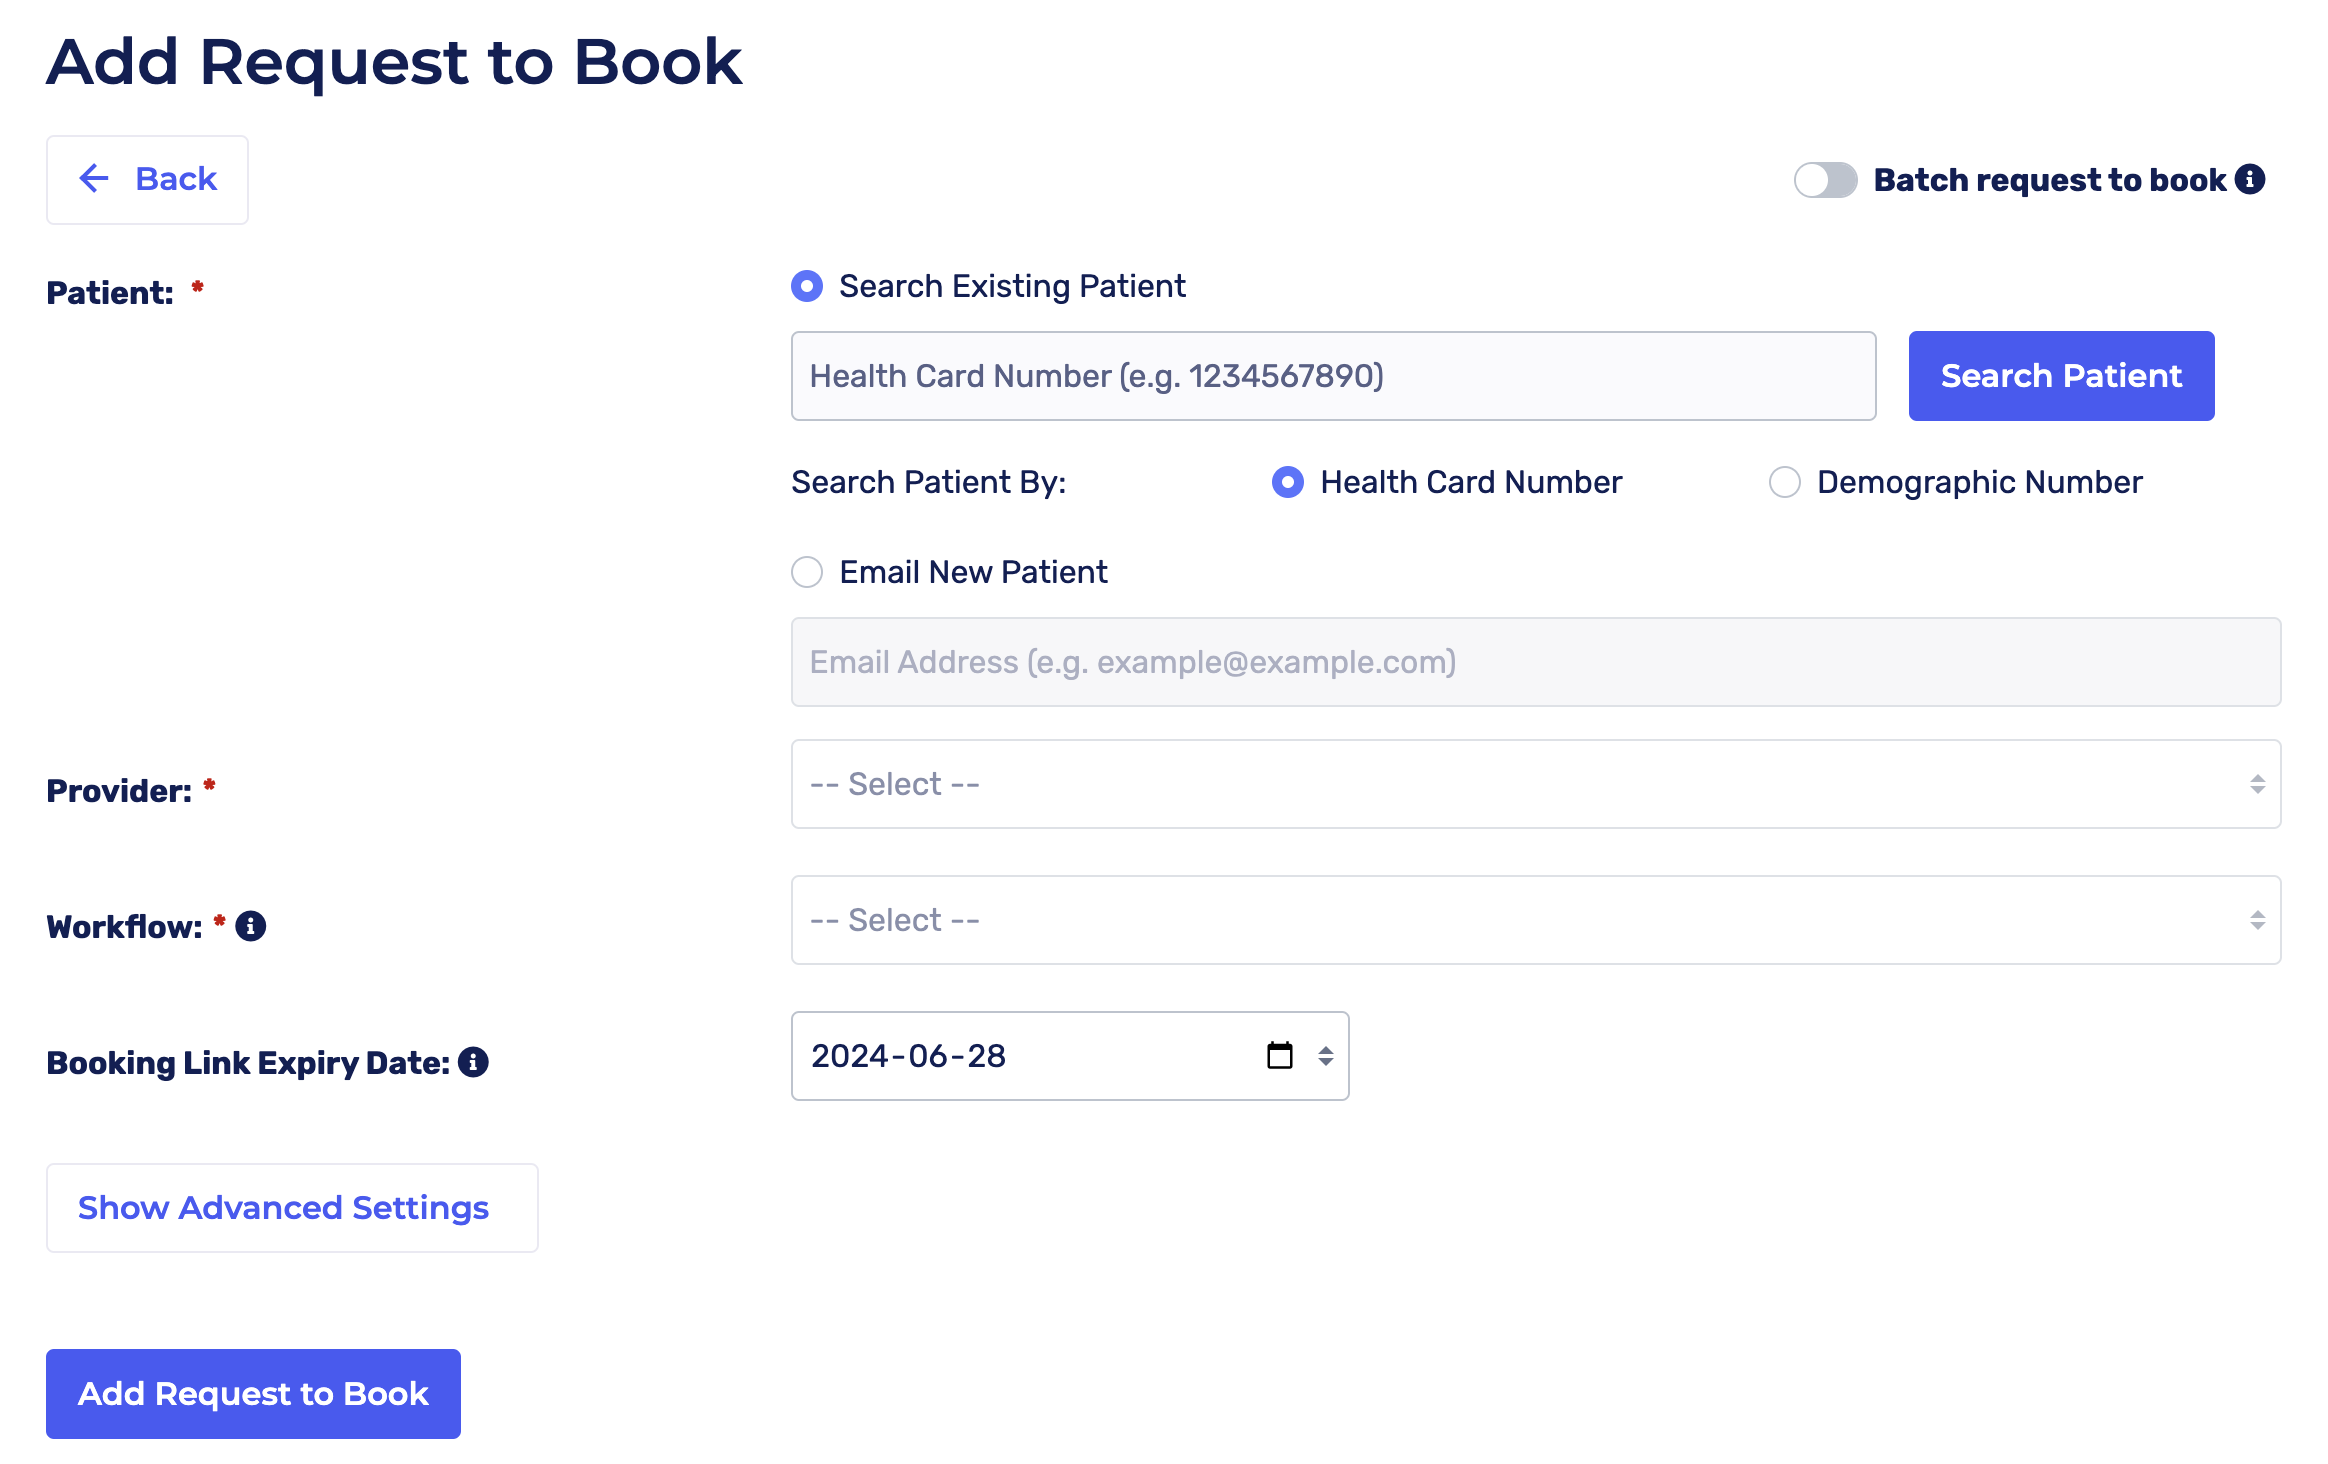
4. To request a patient to book, click "Add Request to Book".
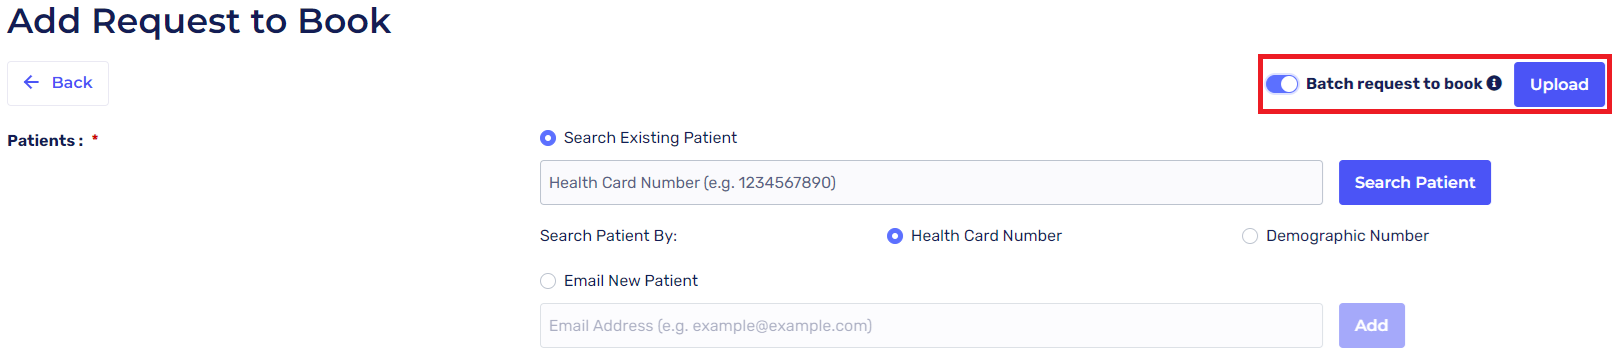
5. Enable "Batch request to book" in the upper right corner of your screen.
6. Click on "Upload" to import a CSV file of the patients you want to request to book appointments.
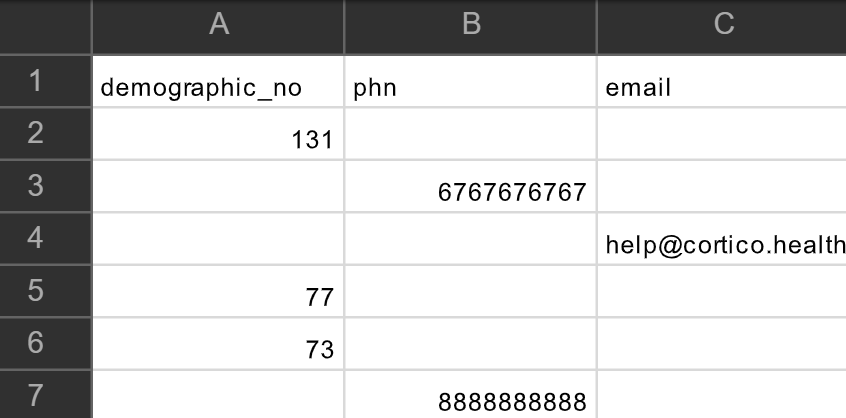
Important! Please follow the conditions below when uploading your file. Click here to download a template.
You can only upload a .csv file
The first three headers should be demographic_no, phn, and email
Only one value of either demographic_no, phn, or email can be filled for each row
7. Once you've uploaded your .csv file, the invited patients will populate on your screen.
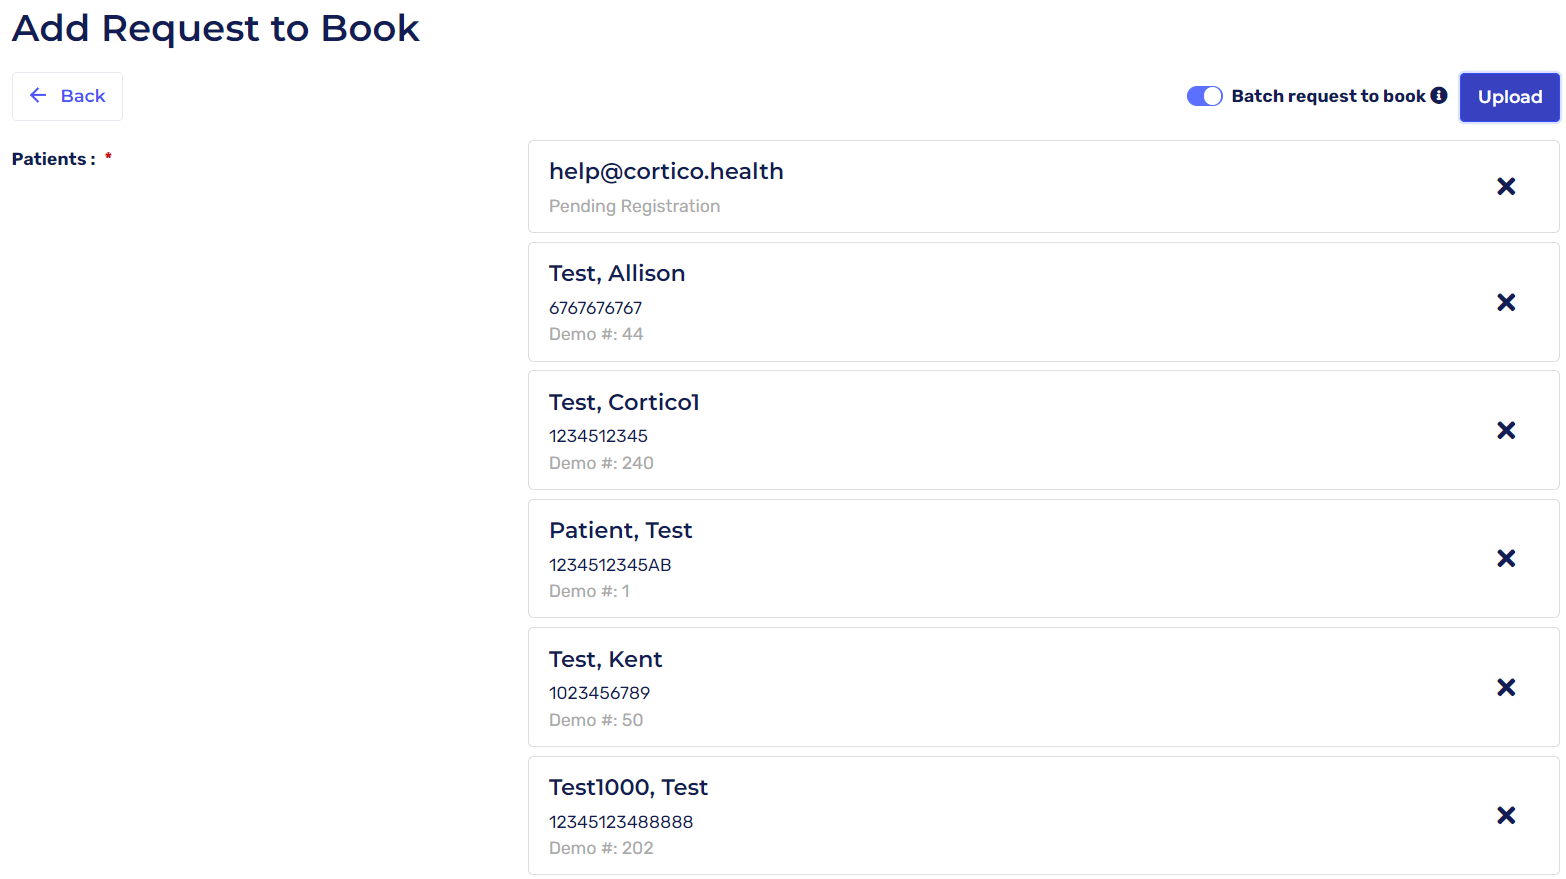
Please note: If you are sending booking invites to new patients that include multiple family members with the same email address, the duplicate email address will only populate once as we currently don't support sending batch invites to the same email address. Please use a unique email address for each patient or manually create the patient chart in the EMR.
8. After all the patients have populated, select a provider from the "Provider drop-down list and select the workflow by clicking on the "Workflow" drop-down list.

9. Booking link expiry date: Patients will not be able to book an appointment using the booking link after the expiry date.

10. Click "Add Request to Book". You'll be redirected to the page below showing all specialist bookings and you'll receive a green message indicating that the request to book batch invites was successfully added.
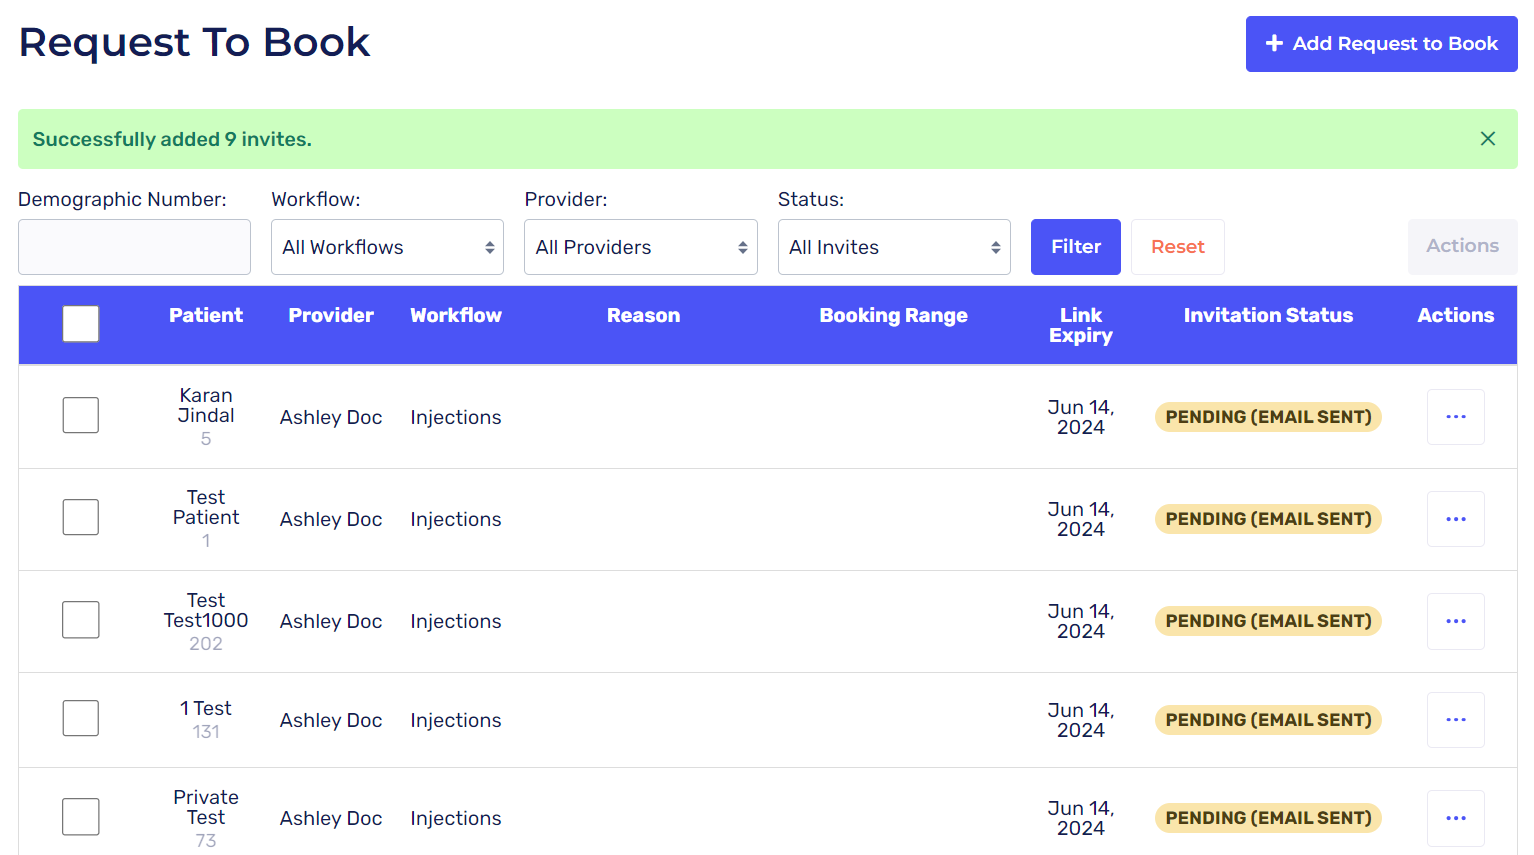
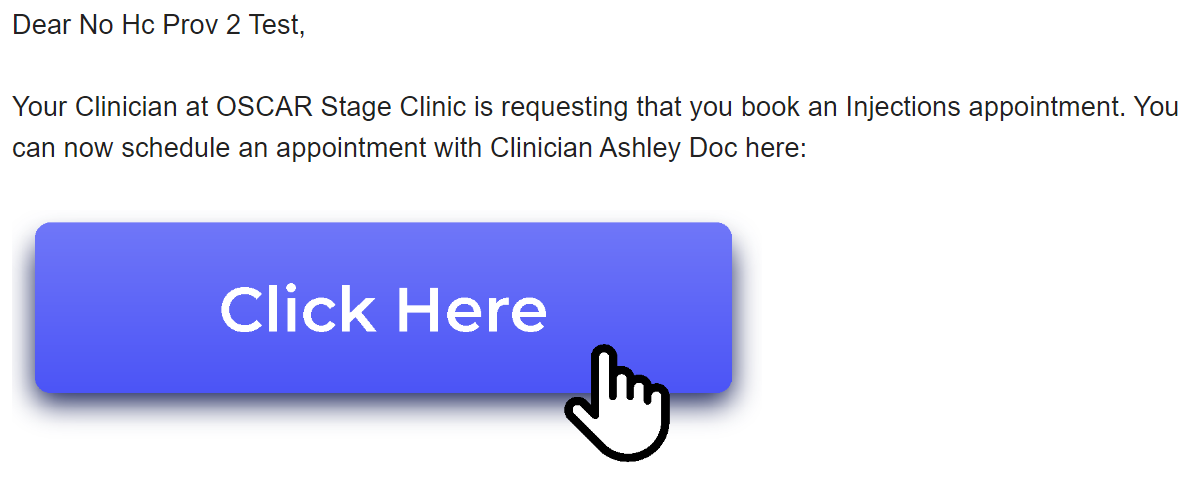
Patients will receive an email/SMS with their booking link and instructions on how to book their appointment.