

Downloading the Cortico Plug-in
To access the patient messaging system in Med Access, download the Cortico Plug-in here: https://help.cortico.ca/help/cortico-oscar-plug-in
Once installed, the plug-in will appear in Med Access whenever you select a patient on the scheduling page.
Where to Find the Cortico Plug-in:
The Cortico logo appears at the bottom right of the screen in Med Access. You can access it from any of these tabs:

Demographics
Visits
Tasks
Bills
Allergies
Medications
Patient Profile
Labs
Investigations
Consultations
Immunizations
Appointments

Signing In
When you first open the plug-in, you will need to sign in with:
Your Cortico clinic name
Username
Password
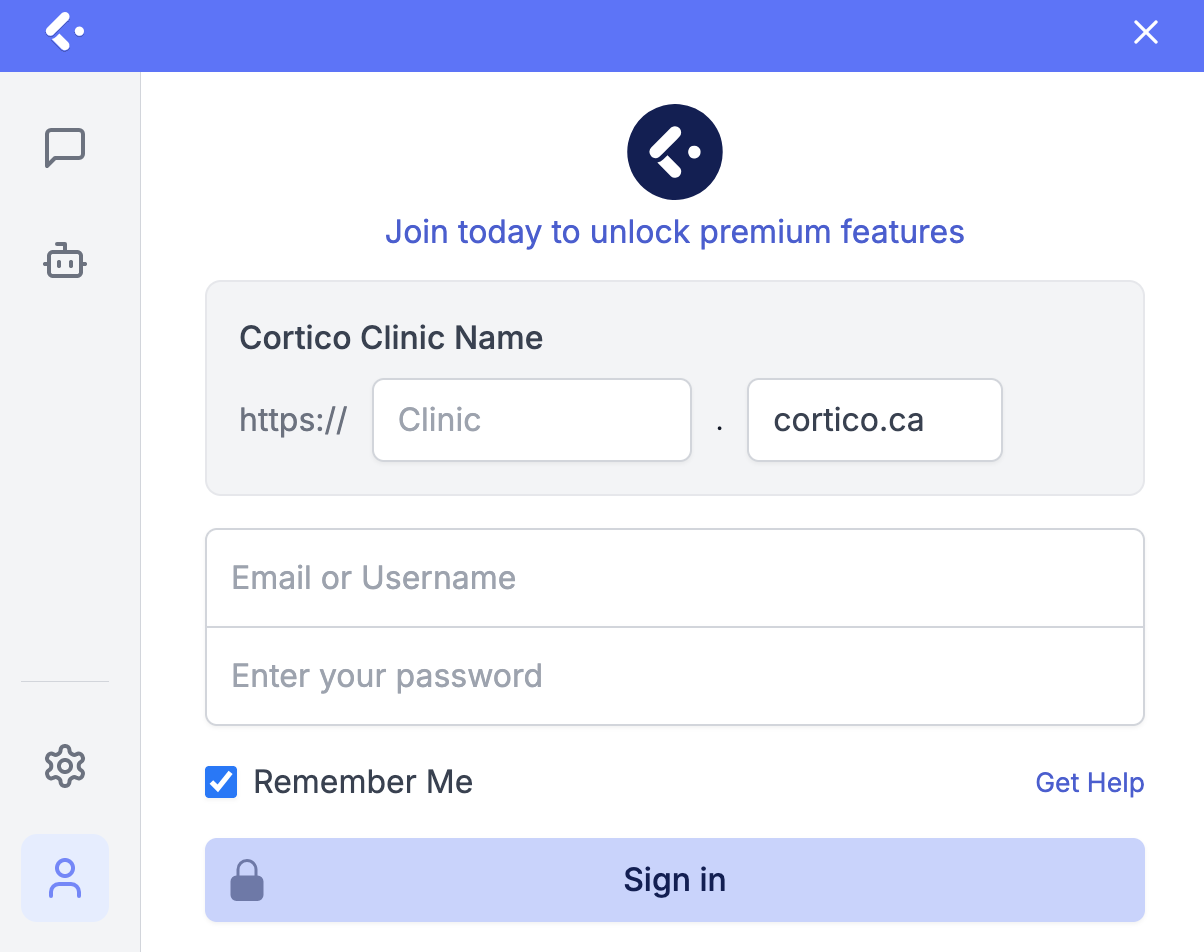
After signing in, clicking the Cortico logo will automatically open a new message for the patient selected on the scheduling page
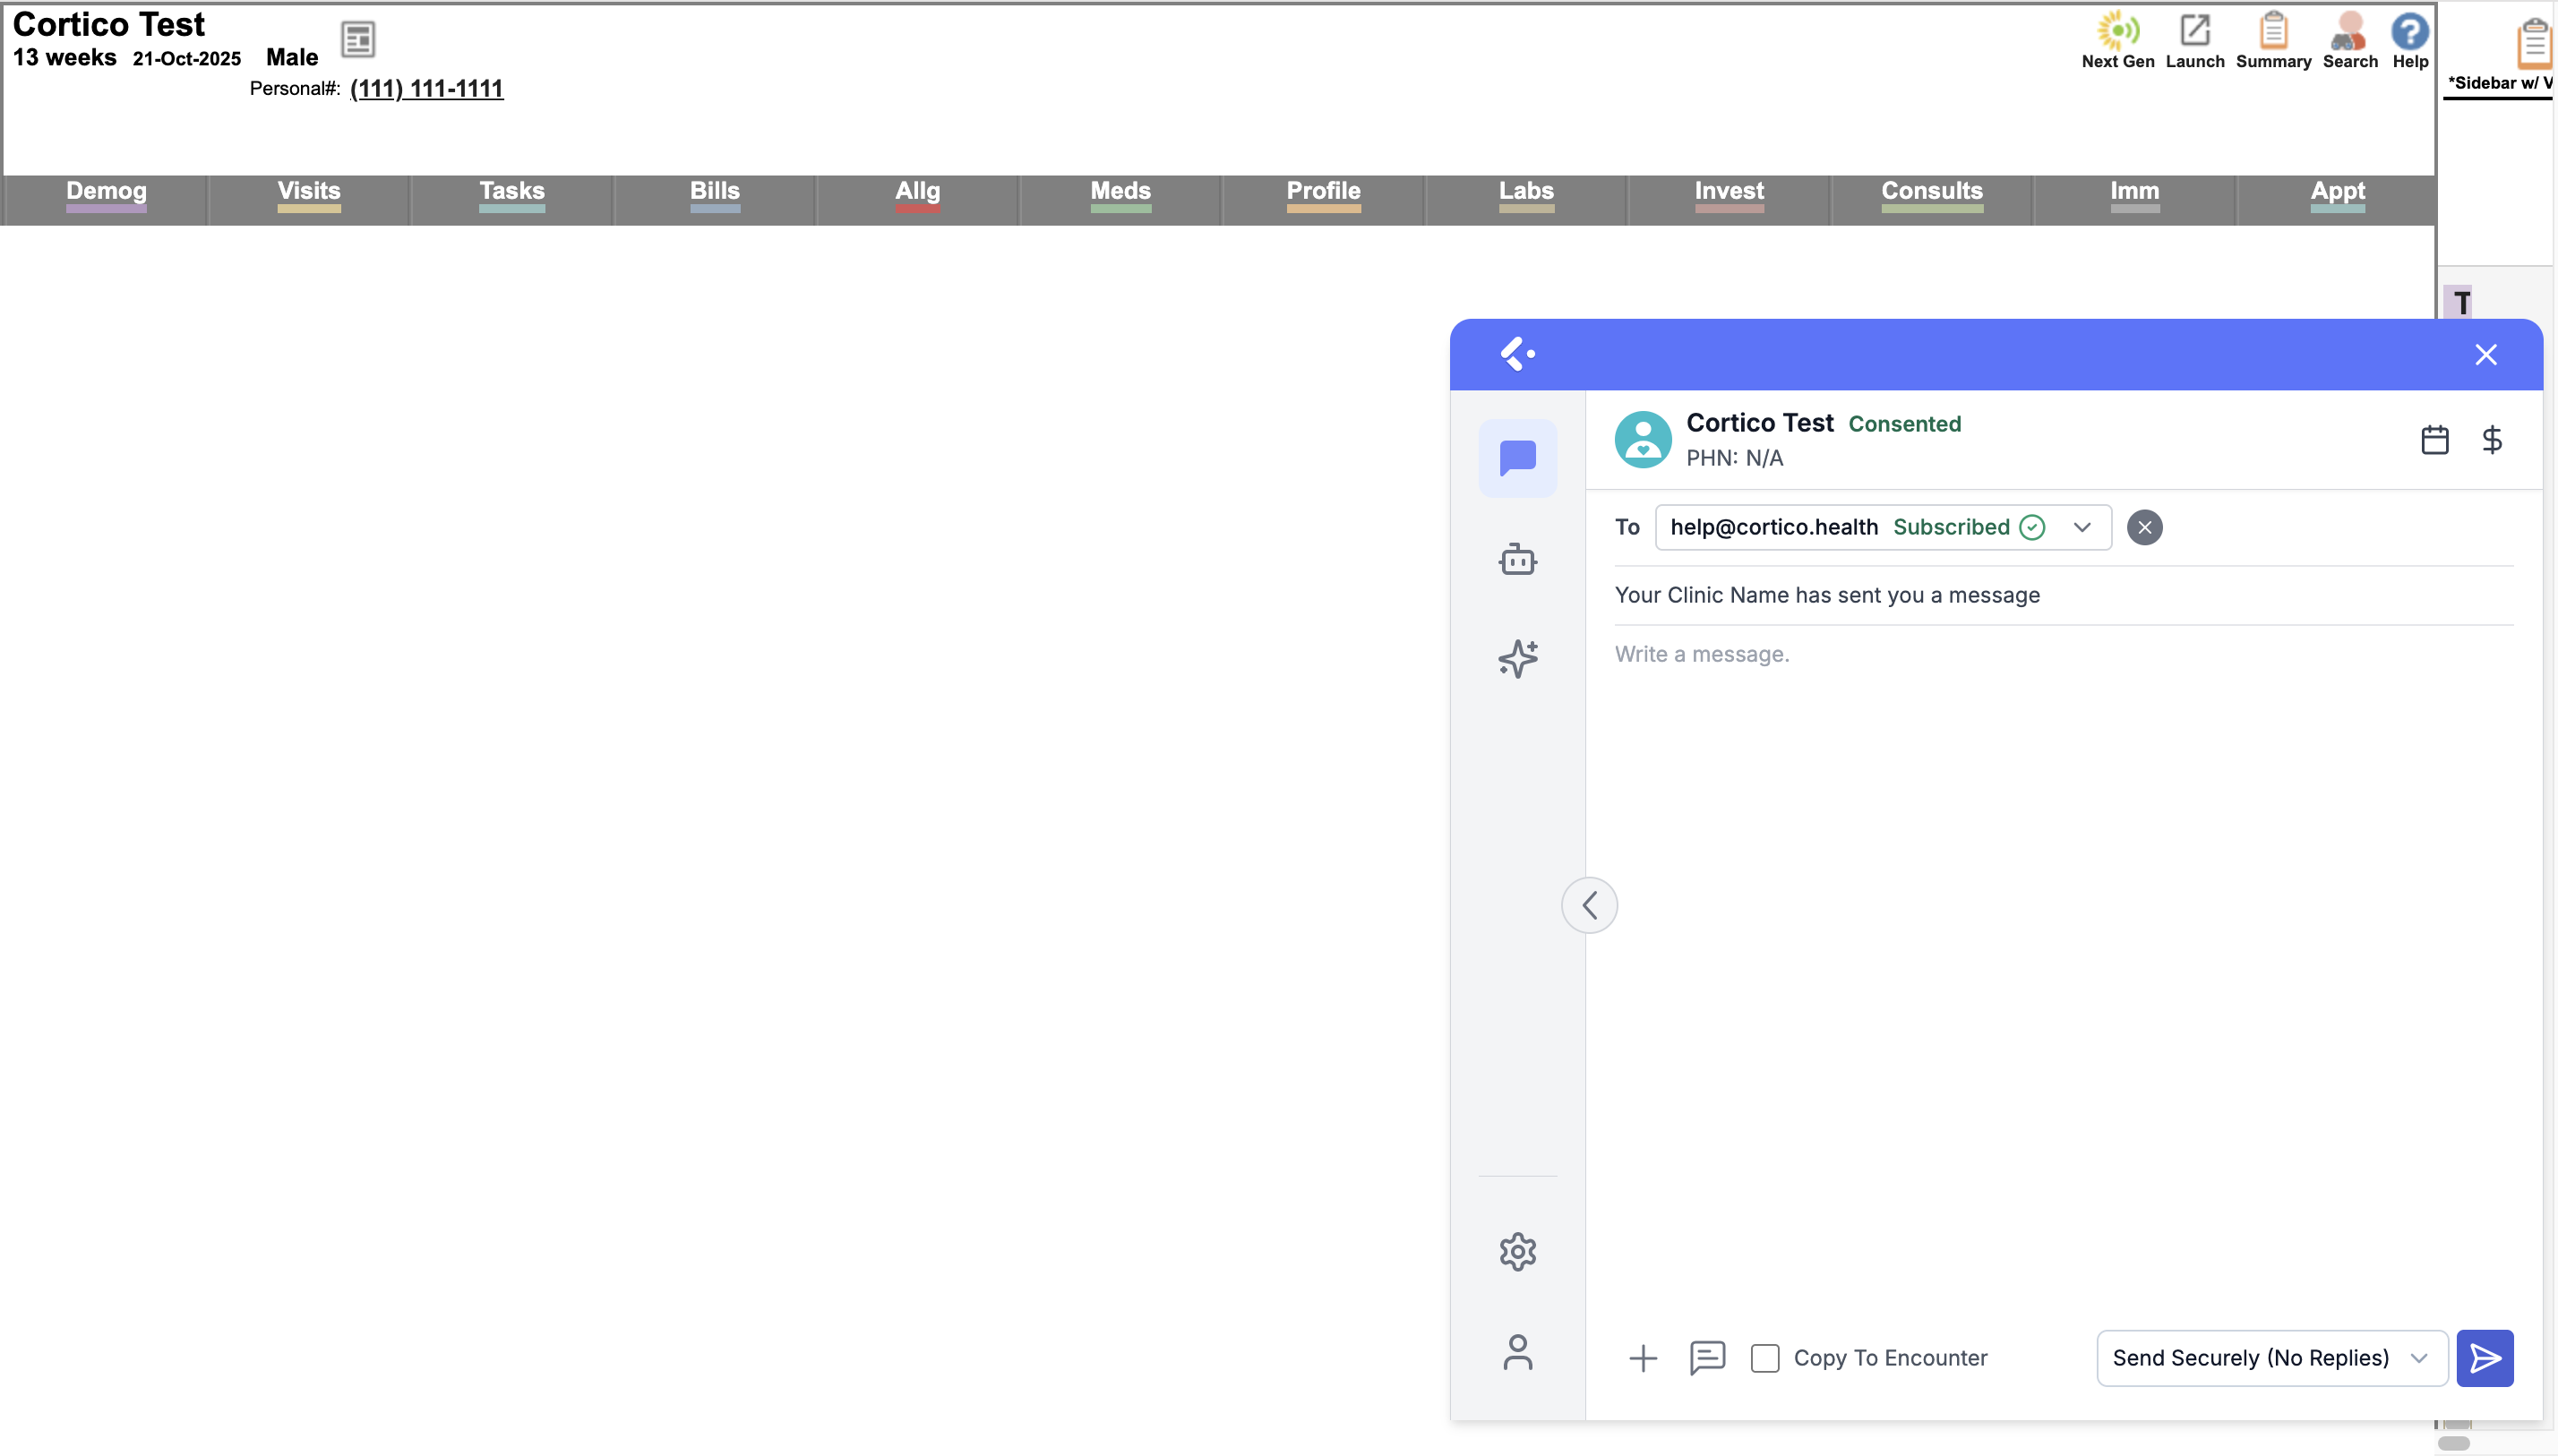
Sending Messages
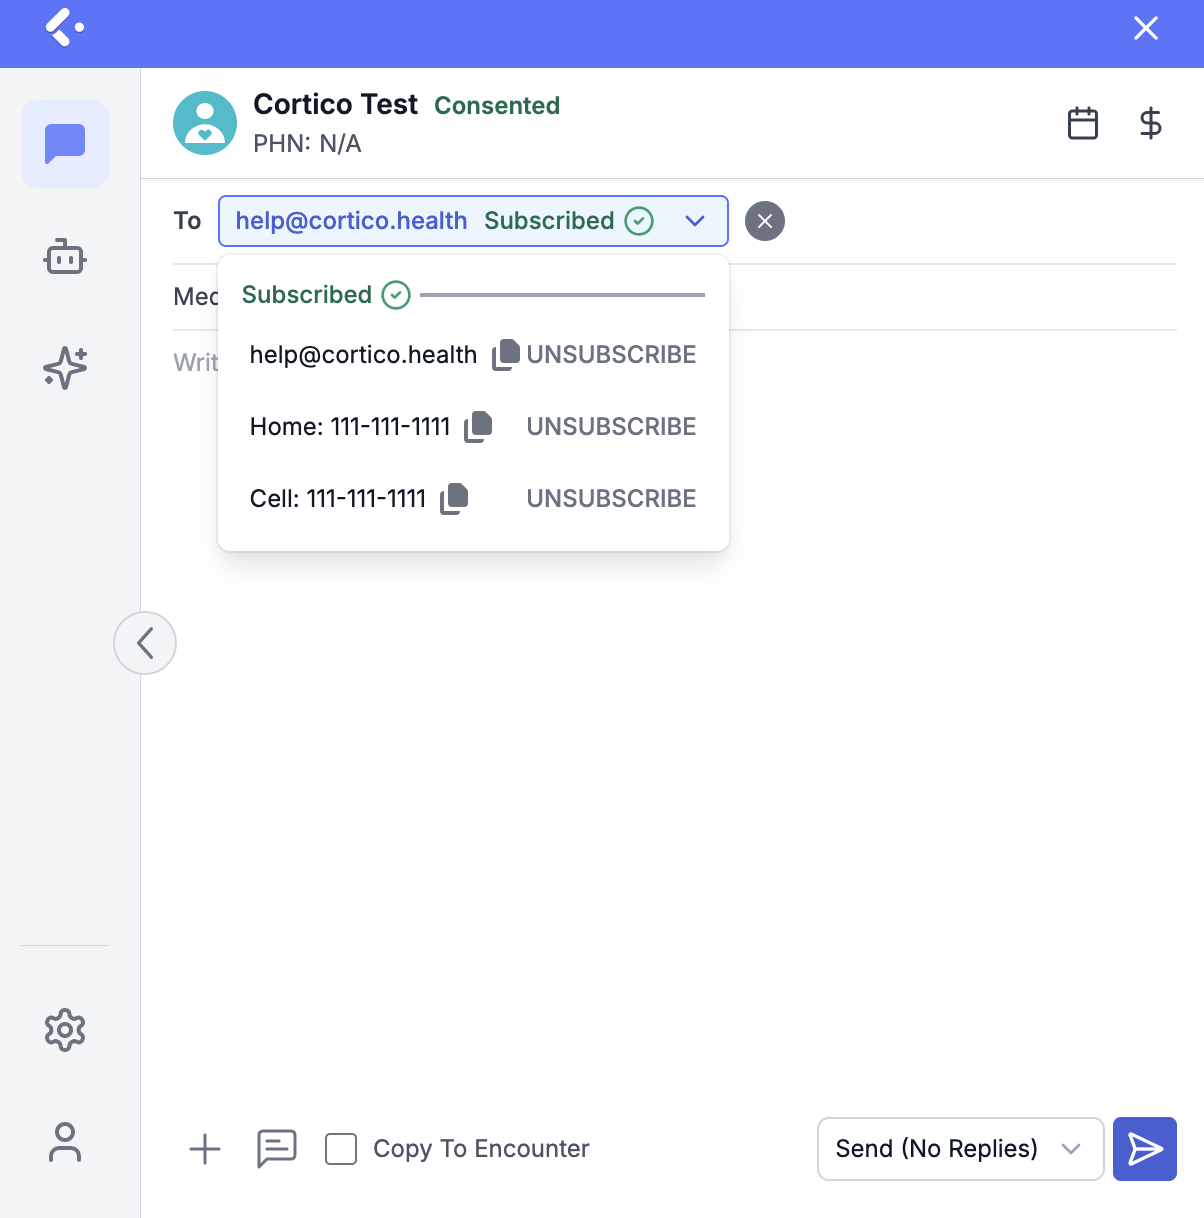
To Field: Use the drop-down menu beside the “To” field to select whether the message is sent via email or SMS. The options depend on what contact information the patient has on file.
Subject Line: You can customize the subject line for emails.
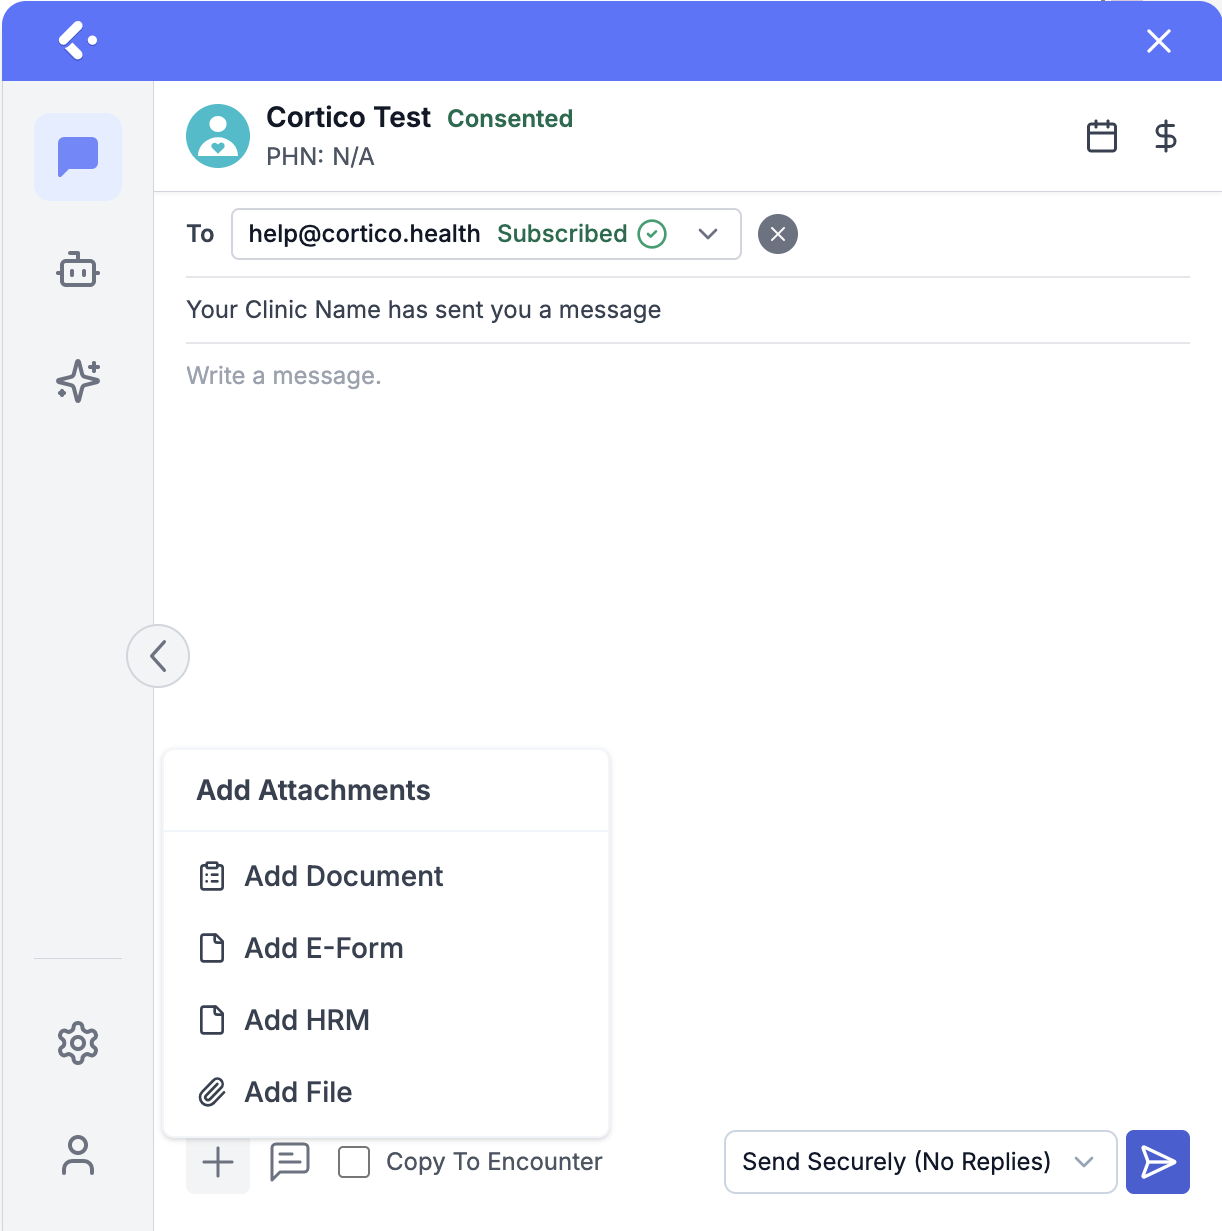
Attachments: Hover over the + icon to attach documents, e-forms, or files from your desktop (currently in development).
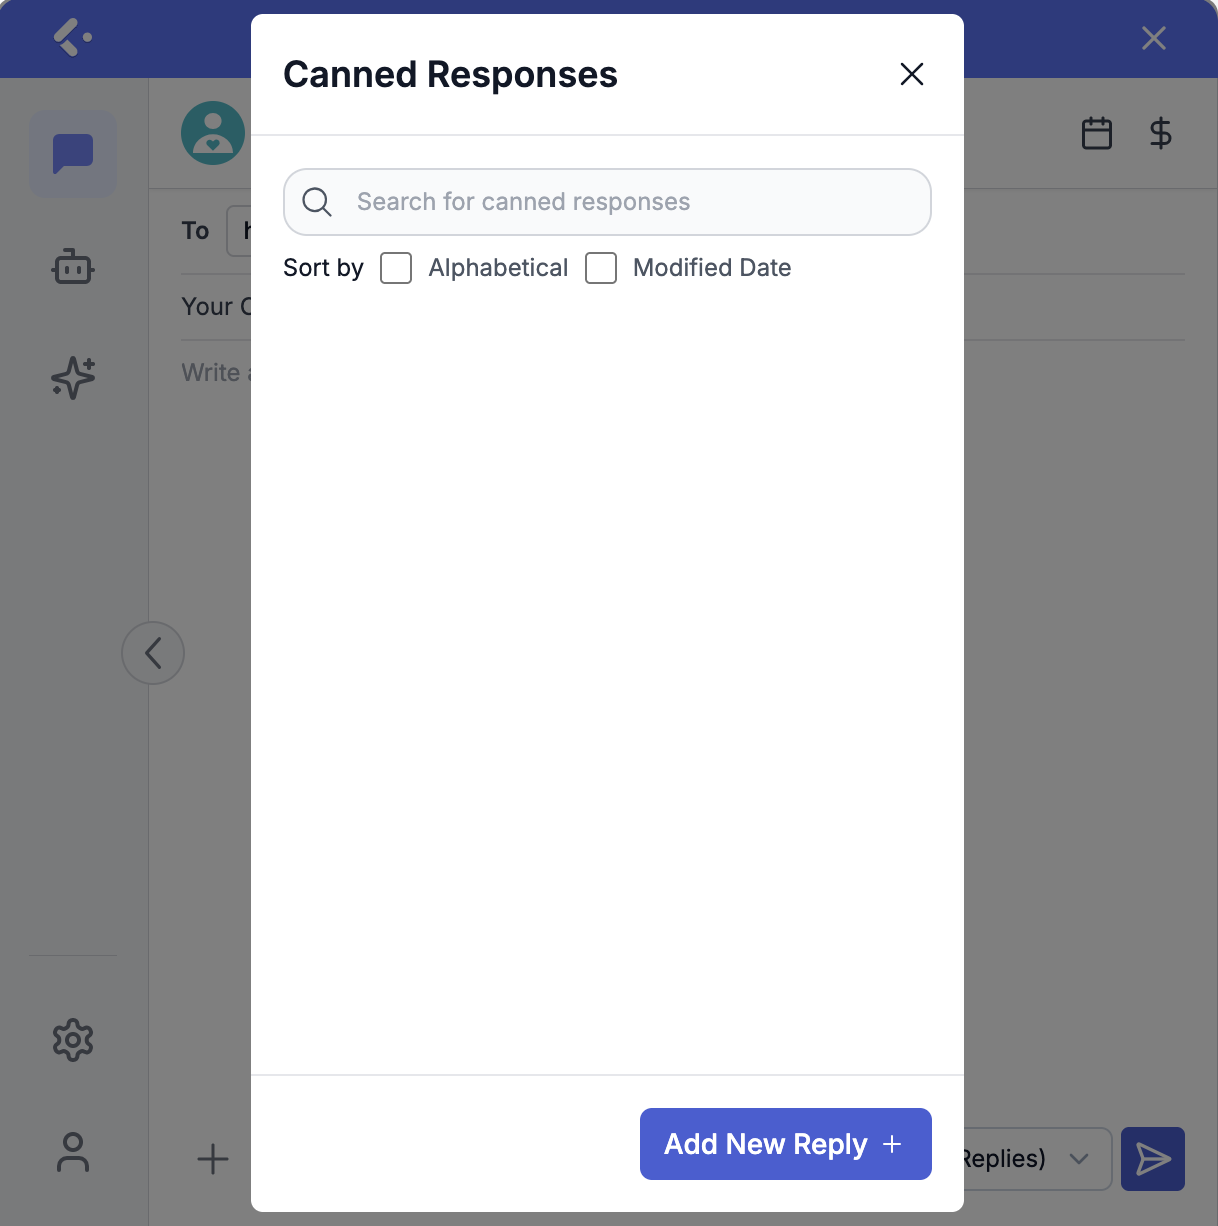
Using Canned Responses:
Canned Responses let you quickly send common messages or templates to patients.
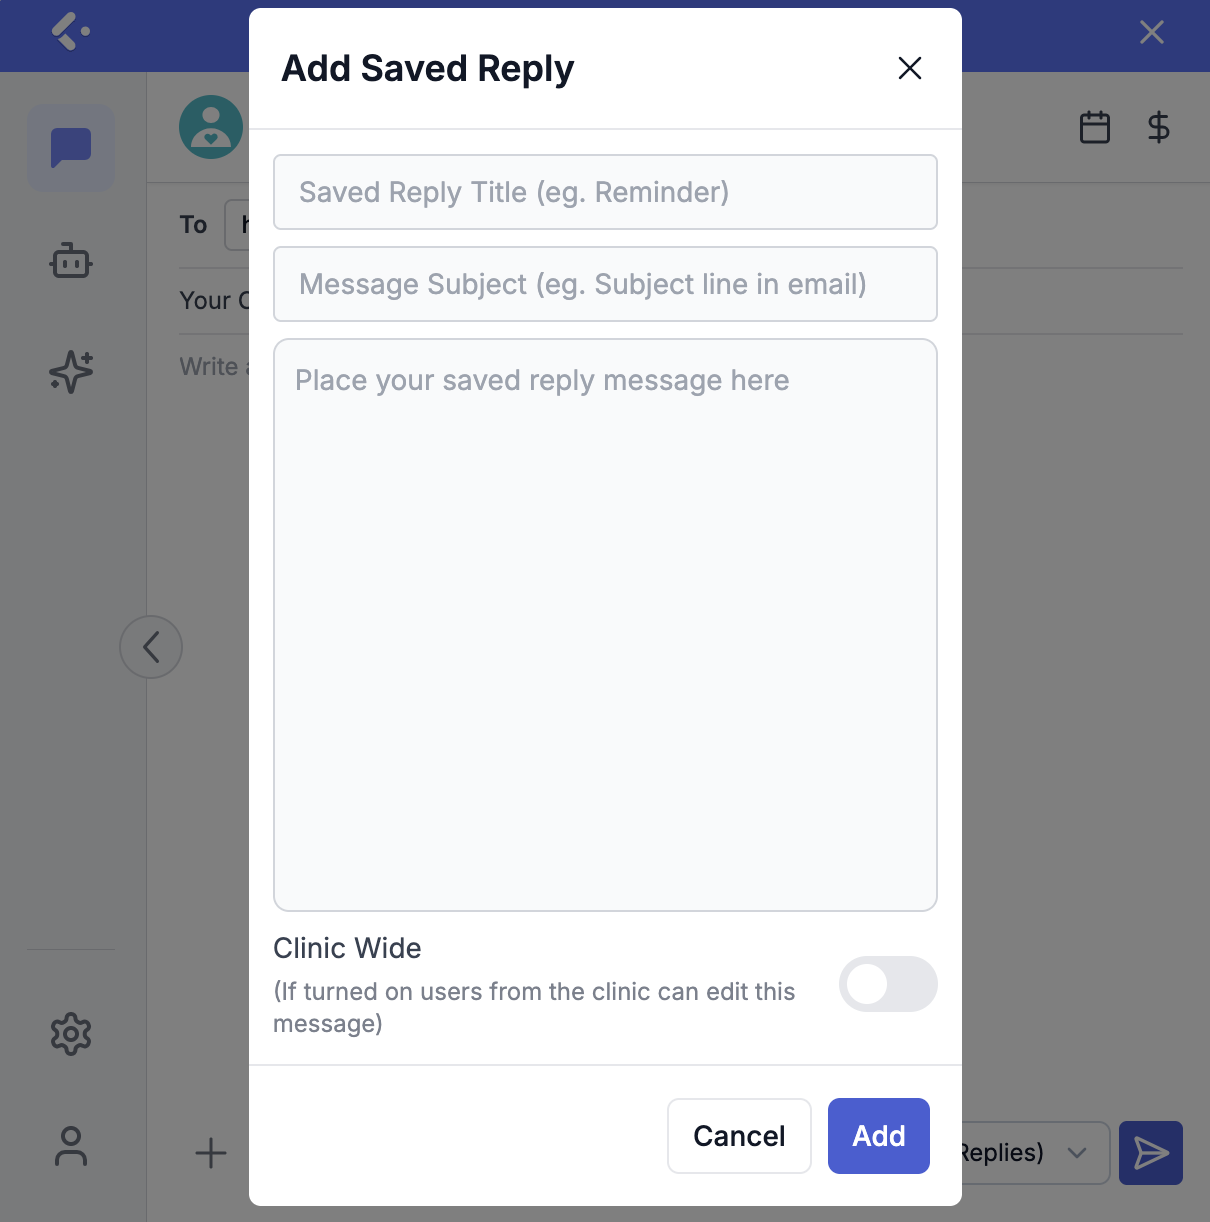
Creating a Canned Response:
Click “Add New Reply”
Enter a Title (displayed in the Cortico Plug-in)
Add a Subject Line (appears in the email)
Enter the Message Body (template content)
Toggle Clinic-wide if you want the template available to all users in your clinic
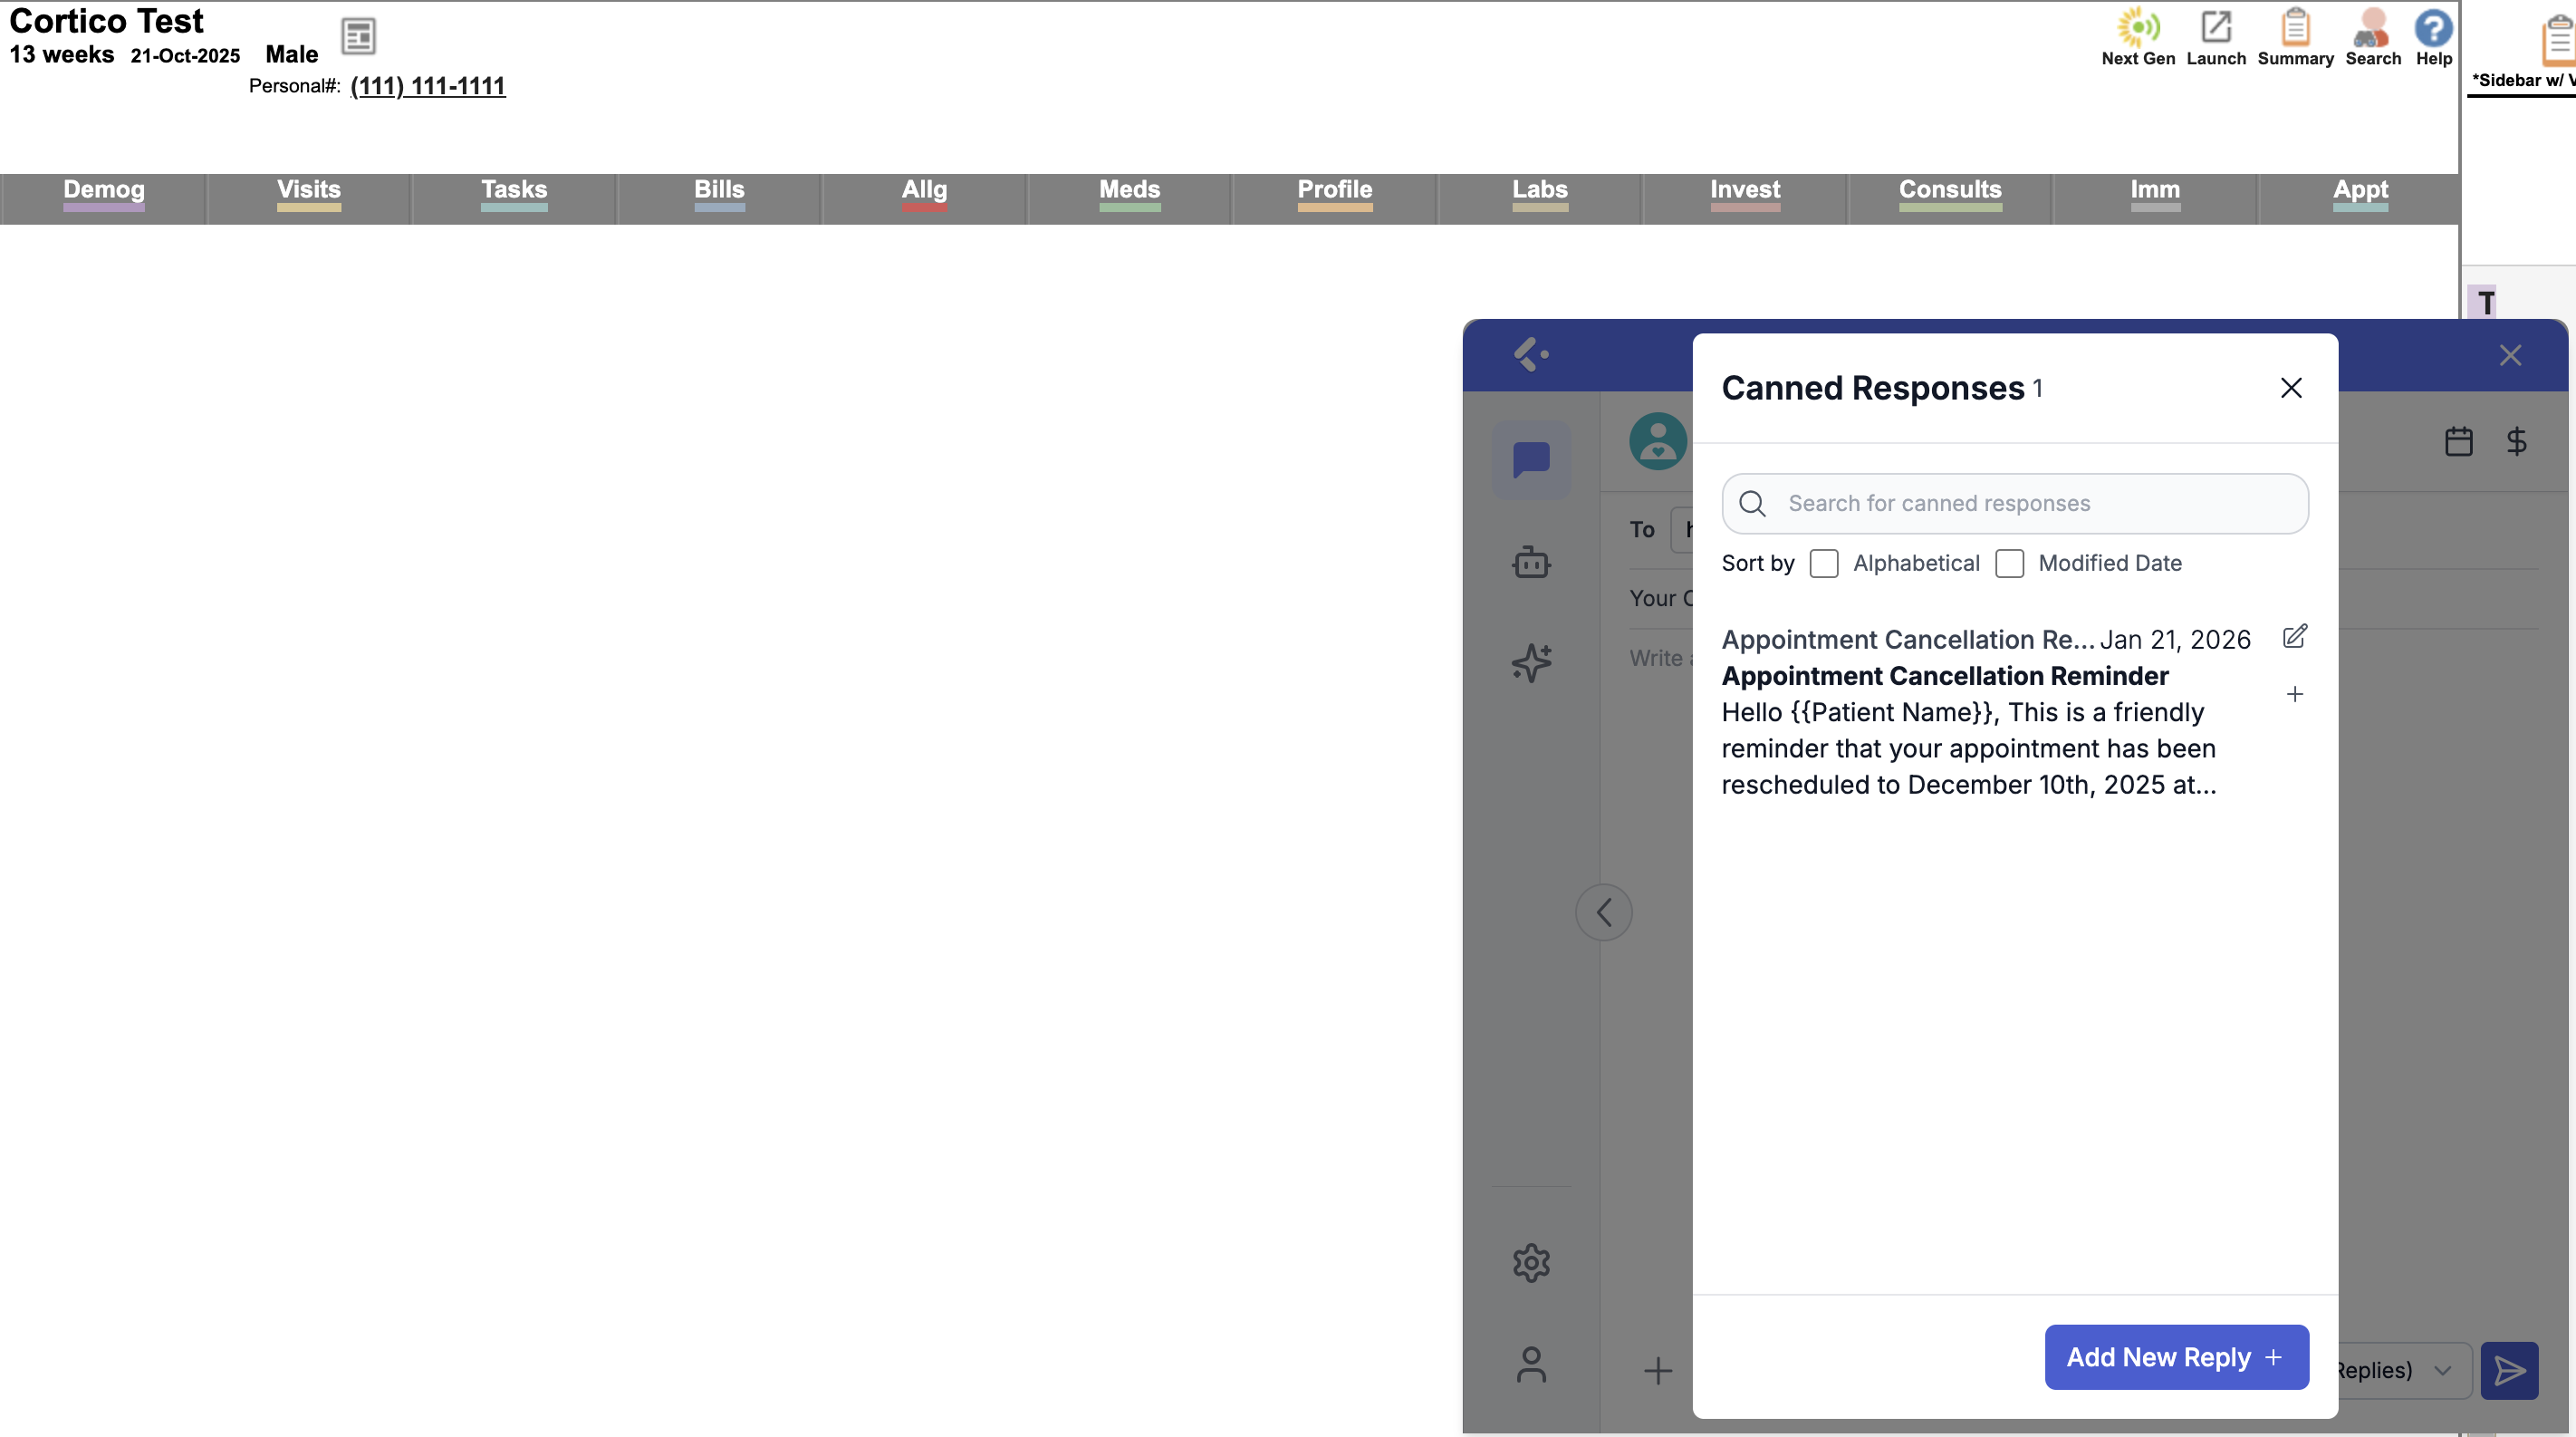
Once saved:
Click a template to auto-populate a message for the patient
Use the pencil icon to edit an existing template
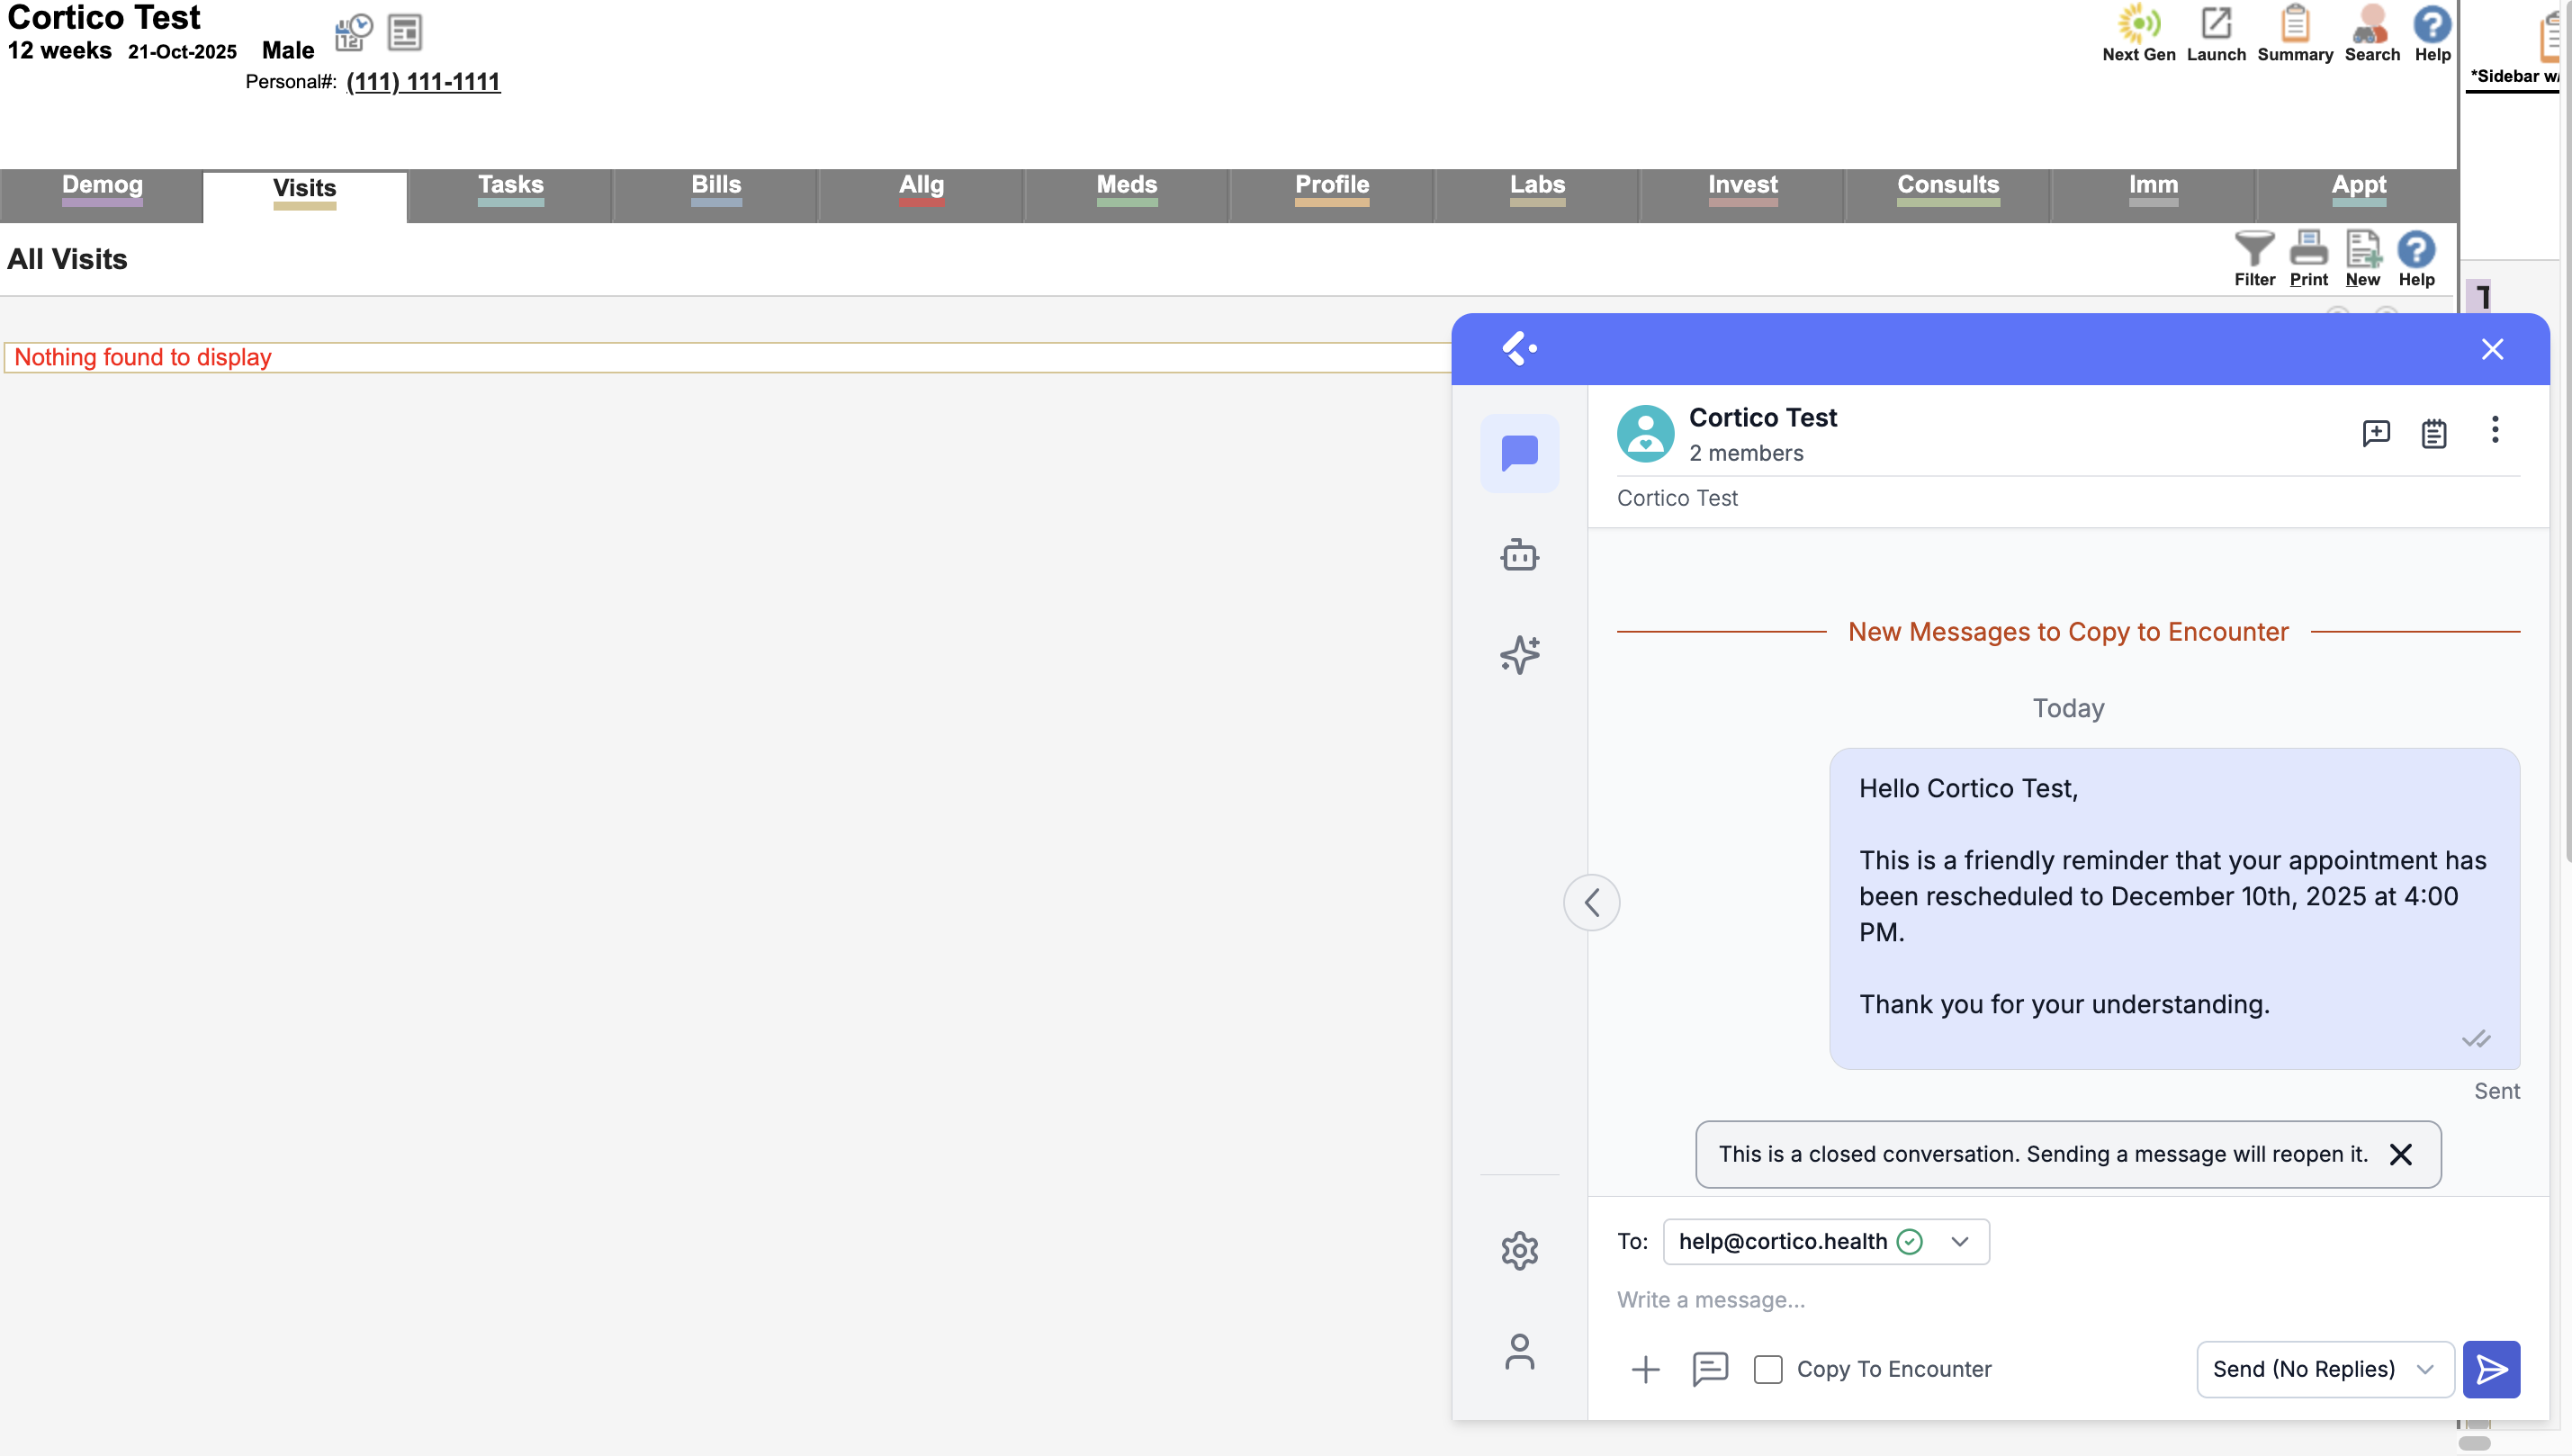
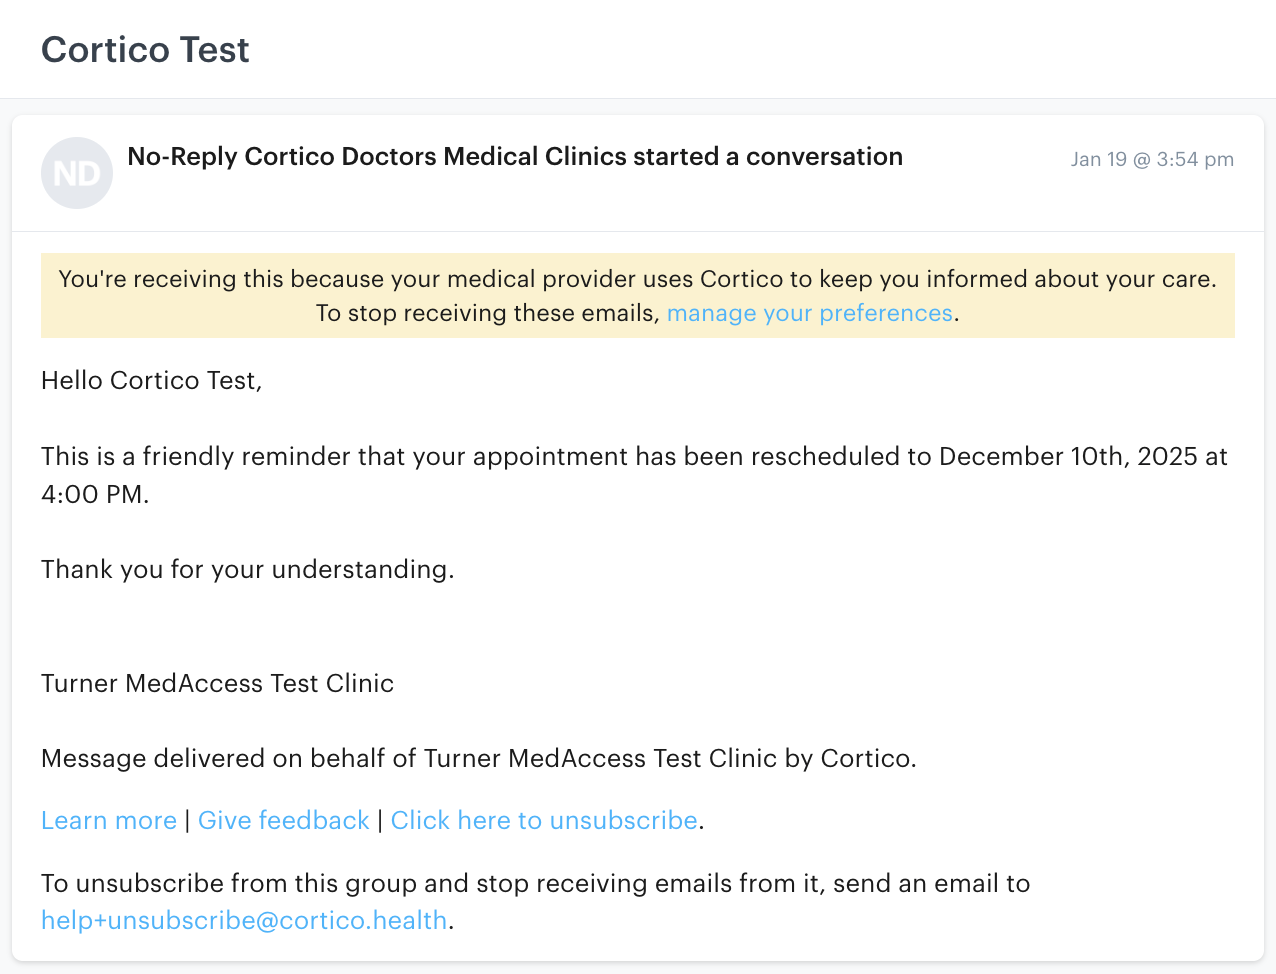
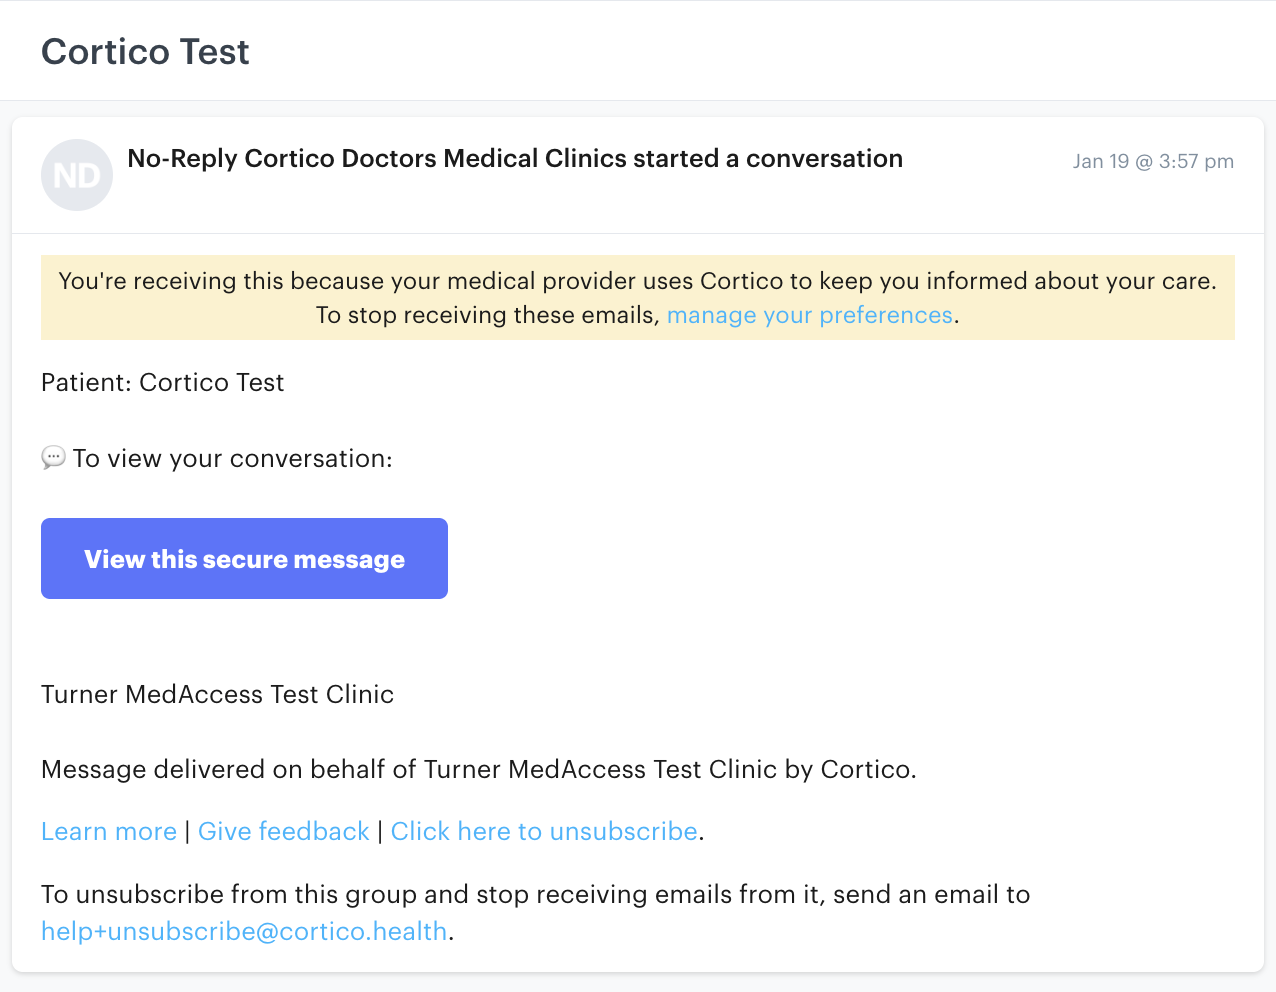
Email notification from the patient's perspective:
Shortcuts:
There are keyboard shortcuts for Canned Responses to make messaging faster. Learn more here: https://help.cortico.ca/help/cortico-plugin-bindings
With the Cortico plug-in, sending messages is fast, efficient, and integrated directly into Med Access, helping your clinic communicate with patients seamlessly.
Cortico works well for clinics using TELUS EMRs. Cortico has no formal business relationship with TELUS.