
Annotating and faxing documents just got easier with Cortico.
The Annotator allows clinics to:
Annotate documents directly on the EMR using custom stamps and digital signatures
Save and print annotated documents with a single click.
Dispatch faxes instantly with SRFax or RingCentral without ever leaving the EMR
Sample Workflow
An example of a workflow is:
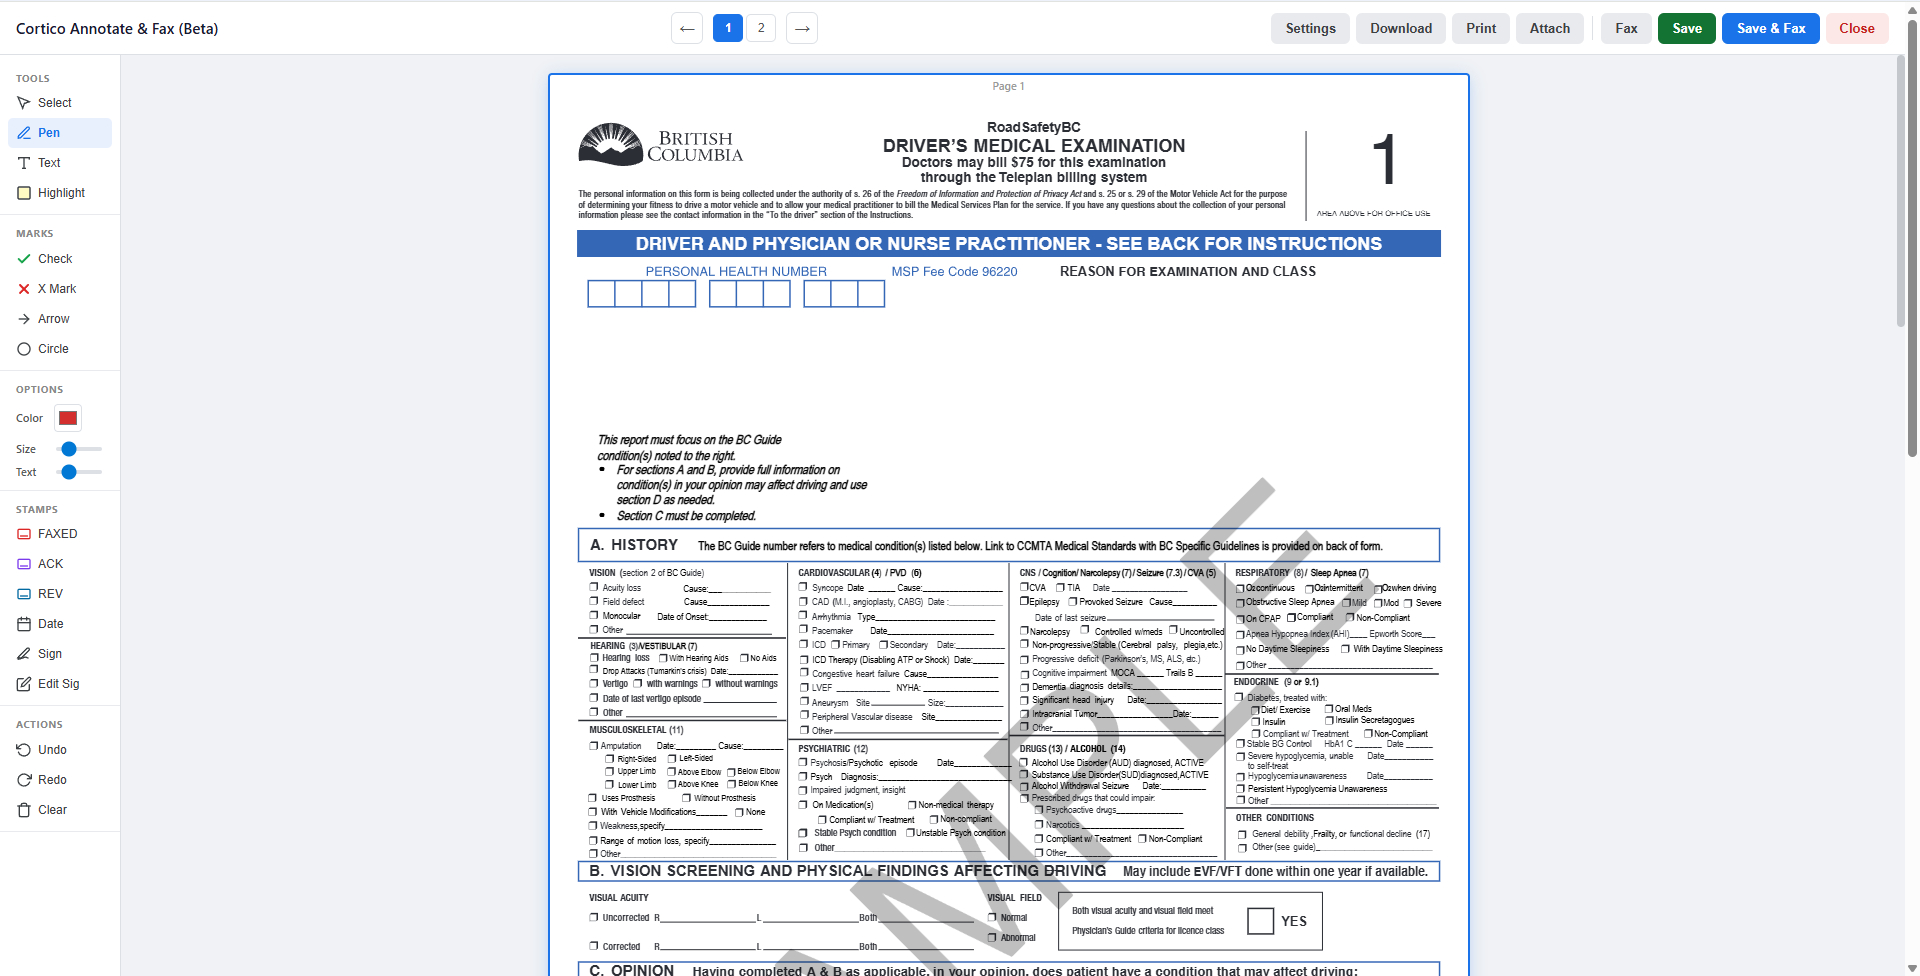
Doctor receives a document from the inbox
The doctor is required to sign the document, mark the date signed and fax the document.
The doctor clicks to display the document
Using the Annotator, the doctor applies a saved signature and a date stamp.
The doctor then selects fax to transmit the annotated document via SRFax or RingCentral.
Clinic's will be able to have default clinic fax settings and providers have the opportunity to save their own if needed.
Setting up Clinic's Fax Settings:
We can set up the annotator feature for clinic using SRFax or RingCentral. See below for the specific information need for the set up. Please call our support line to securely share the details with our team at +1-833-267-8426
If the clinic uses SRFax, please provide the following information:
Fax Account Number
Fax Password
Fax caller ID
Fax sender email
If the clinic uses RingCentral, please provide the following information:
Fax Client ID
Fax Client Secret
Fax JWT Token
To gather the RingCentral information, please follow the steps below.
Log into the RingCentral Developer Console (developers.ringcentral.com)
Click Create App (top-right usually)
Select REST API APP and click Next
App settings: Auth: Select JWT auth flow
Required Scopes: Ensure Faxes are selected in permissions
Click create. Under the credentials tab, you can find the client id and client secret.
In the same console, click the profile/name in top right and select credentials
In the same console, click the profile/name in top right and select credentials
Click create JWT
Name it. We recommend selecting "only specific apps" and choosing the app created above.
Create and copy the JWT string (can't access this after this window).