Welcome to Cortico's Knowledge Base
Official Cortico Product information for customers and users.

Profile Integration
Step 1.1: Get Connected with your Profile EMR
Create a new administrator account for Cortico to set up the online booking system for you
Updated 2 weeks ago
Cortico requires access to your Profile EMR in order to facilitate appointment booking and patient creation. We recommend that you create a new administrator account for Cortico to use. Cortico will only access your Profile Demographic API and Appointment API, but our Support Representative may also use the credentials to troubleshoot any problems you report. We take great care to ensure any patient information remains private.
Once your Profile EMR is connected, your booking link will be made available so patients can seamlessly book online using Cortico’s optimized booking process!
1.1.1 Create the Cortico Admin User in Profile
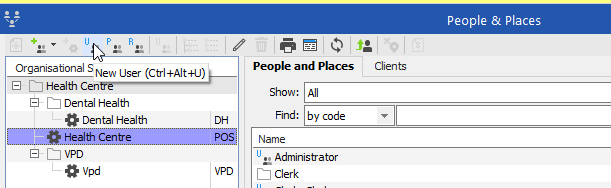
In Profile, go to Organization > People & Places. Select the desired POS (the ones with a gear icon) to assign the new admin account to the Organizational Structure. Then click New User.
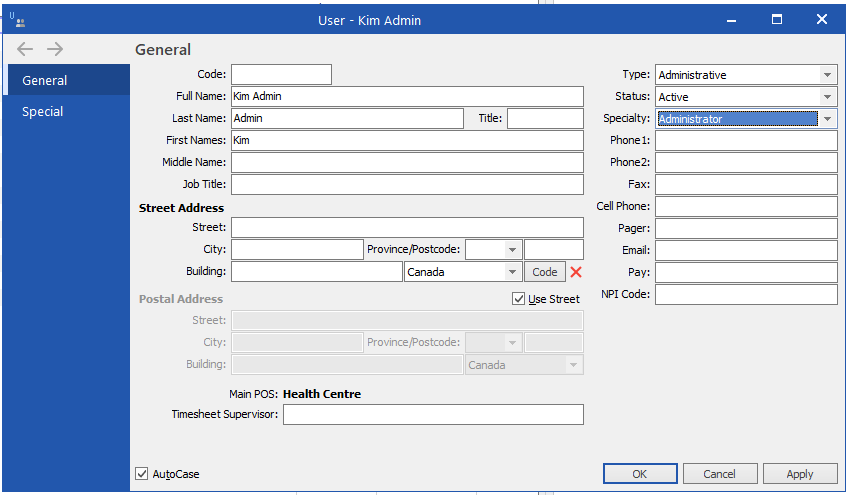
Fill up the fields in the new window that pops up. What’s important here is to set Type to Administrative and Specialty to Administrator.
Press Apply and the system will generate the Code field for you if you left it empty (or you can choose to manually enter a custom Code field if you want). Take note of the Code field since this will be used as the Username when logging in later.
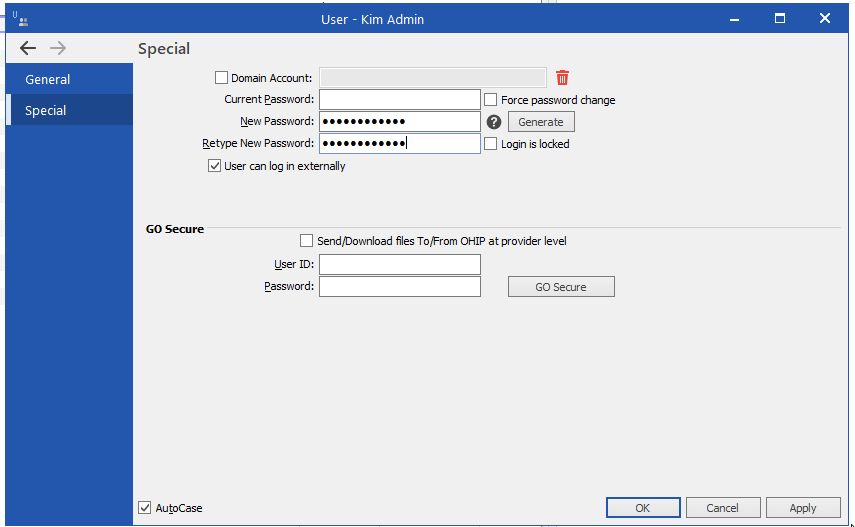
You will then be prompted to enter the password of the new admin user. Enter the desired password for the user, then make sure to check the “User can log in externally” checkbox.
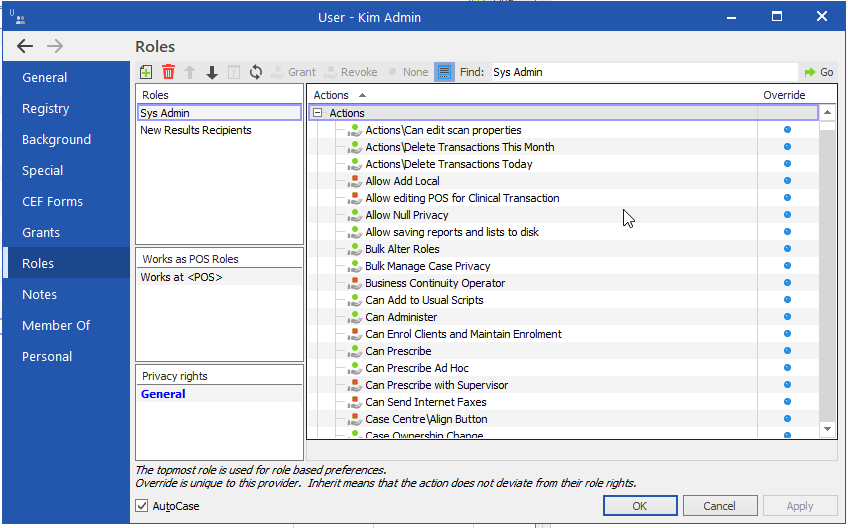
After you press Apply here, new browser tabs will now open on the left. Go to the Roles tab. In here press the Add Role button in the upper left. Add the roles Sys Admin and New Results Recipients. Press Apply and OK.
1.1.2: Linking Cortico to the EMR in settings
Your Cortico consulting team member assisting with your setup will conduct the next step to ensure that your Cortico instance is connected with Profile.
See below for the format that the Host and Namespace fields in EMR settings must match. Note that some numbers (e.g. 1111) are given as examples, but the actual numbers used in the clinic's instance may be different:
Profile
Example HOST Url: 1111.uat.ca.ihhost.net
Host: 1111.uat.ca.ihhost.net
Namespace (always): verto
Next step: Step 1.2: Set up your invoice