Welcome to Cortico's Knowledge Base
Official Cortico Product information for customers and users.

Cortico Oscar Plug-In
Plug-in: Two Way Patient Messaging Feature
Step by Step Guide to Two Way Patient Messaging: Communicate with Your Patients via Two-Way Messaging for Better Patient-Provider Engagement
Updated 2 weeks ago
If you are interested in this feature and would like it enabled for your clinic, or if you want to learn more, please contact us at help@cortico.health
If you would like to see a video of this feature, please see our video here: Two Way Patient Messaging Video
Initiating a Conversation with Patients:
To initiate a conversation with a patient using Two-Way Patient Messaging, follow these steps:
Download the Cortico Oscar Plug-In.
Once downloaded, you'll see a Cortico logo at the bottom of your Oscar schedule.
3. Click on the logo and select "Sign in."

4. Enter your clinic name in the clinic name field, then enter your username (your email) and password, and click "Sign in."
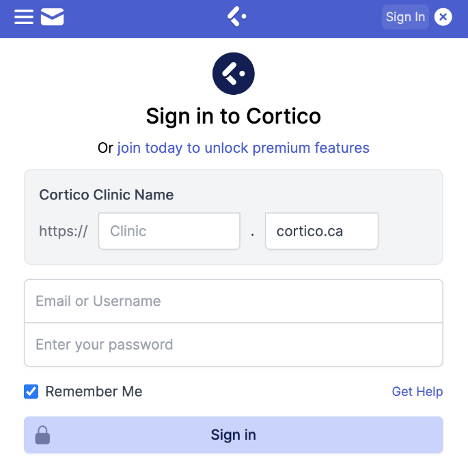
Note: The "Clinic" field should match the name that appears in your Cortico URL before ".cortico.ca." For example, if your Cortico URL is medicalclinic.cortico.ca, you would enter "medicalclinic." If you're unsure of your clinic name for your Cortico URL, please contact help@cortico.ca.
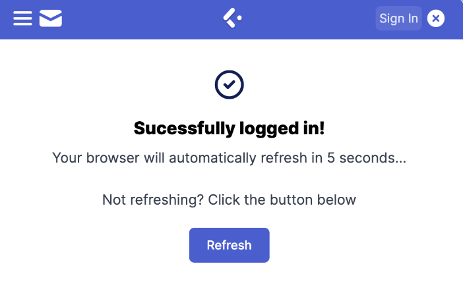
You will receive a pop-up message confirming that you have successfully signed in. You can now message patients directly from your EMR.
5. Open the e-chart of any patient. You will see Cortico's logo at the bottom right of the screen, which is the messaging platform.
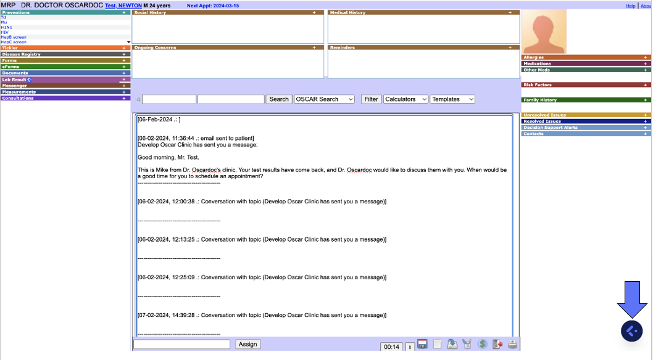
6. This will open the messaging platform, allowing you to send a message and attach files directly to the patient.
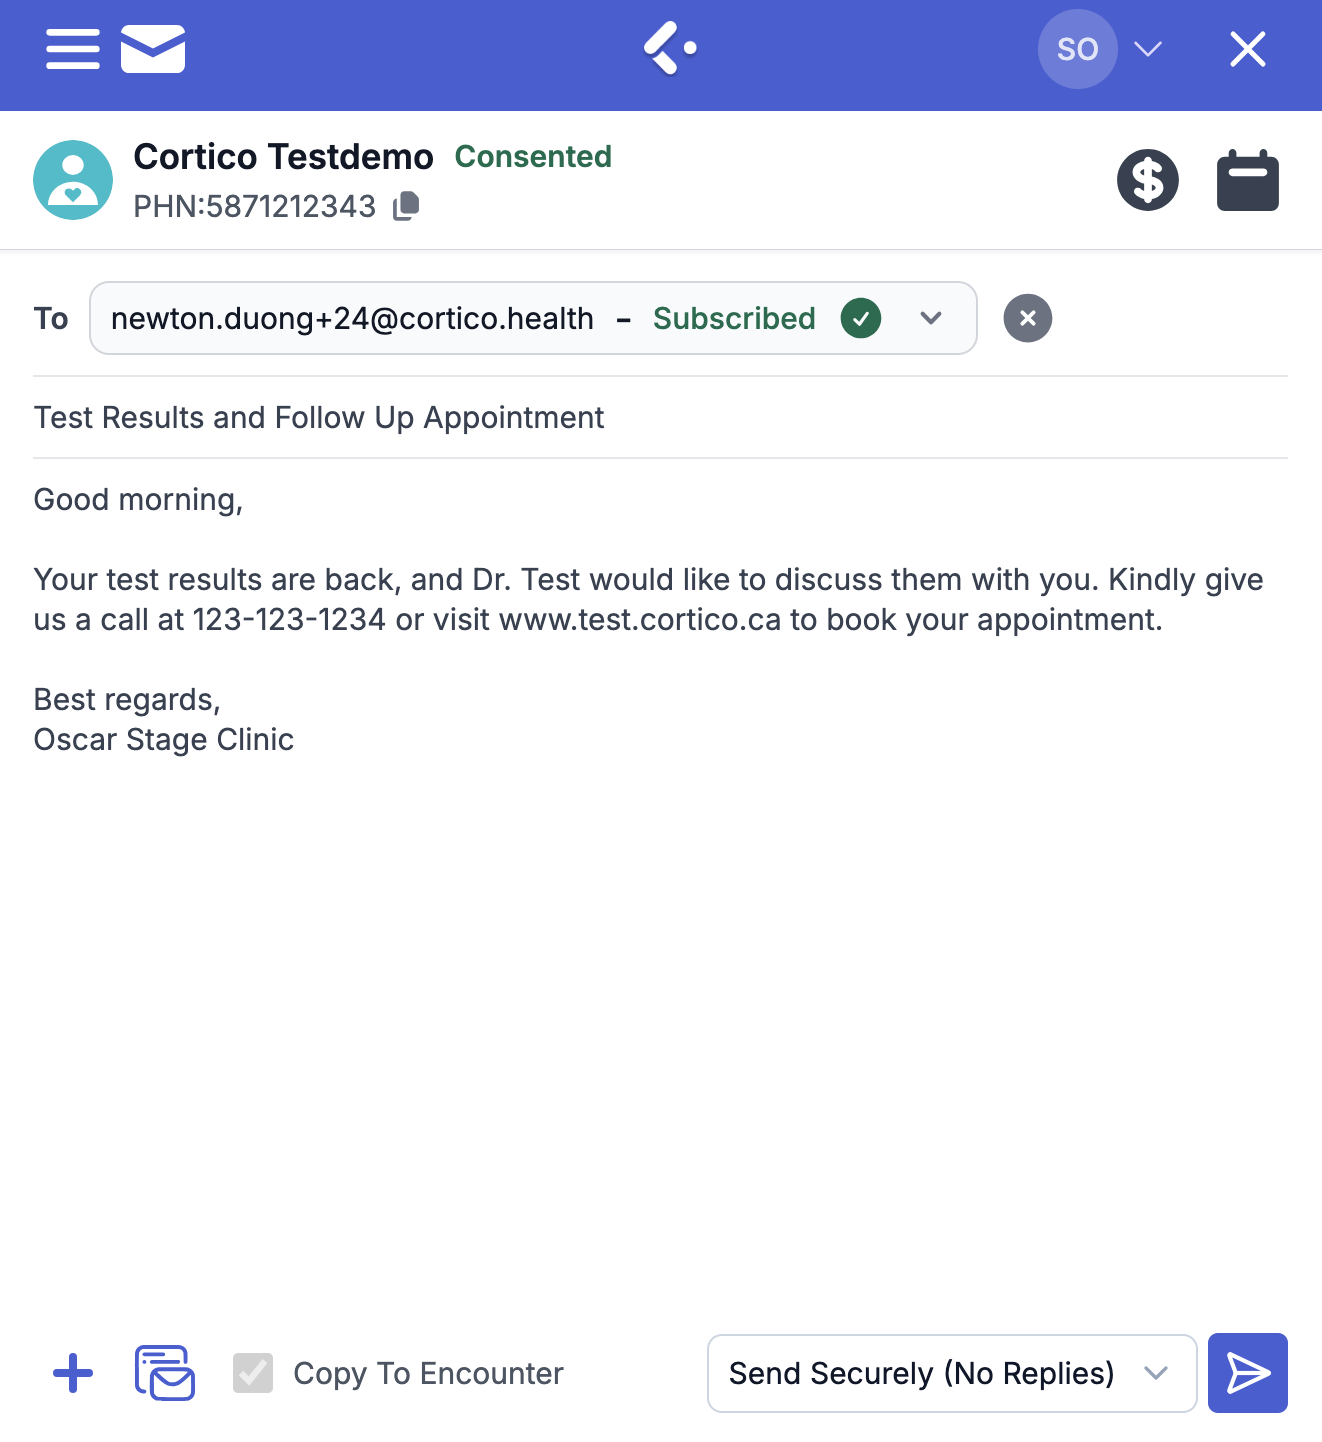
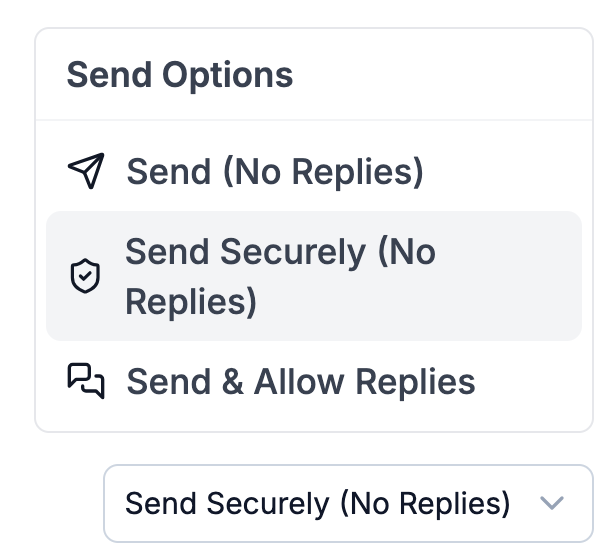
7. Before sending your message, click the small drop-down arrow next to the Send button. This will display additional options. To enable patient replies, select Send & Allow Replies.
MOA's Perspective:
1. Accessing Conversations within the patient’s e-chart
Clicking the envelope icon within the patient’s e-chart will display 3 tabs: Triage, My Conversations, and All Conversations.
From the Patient’s E-chart:
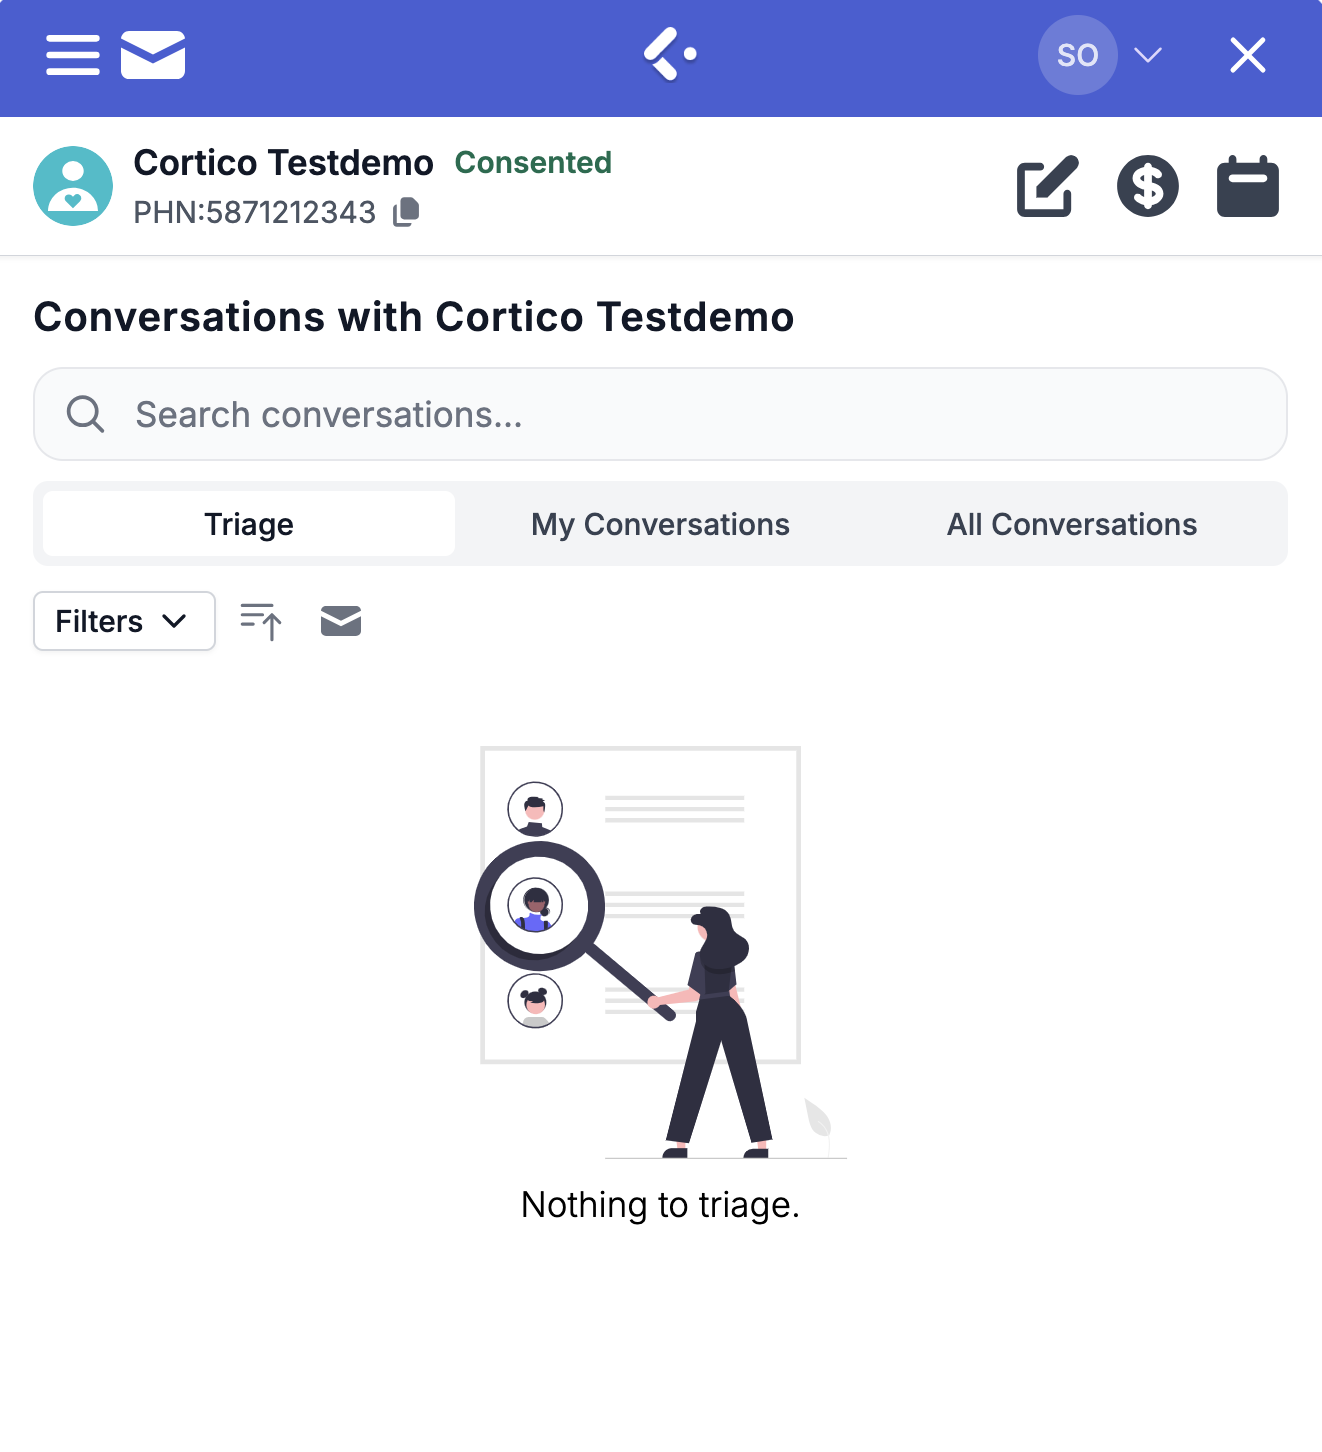
Triage Tab: Displays unread patient conversations that require action (e.g., replying or closing the conversation).
My Conversations Tab: Displays all conversations that you are a part of, whether open or closed.
All Conversations (visible only in the patient’s e-chart): Displays all conversations associated with that specific patient.
Note:
For Doctors – By default, the My Conversations tab opens first when accessing the conversation history (via the Envelope icon).
For MOAs – By default, the Triage tab opens first when accessing the conversation history (via the Envelope icon).
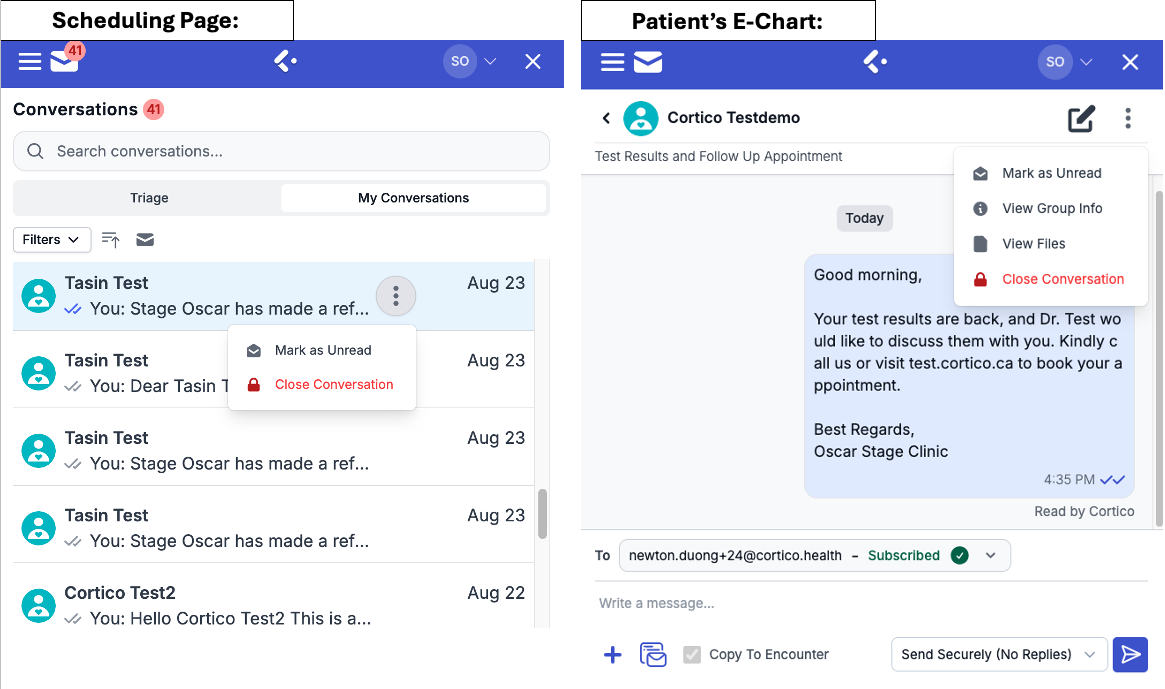
2. Viewing Conversation History from the scheduling page:
Viewing the conversation history (envelope icon) from the scheduling page will display 2 tabs: Triage and My Conversations
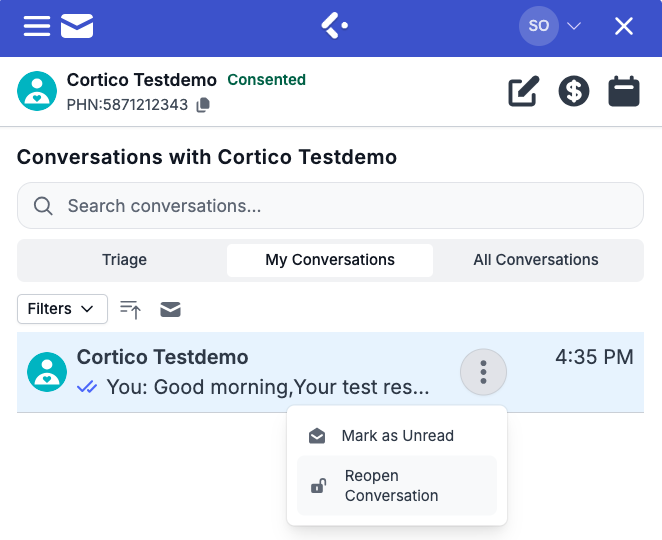
3. Additional Options in Conversation History
Clicking the three dots directly from the message or conversation history will present additional options:
Mark as Unread: Marks the conversation as unread, indicating it has not yet been opened.
Close Conversation: Closes the conversation, preventing further messaging within that specific conversation thread.
View Group Info: Displays all members in the conversation (e.g., 2 members).
View Files: An organized view of all patient-uploaded files in the conversation. To learn more about the "File Manager" click: Here
4. Re-Opening Closed Conversations
If a conversation has been previously closed, clicking the three dots will provide an option to reopen it. This allows the patient to continue messaging the provider within the same conversation thread from the patient messaging portal.
5. Identifying Two-Way Conversations
Any conversation that does not display "This is a closed conversation. Sending a message will reopen it." is considered an active two-way conversation.

6. Read Status Indicator
From the provider’s perspective, the checkmarks in the bottom-right corner of each message indicate:
Two grey checkmarks with "Sent" status → The message has been sent to the patient.
Two purple checkmarks with "Read by (Patient First Name)" → The patient has seen/read the message.
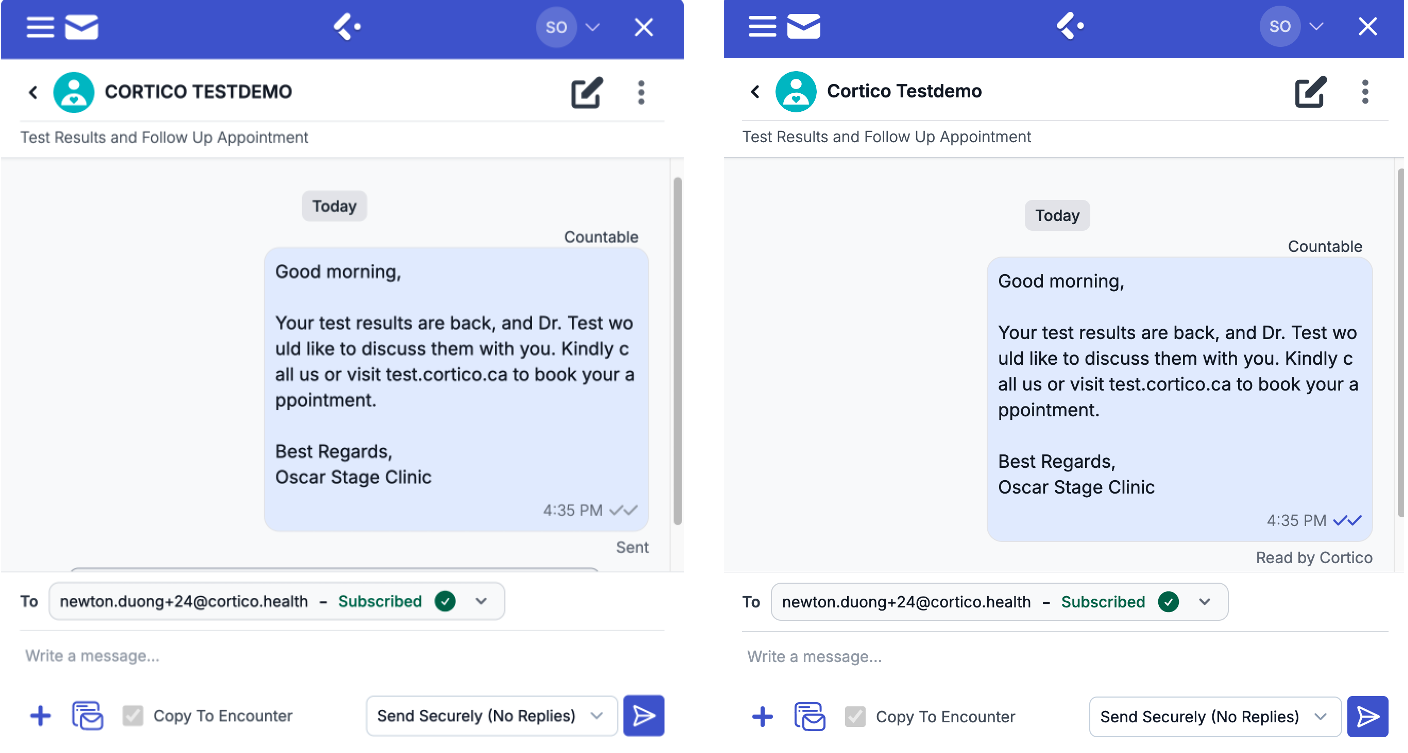
Note: The checkmarks (read status indicator) will only be visible from the provider's perspective.
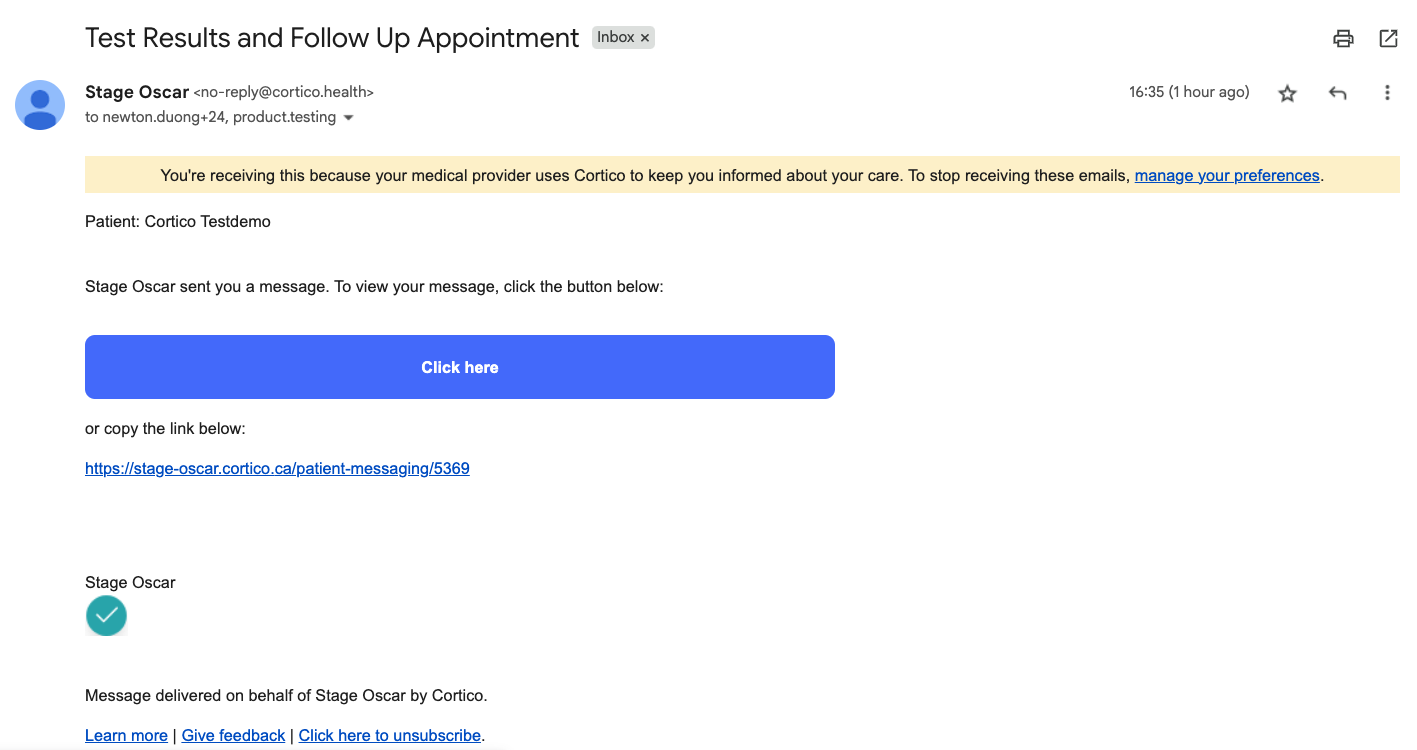
Patient’s Perspective after Provider Sends a Message:
1. After the message is sent to the patient, they will be notified that there is a new message from the clinic.
2. Clicking on the button or the link below will direct the patient to a page where they will be required to input their health card number and date of birth to confirm their identity.
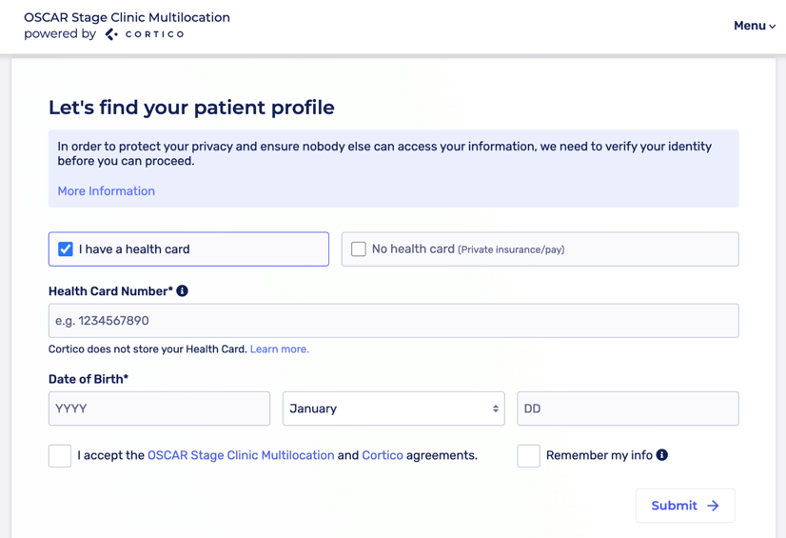
Note: If the patient has previously logged in to the clinic’s booking website, they will not need to enter their information again and will be redirected straight to the patient messaging portal.
3. The patient will then be redirected to the patient messaging portal to view any messages sent to them by the clinic.
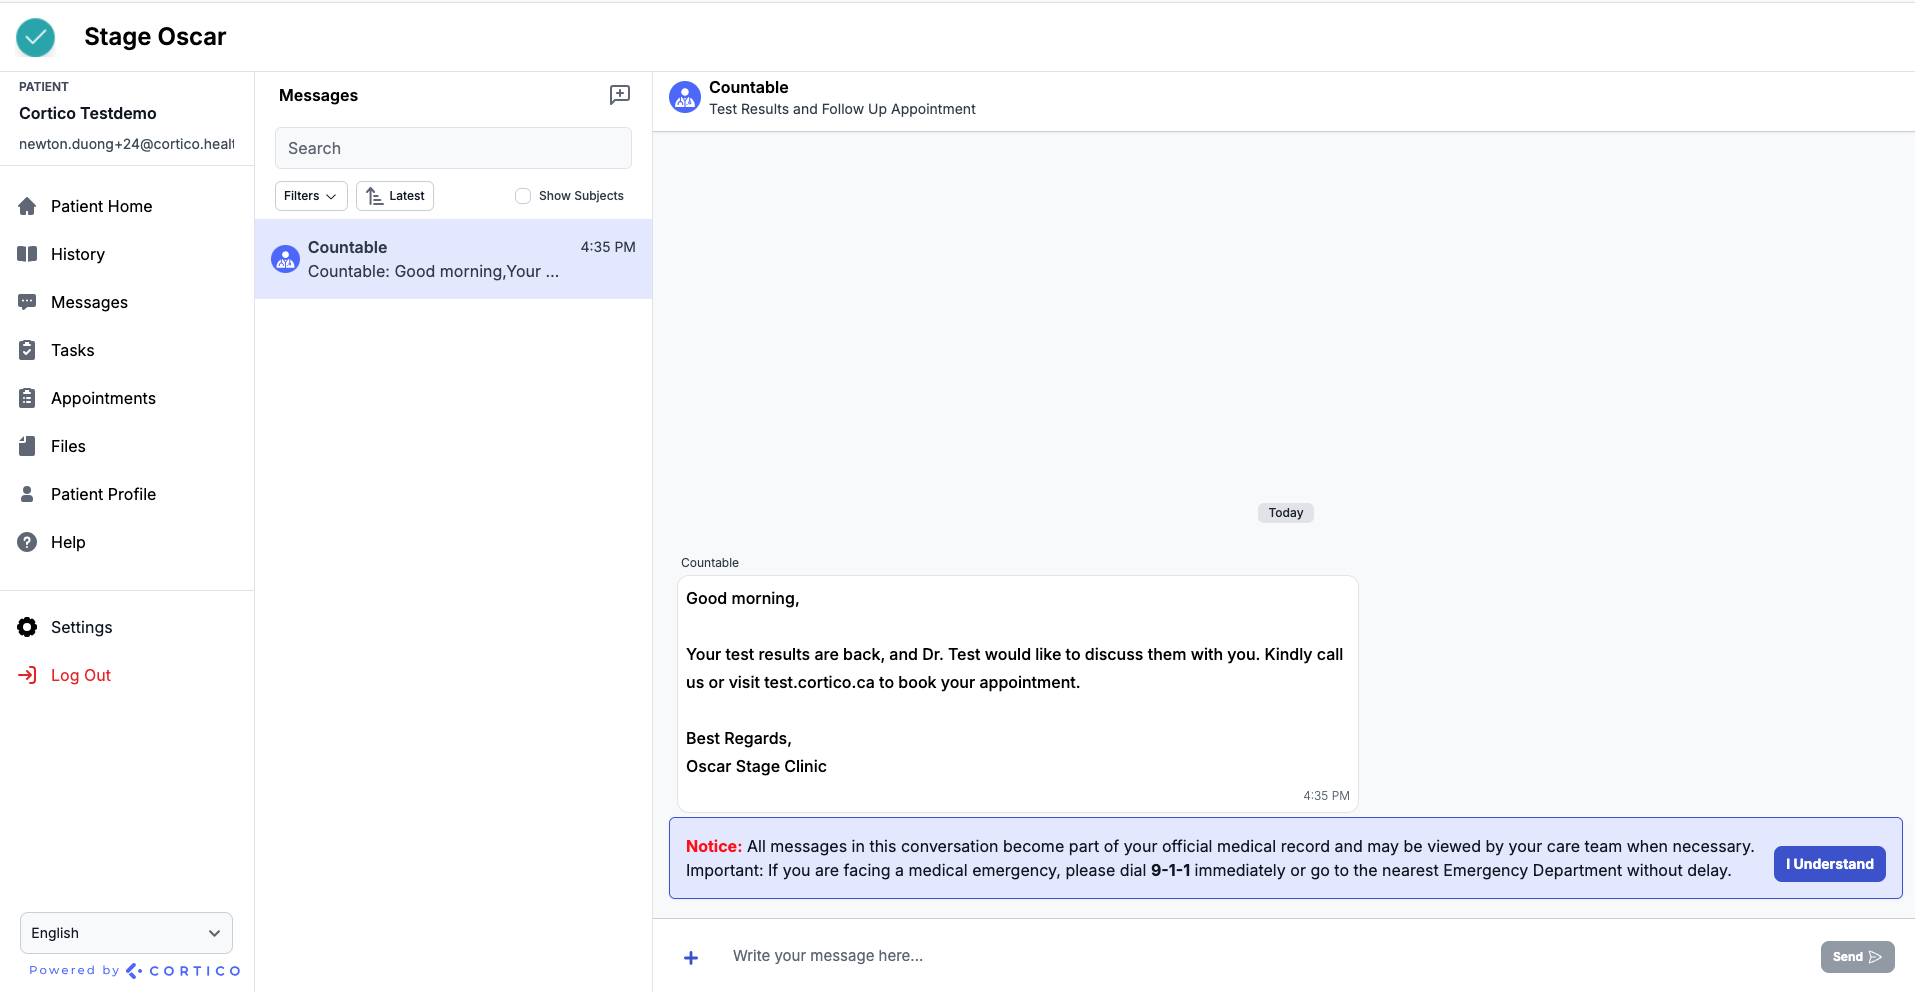
4. The patient will have the option to reply to the message by typing their message below as well as attach any files or documents as necessary by clicking the + icon.
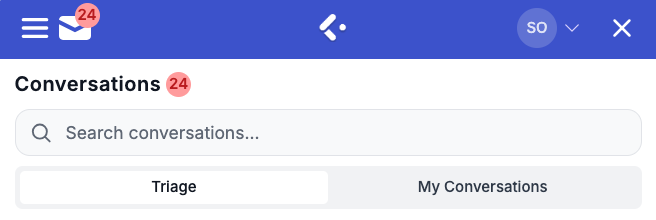
5. The clinic will also be notified of the patient’s message directly in their EMR, as indicated by the number above the Cortico plug-in.

To learn more about patient-initiated conversations click here
FAQs: Frequently Asked Questions
Where does the two-way patient messaging content get stored?
The two-way patient messaging content is stored on our server.
Will the messages always be accessible?
Yes, the messages will always be accessible.
Will messages get deleted after a certain amount of time?
No, currently, messages do not have an expiration date and will not be deleted after a specific period.
How long do conversations stay in Cortico History?
They are kept indefinitely.