Welcome to Cortico's Knowledge Base
Official Cortico Product information for customers and users.

Cortico Features
Mass Email - Self Service
How To Send Your Own Mass Email (for Cortico customers)
Updated 1 week ago
In this article, we will specifically discuss how to use the Self-Service feature to create and send a mass notice to your patients. For clinics not on the premium package, we charge $15 plus $0.0025 per email.
To get started with the Self-Service, you would first need to contact us at help@cortico.ca so that we can set up the brand. We would require you to send us the "from" email, and we will send back the login credentials to access the Self-Service feature.
Mass Emailing Patients
A practice may wish to email all their patients regarding:
A new clinic location or service
Announcements about new/retiring doctors
Other major changes
Mass email is also a great way to make patients aware you now offer online booking
Exporting the list of patients to email
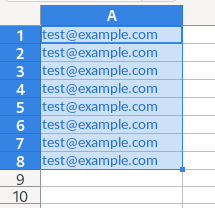
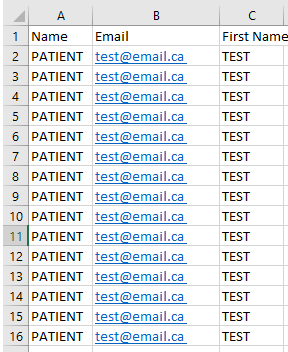
You need to export a CSV file with patient email addresses and any other information you wish to include in the email (such as patient's name, optional). In Oscar based EMRs, you can use the Report pages or RBT (Report by Template) to search specific demographics who need the message. You will need to choose a report that includes patient emails in the output. Do not export fields you will not use.
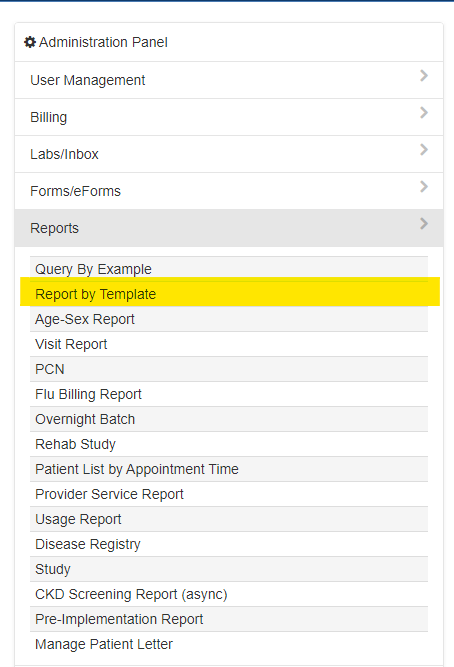
If you do not have an RBT template in your Oscar, you can use this one:
<report title="JustPractice: Patients by Provider and Status" description="List of patients by provider and status" active="1">
<query>

SELECT CONCAT("<a target=new href=../../demographic/demographiccontrol.jsp?demographic_no=", demographic_no, "&displaymode=edit&dboperation=search_detail/>", demographic_no, "<a/>") AS 'DEMO_NO',
 last_name, first_name, email, patient_status from demographic
ORDER BY last_name, first_name ASC
</query>


</report>
Another option is go to Report > Demographic Report Tool > Search by Email Address > Run Query > File Should be csv format. If this doesn't generate a CSV, you may need to use the "Report Template" function instead.
Create a New List
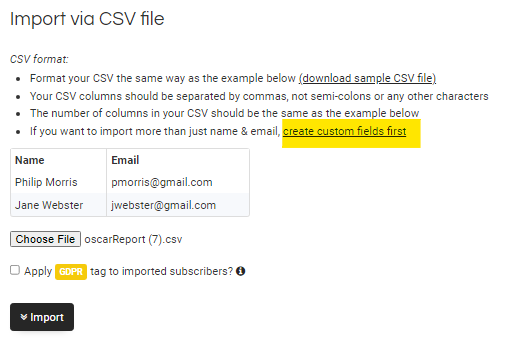
Once you have created your CSV file, you will now go into Sendy and navigate to the "Lists" on the left-hand navigation bar. Add a new list. If you have additional fields that you want to add such as phone number or provider name, you would need to add them using the "Custom Field" link.
Each of the header names in the CSV file must match directly with the names in Sendy, along with the order of the fields. If the first field that appears in Sendy corresponds to "Name," then the first column in the CSV file must also be "Name."


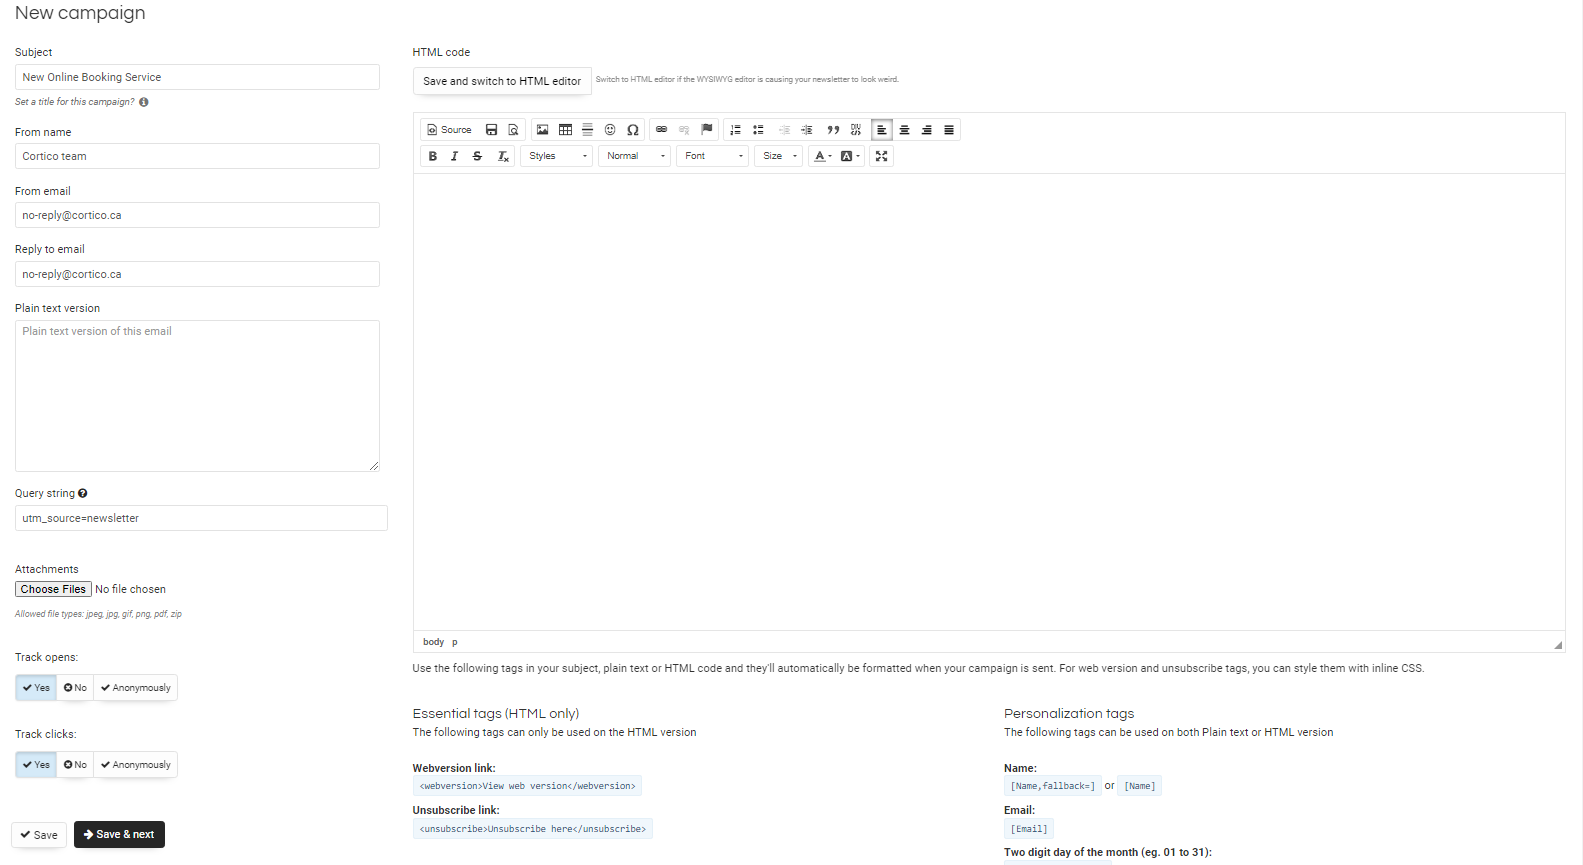
Create a Campaign
Once you have created a list, you can now set up a campaign. On the left-hand side, you need to add the subject, from name, from email, and reply-to email. If you want to use a no-reply address, you can use no-reply@cortico.ca.
Once these fields are filled, you can compose the email message and proceed by clicking "Save & Next".
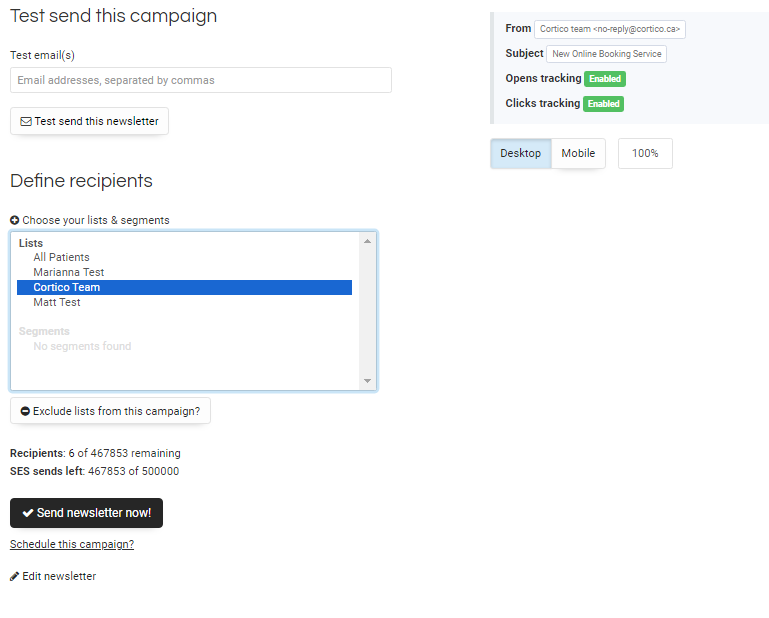
Before you send the email, ensure that the preview appears correctly and send yourself a test email to verify everything is correct. When you're ready to send, click on the list you created. You'll be able to see the number of patients you will be sending to. If everything appears correct and you are ready to send, click the "Send Newsletter Now" button, and the email will be sent.
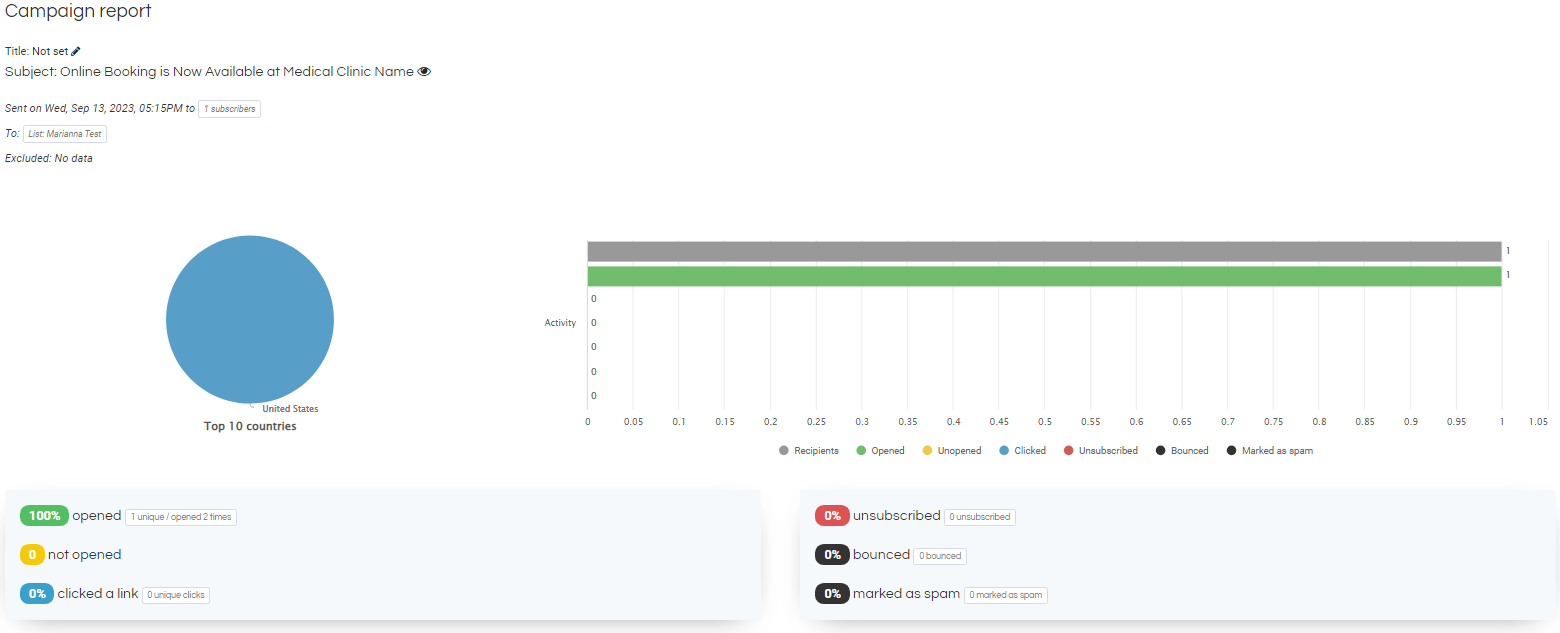
Track Your Analytics
Once the mass email is complete, you can go into the campaign and view the stats.